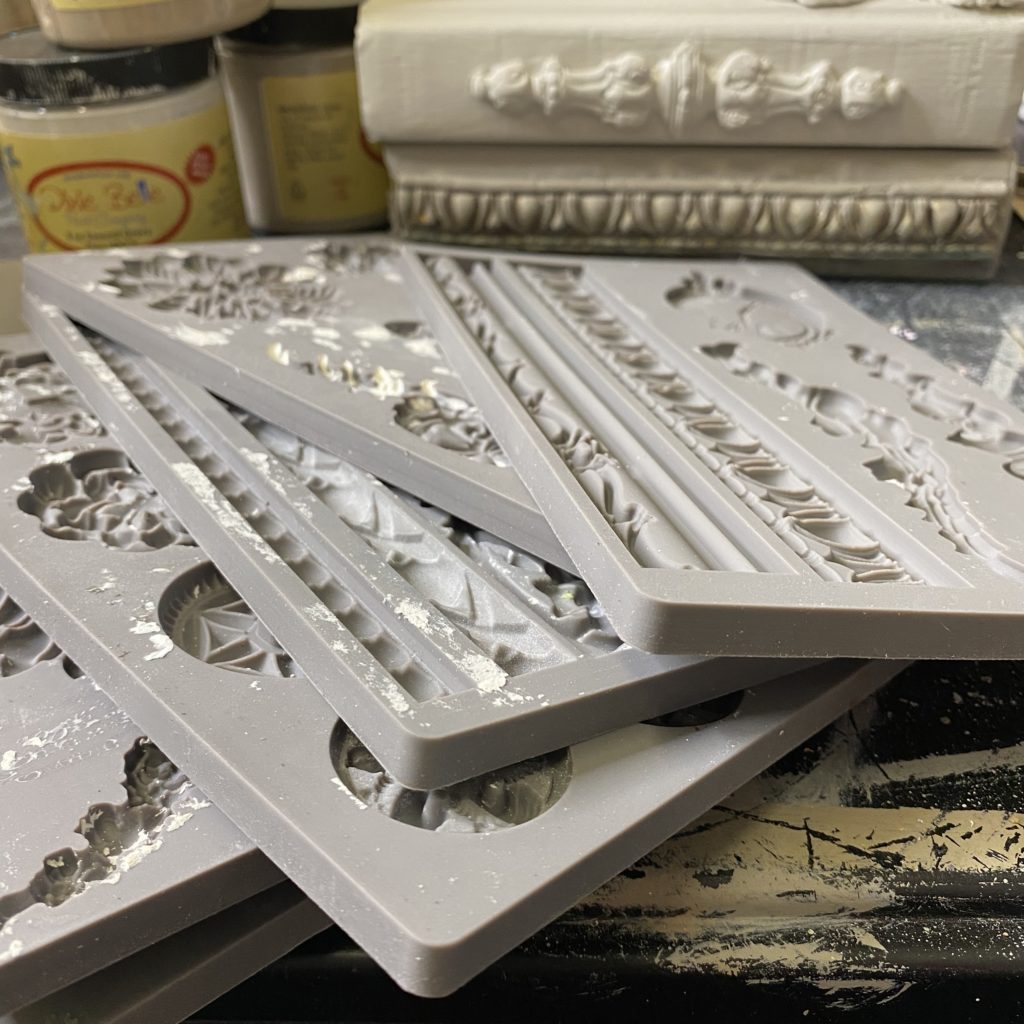
I LOVE the look of aged embellishments on any project. The moulds from Redesign by Prima allow you to create an unlimited supply of embellishments for furniture, knobs, decorative containers, lamps, and even books!
The process is very simple, and the supplies are somewhat interchangeable, so there is no reason not to fancy things up a little!
I chose to share the mould creation process on an Artist’s Trading Book because it is simple, easy to work with, and about the coolest idea that I have seen in a while!
The idea of the books is to embellish them and draw, paint, or create some kind of art with them, and then pass them on to the next artist, who can do the same! How cool is that????
I had a few books picked out, based on them being hard cover, and about the size that I wanted my finished books to be. Then, in typical “me” fashion, I changed my mind. I didn’t want to share Medical Medium, Suzanne Somers’ Toxic, or whatever other liver health tome that I pulled from my shelf. I couldn’t imagine another artist being inspired by notes of dandelion tea and saliva testing. So, Goodwill it was!
Sisterhood of he Traveling Brush is a participant in the Amazon Services LLC Associates Program, an affiliate advertising program designed to provide a means for sites to earn advertising fees by advertising and linking to Amazon.com. Any opinions expressed are my own honest opinions, and any small fees or commissions that may be earned will not affect my opinion.
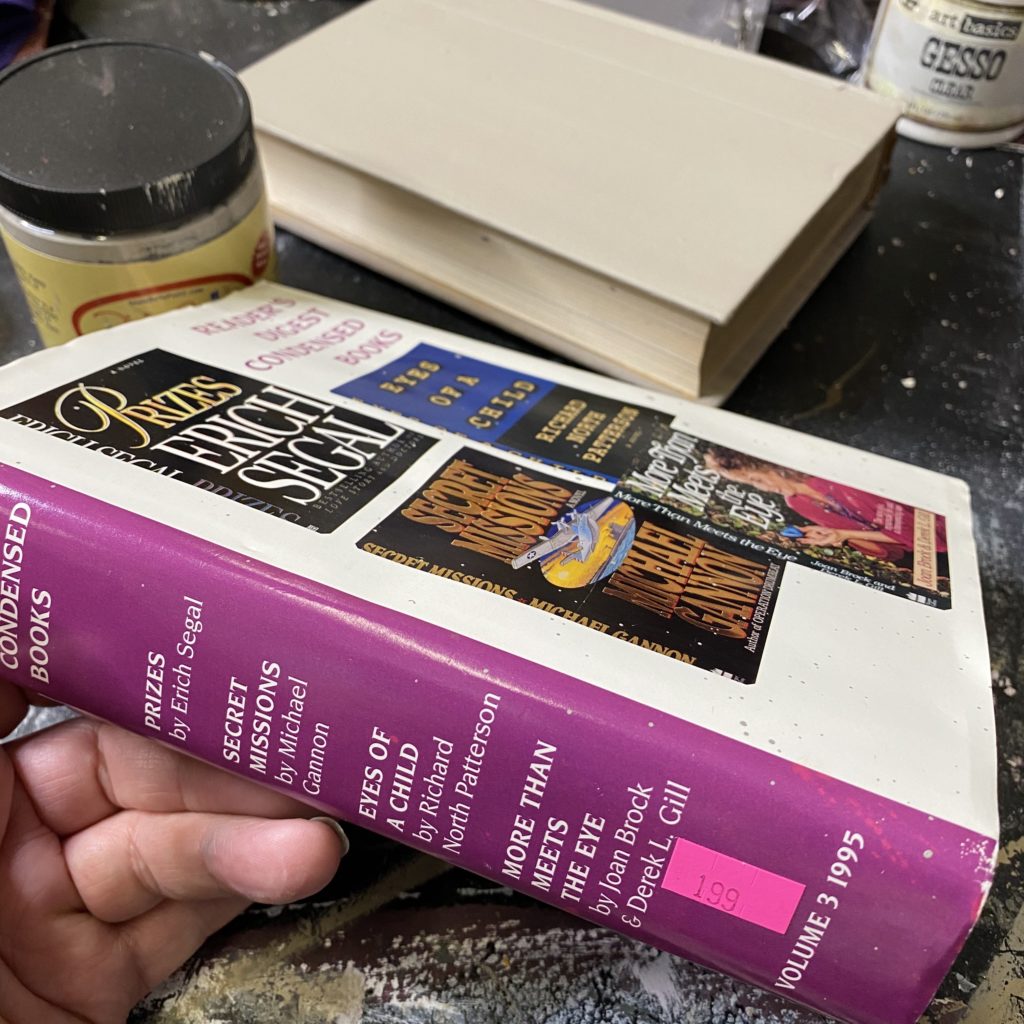
I decided on the Reader’s Digest Condensed Books because they were a perfect size. I used to collect and read them in the 80’s, and they were always a good read. Perfect pages for tearing out to use in mixed media projects, too! I chose 3, and they are usually 50 cents, but my Goodwill has increased prices so much lately, they were $1.99 each. Still a good deal. TIP: Get them with the cover/dust jacket still on them, if you can. The price stickers are a booger to get off of the leatherette binding.

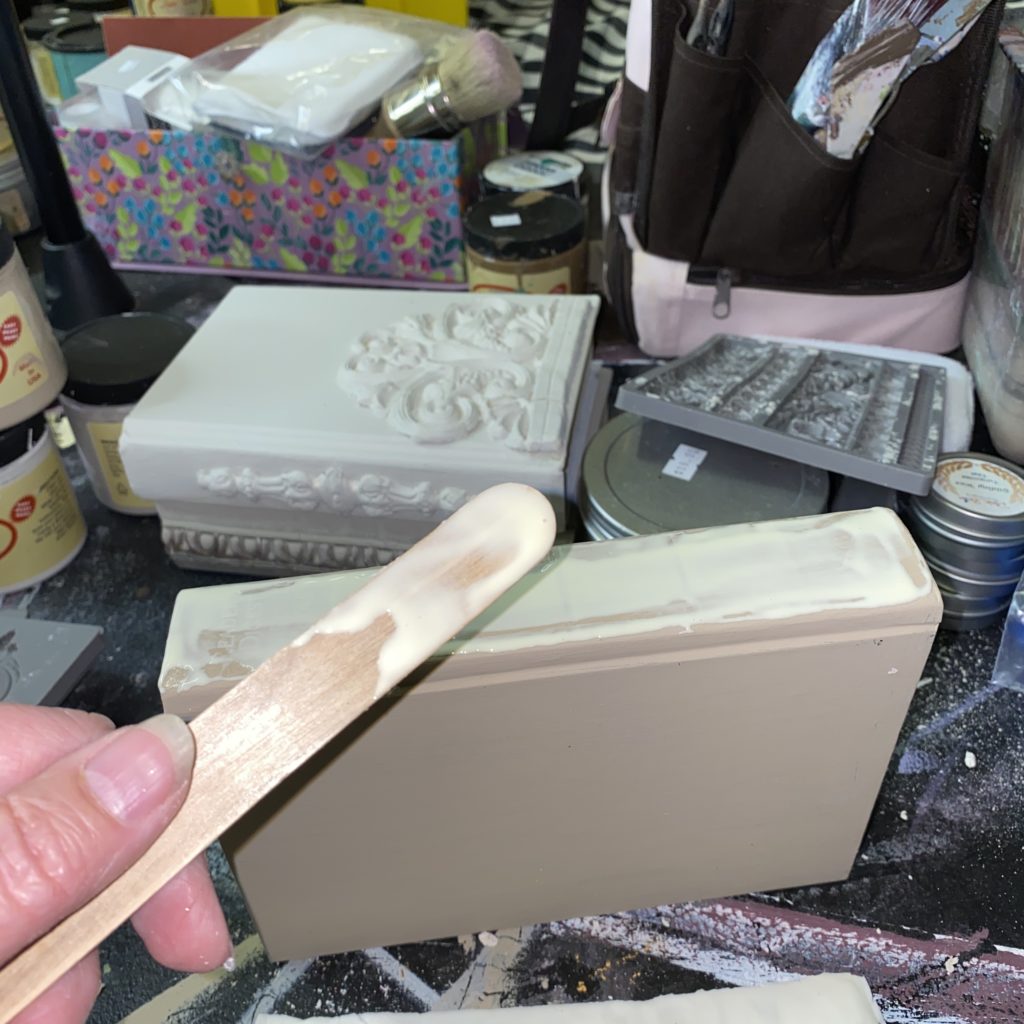
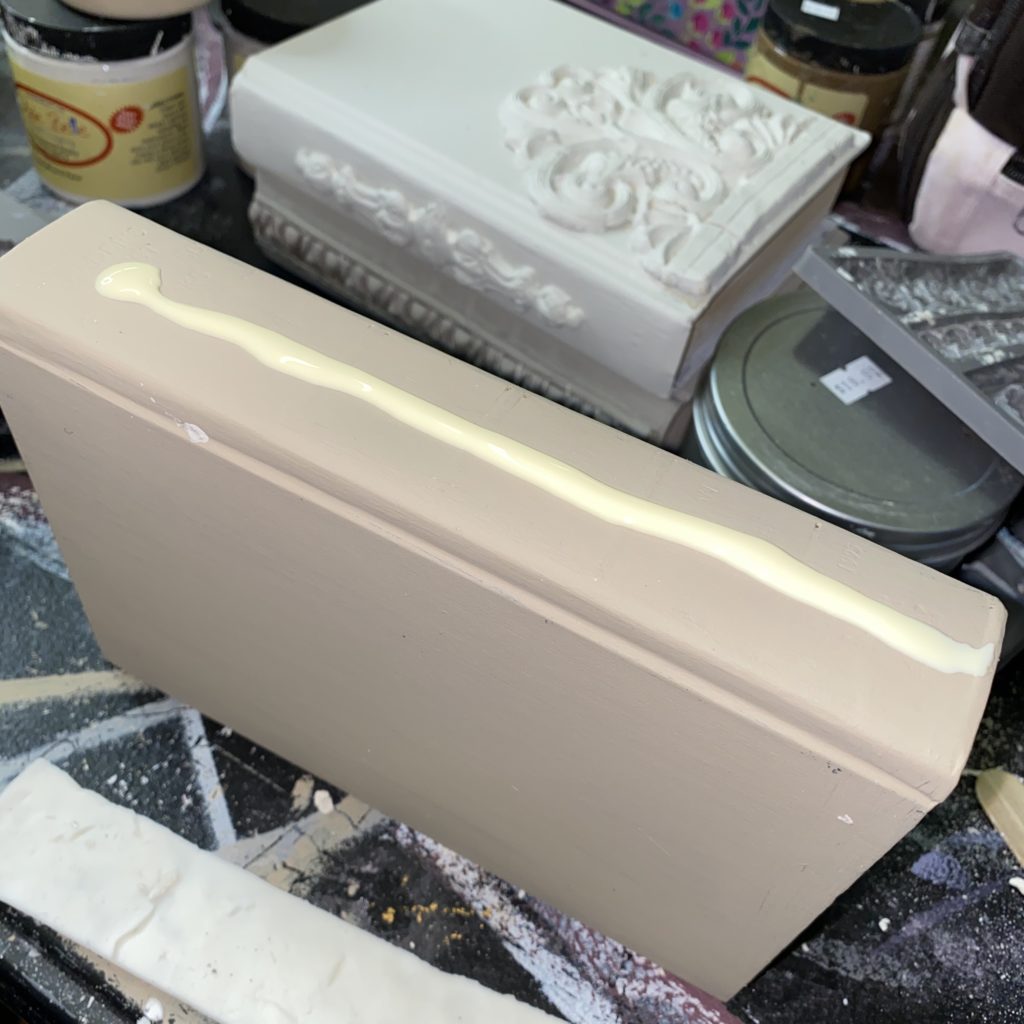
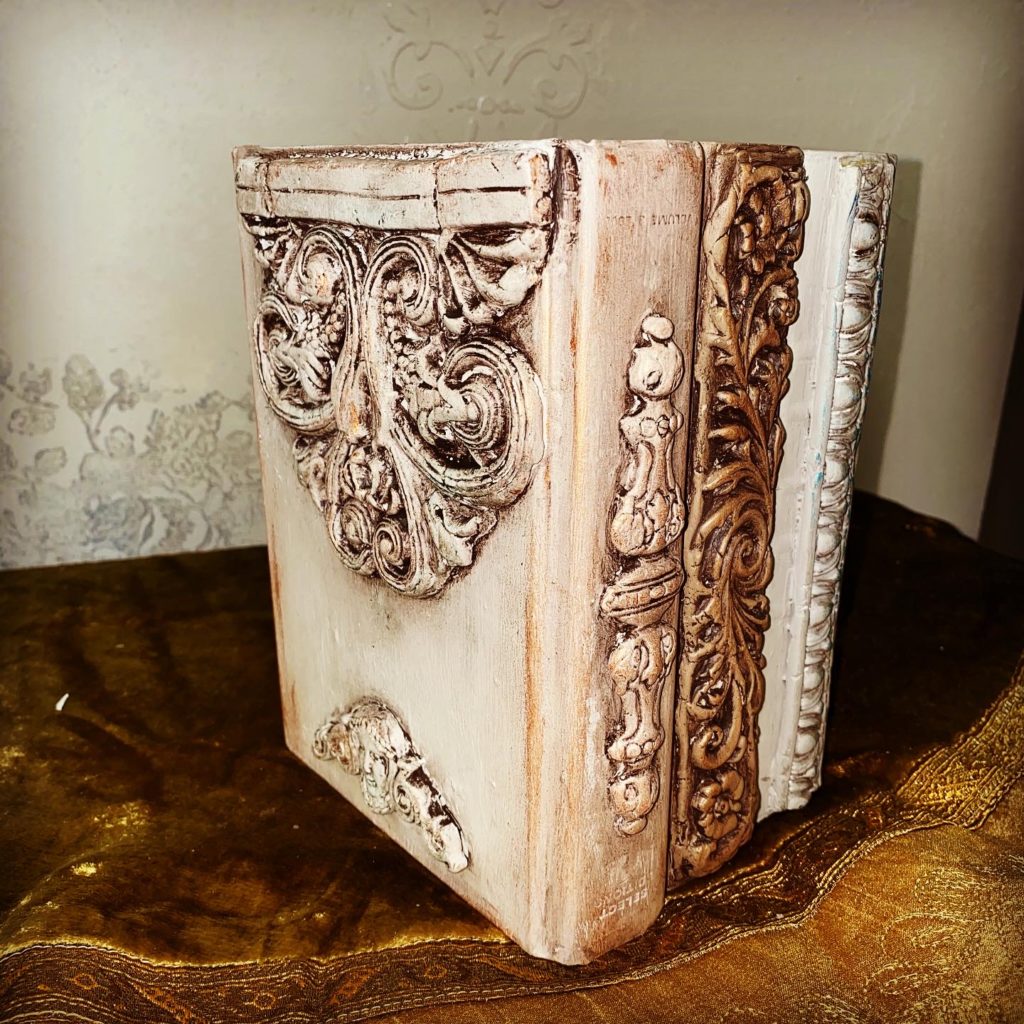
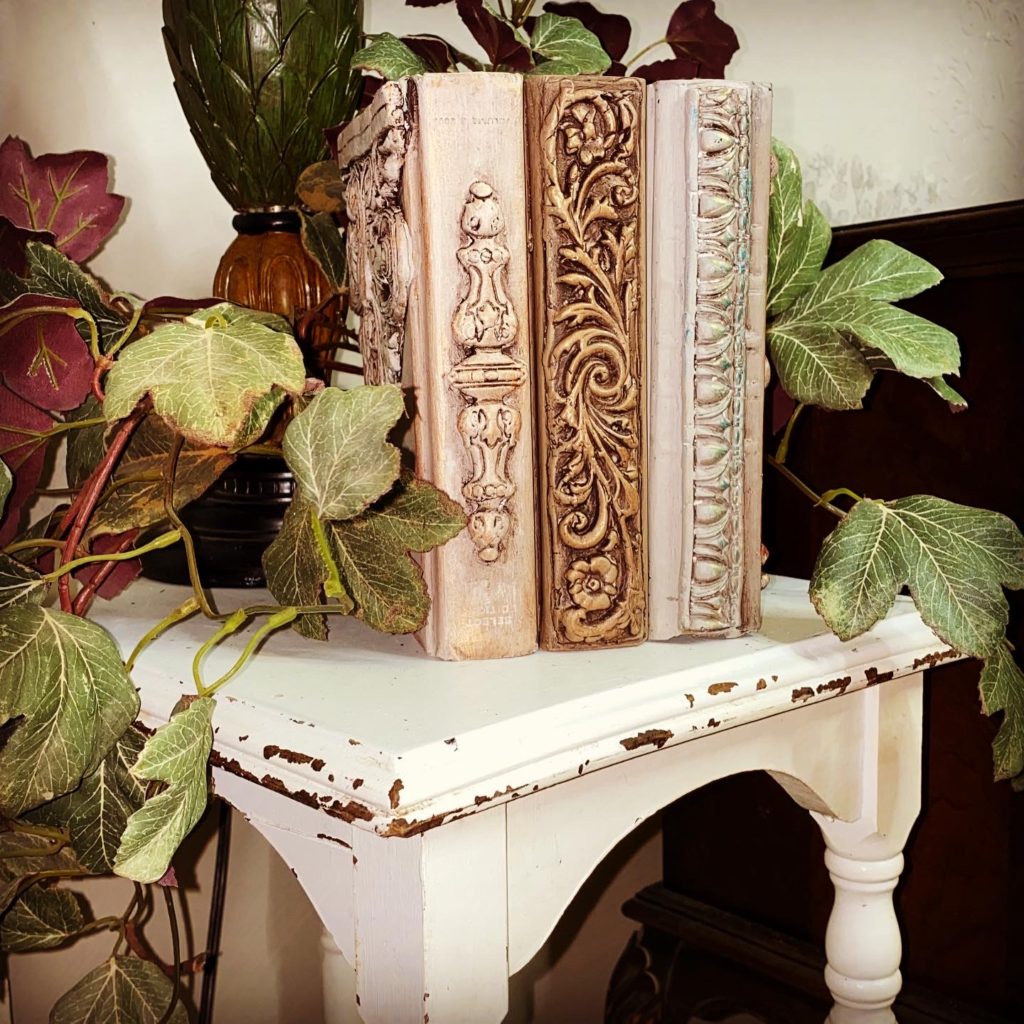
First, I painted the books with Dixie Belle paint. I used French Linen, Sawmill Gravy, and Putty. I wanted them to be able to be used in staging furniture pieces, and to match most anything, so I chose light neutrals. The Dixie Belle chalk mineral paint did not need a primer, and I just painted it right on. I sealed it with Dixie Belle Best Dang Wax in clear. (Dixie Belle does not “need” sealing, but I knew that I was going to be adding brown wax to age the pieces, and the pre-coat of clear wax makes using the brown wax so easy!)
If using the moulds for embellishing furniture or other decorative items, you follow this same procedure.
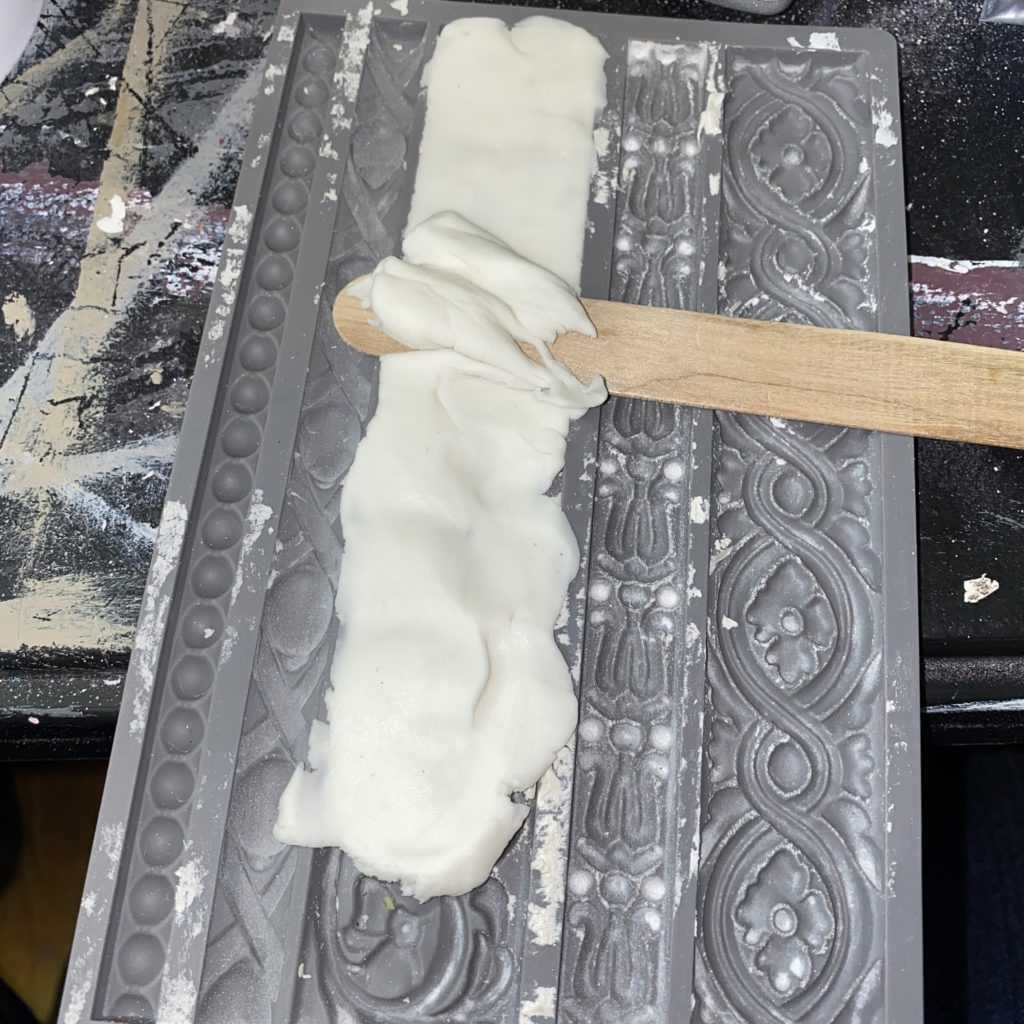
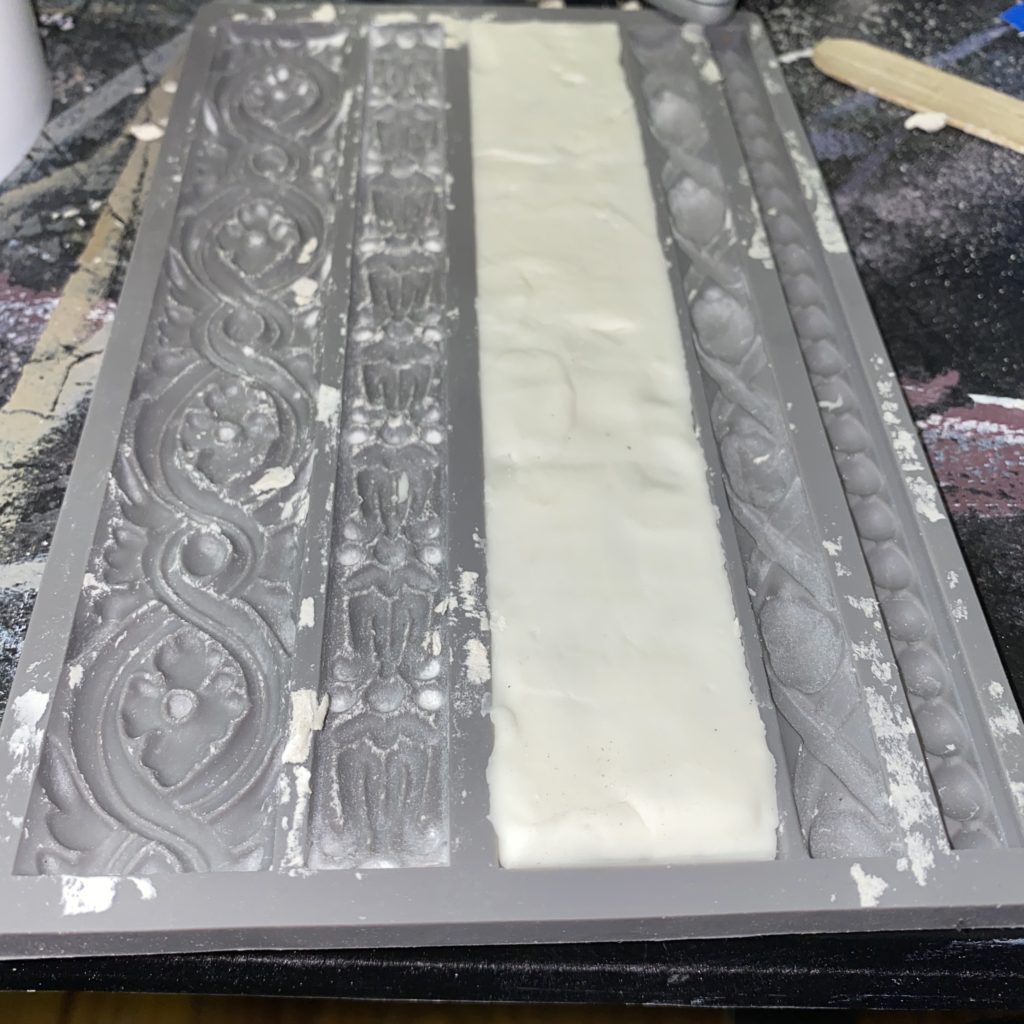
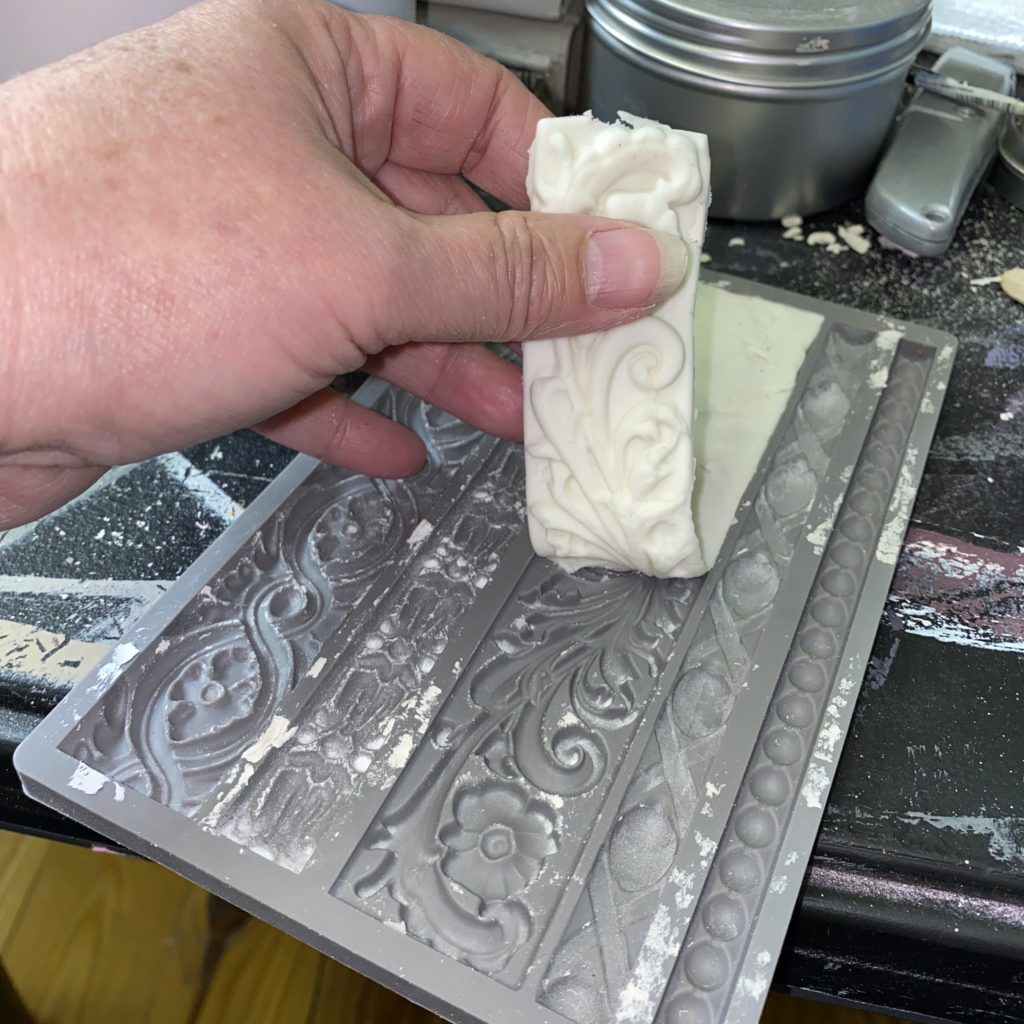
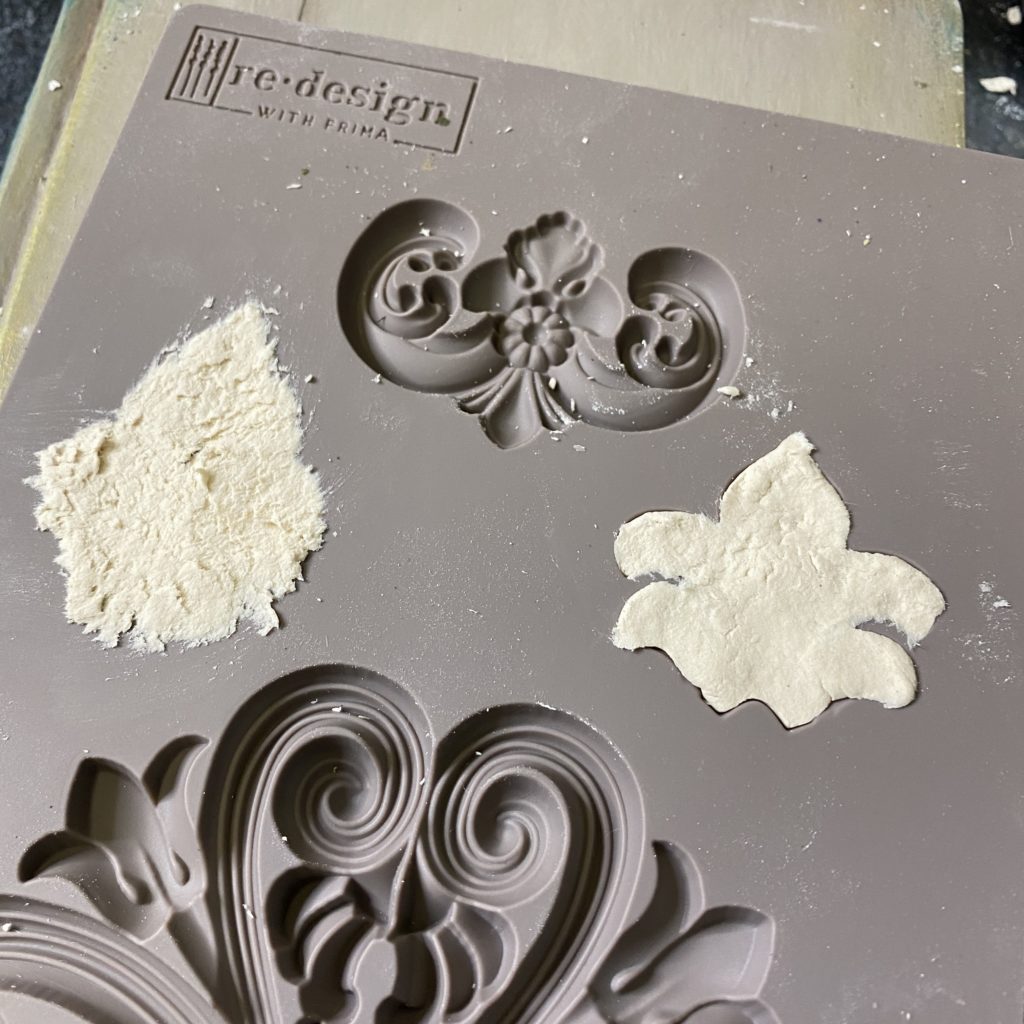
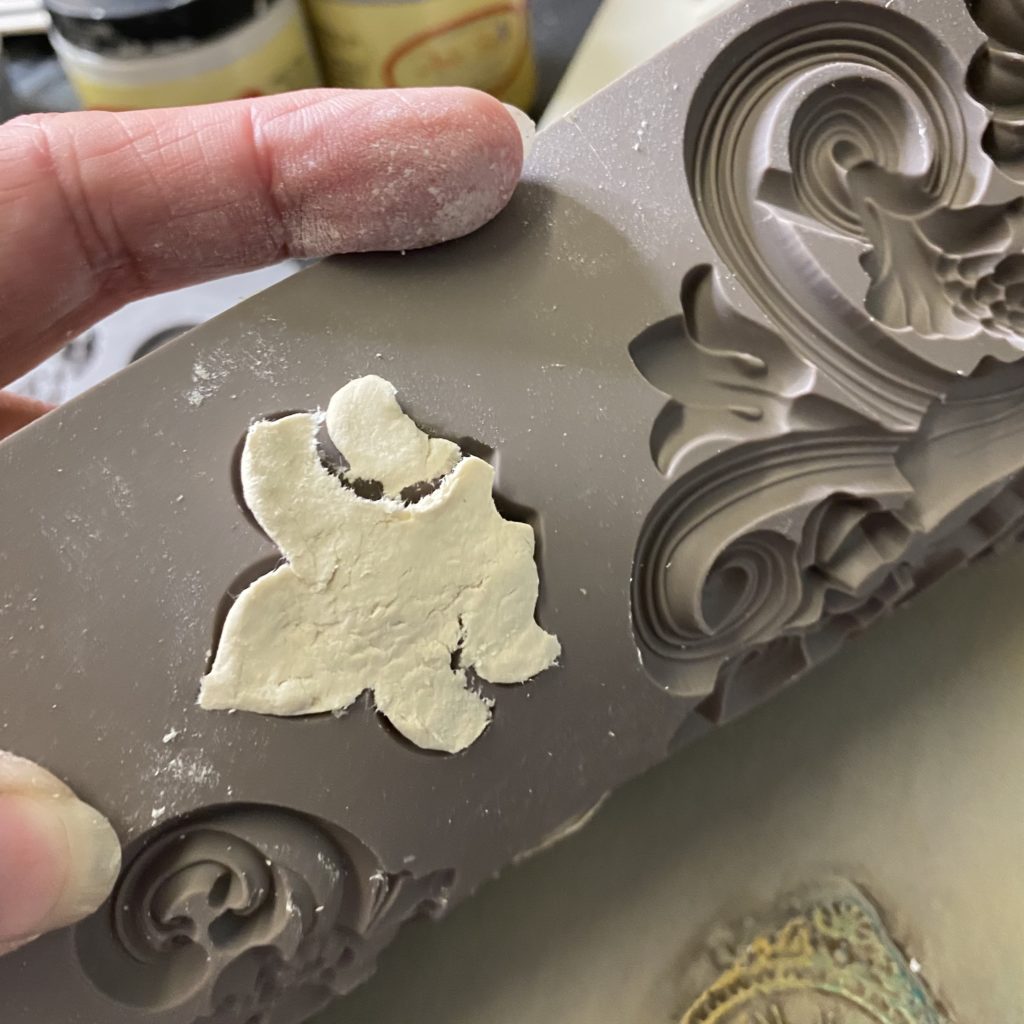
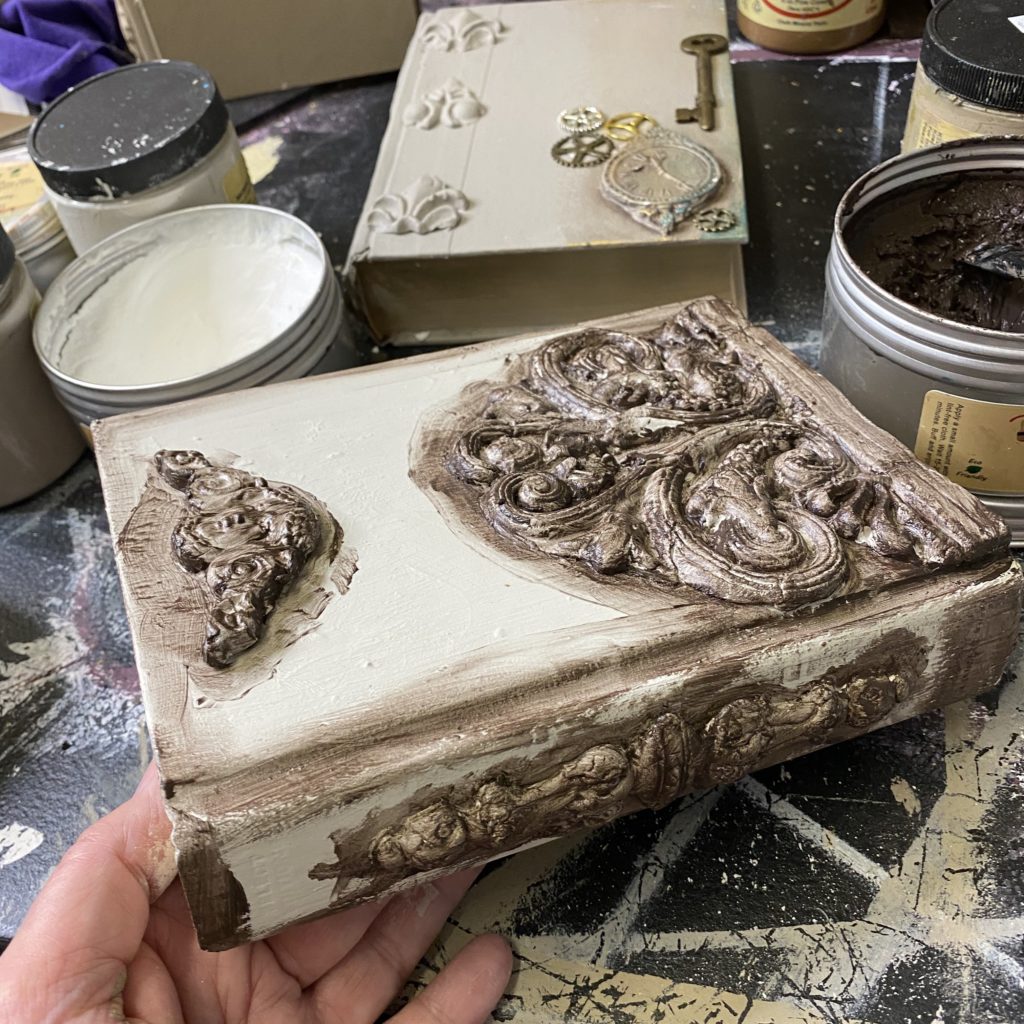
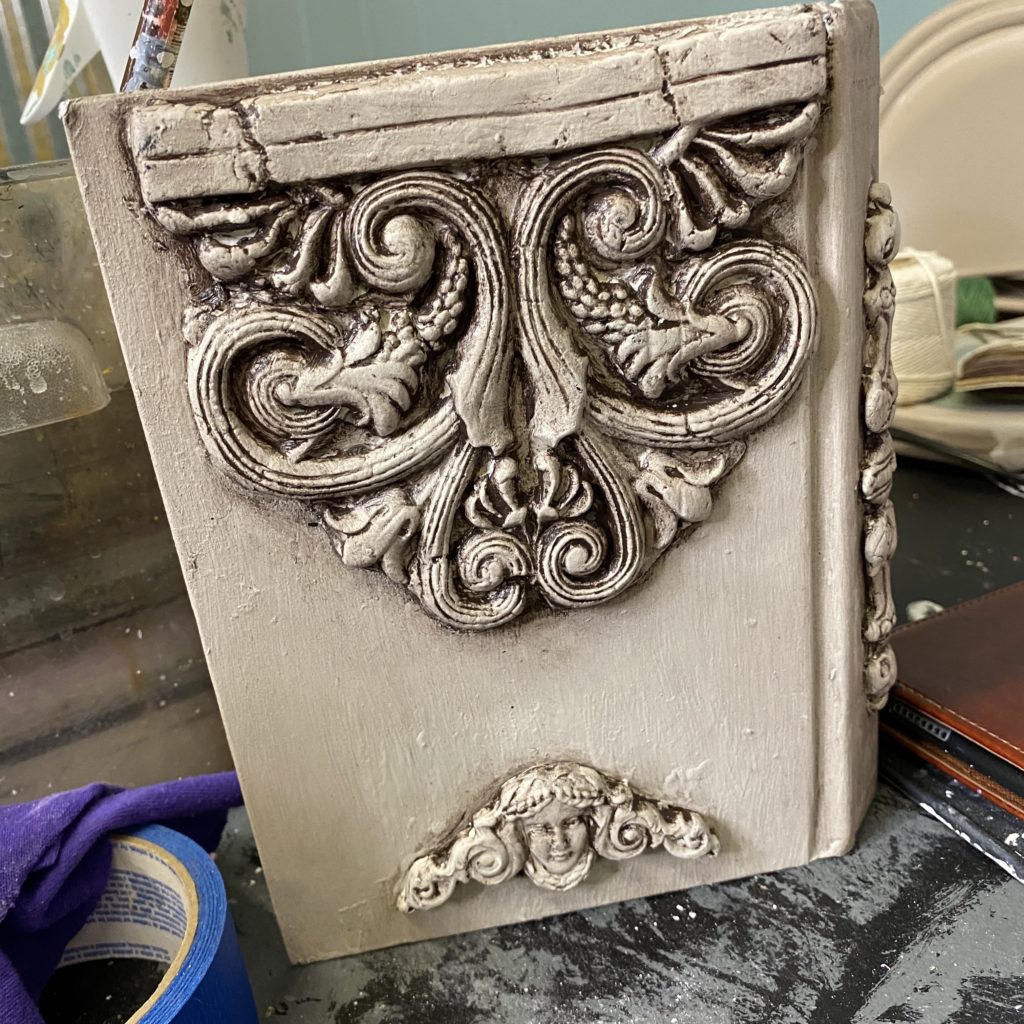
Next, I created the embellishments, using the moulds. I used the new air dry clay from ReDesign by Prima, and Paper Clay for this project. I definitely chose a favorite, too. Other options include Apoxie Sculpt (see the gray one, I did it with Apoxie Sculpt, before), and pourable resin, and even hot glue. I have tried them all. The resin dries fast, and the mould is not “mouldable” to your piece afterward. The Apoxie Sculpt takes too long to dry. The hot glue does not take paint as well as the others. And last, but not least, from this project, I decided that it is very unlikely that I will ever use Paper Clay again. (More info to come!)
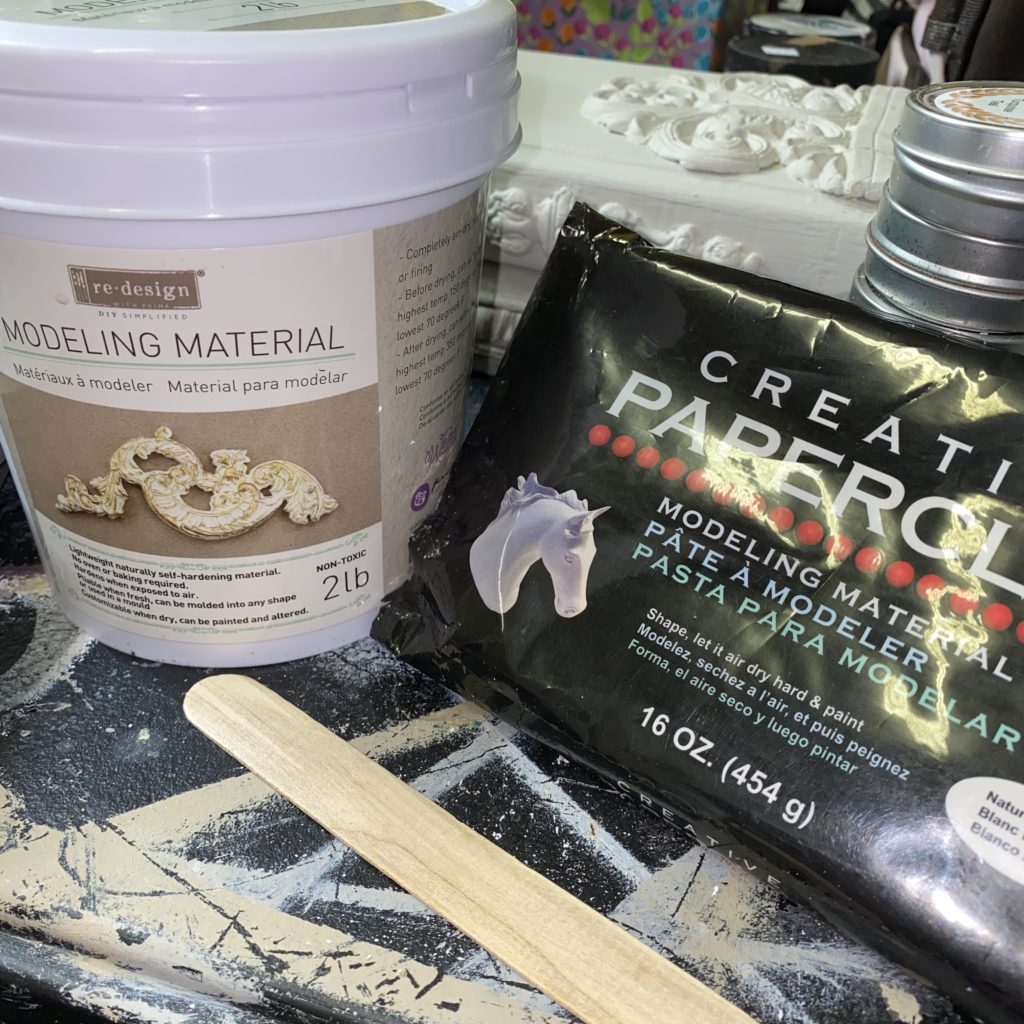
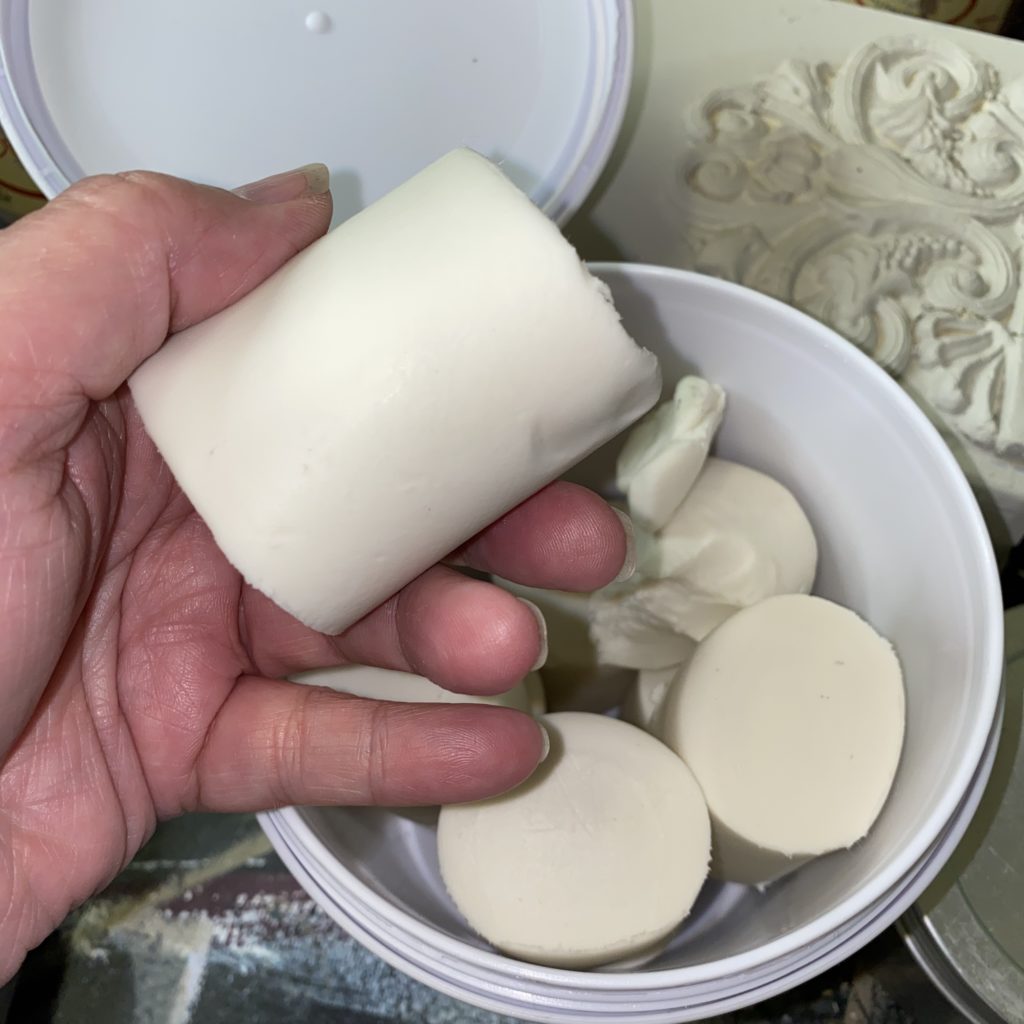

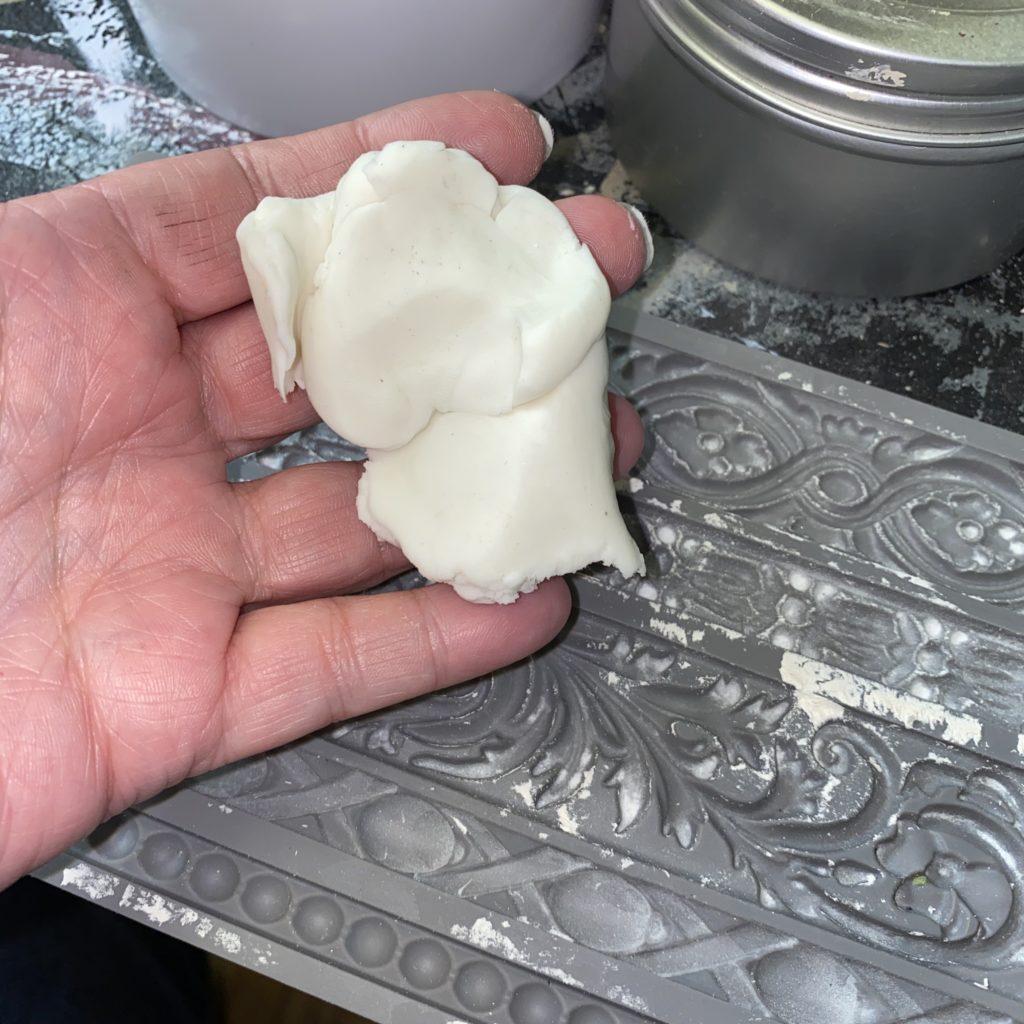
I was pretty impressed with the bucket that the air dry clay came in, I have lost numerous paper clays over the years. No matter how I wrapped and bagged them, they always dried out and wasted. The tub for the air dry clay has an air-tight seal. It also came in small tube shaped workable sized logs. I had imagined it being one big hard blob, and was pleasantly surprised at the workability of it. It was soft, similar to play dough, just smoother and a little more stretchy. It did not need much kneading at all, and it was ready to go into, and pop right back out of the moulds.
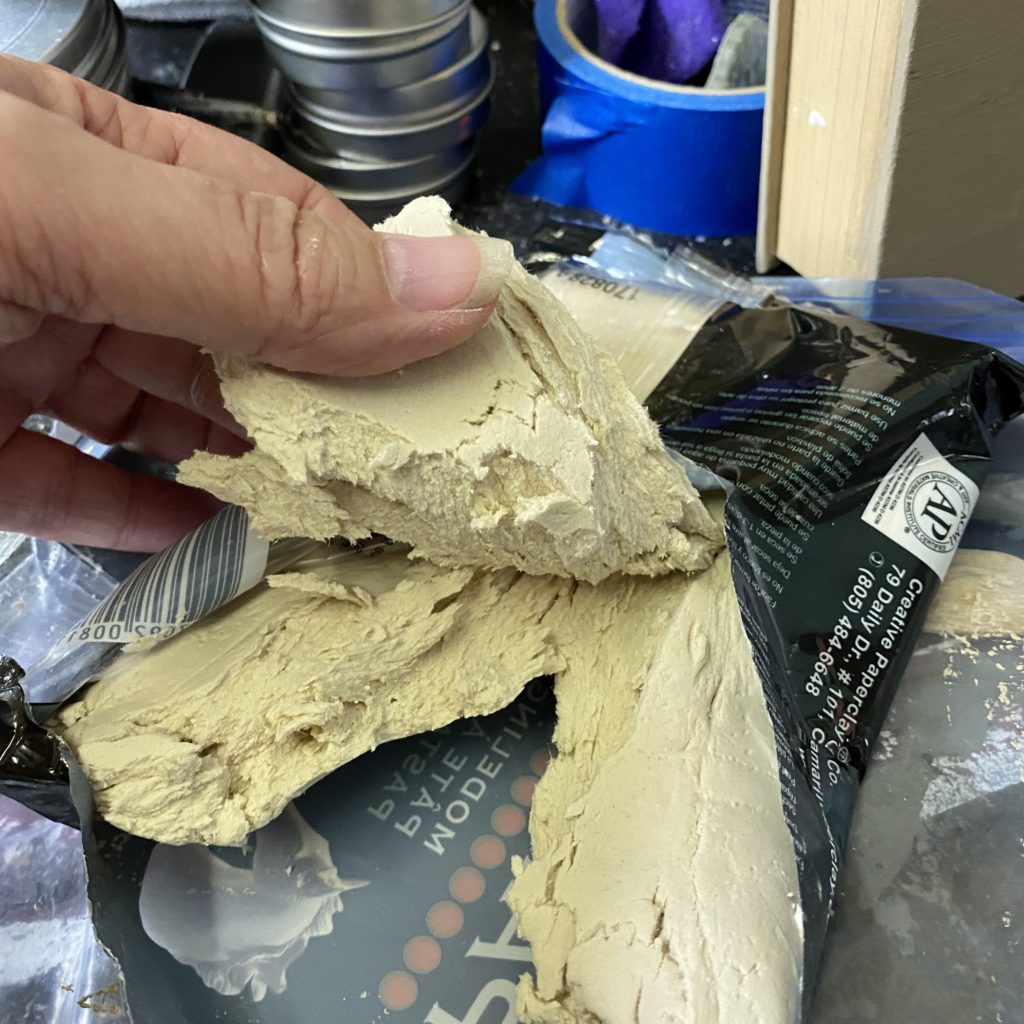
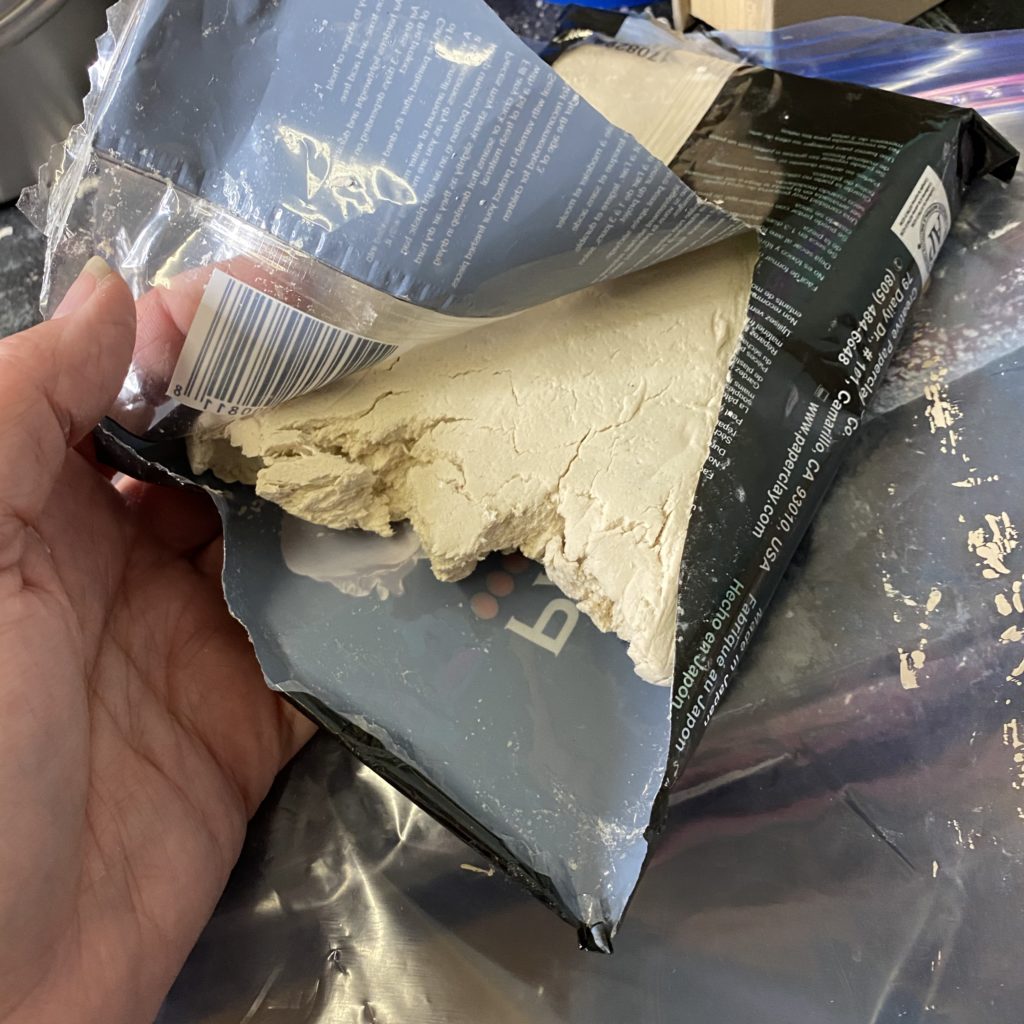
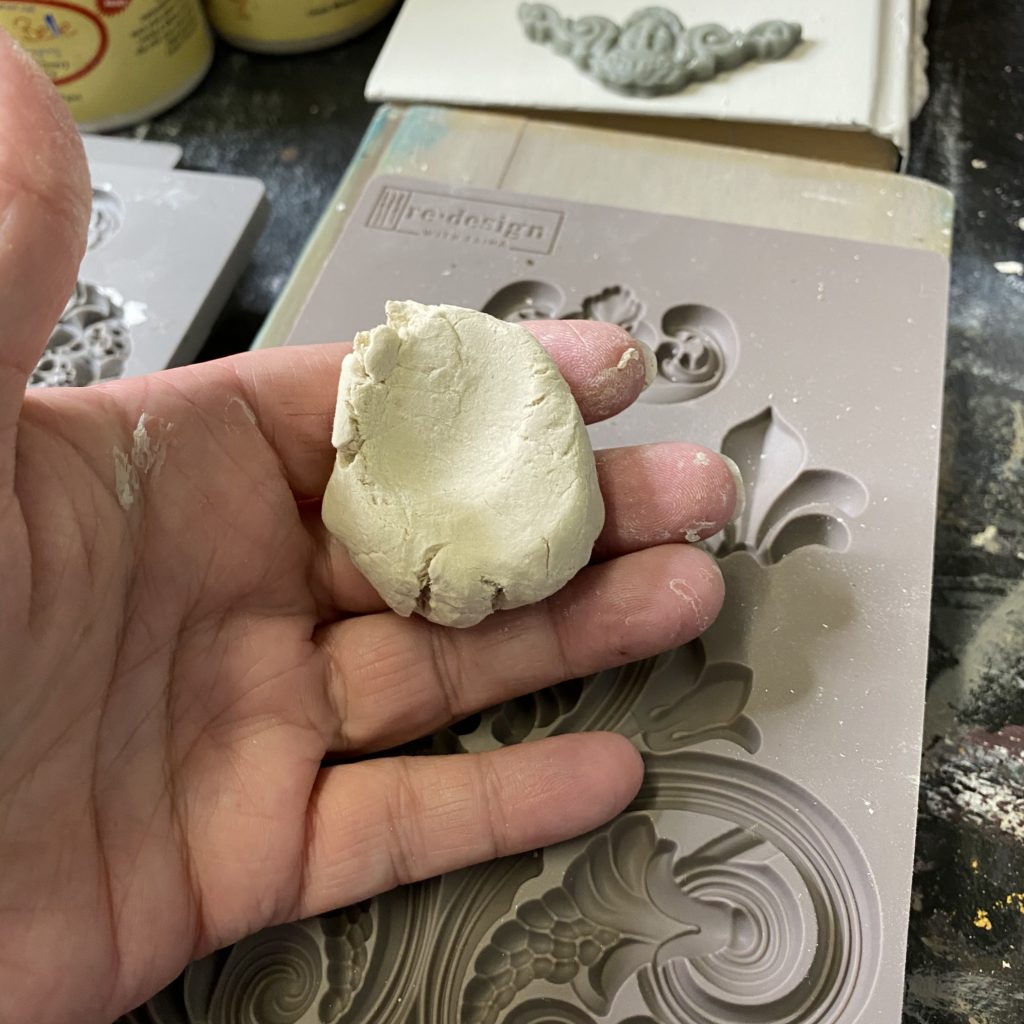
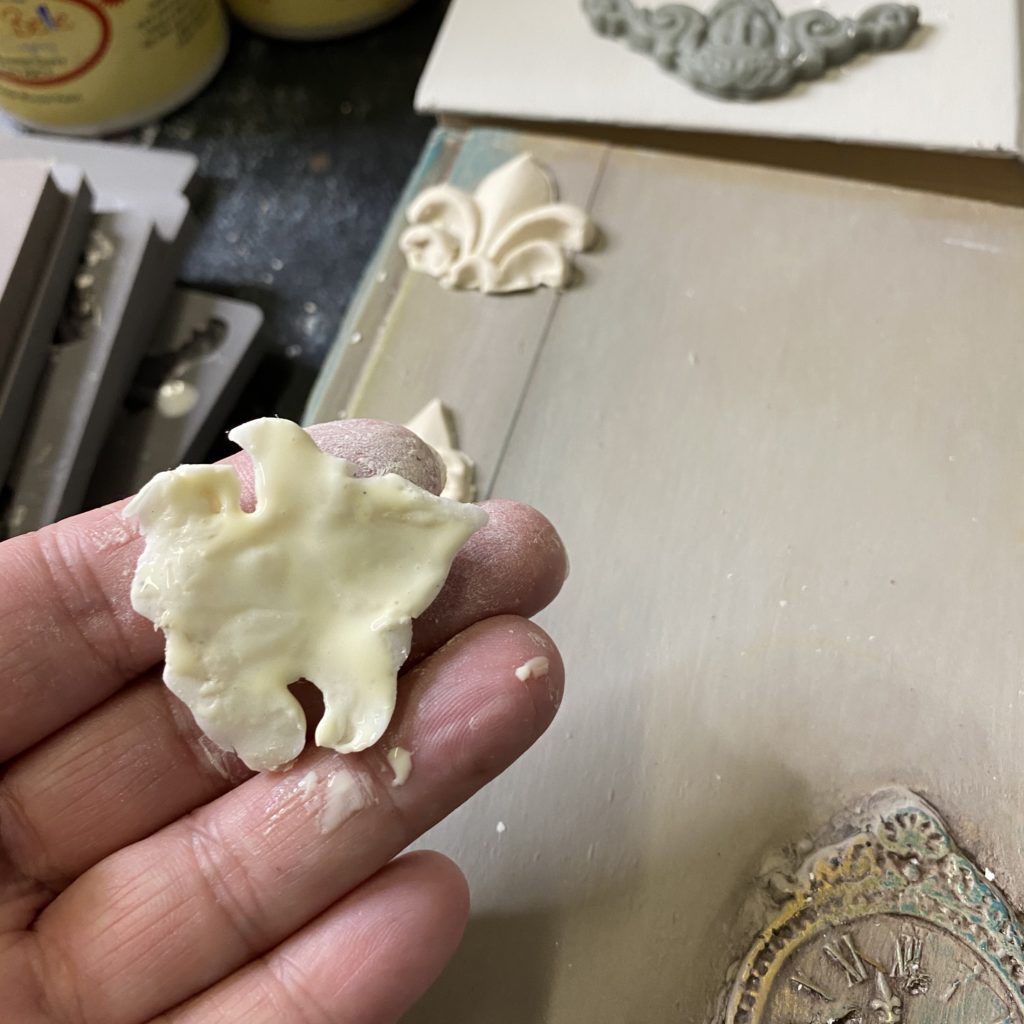
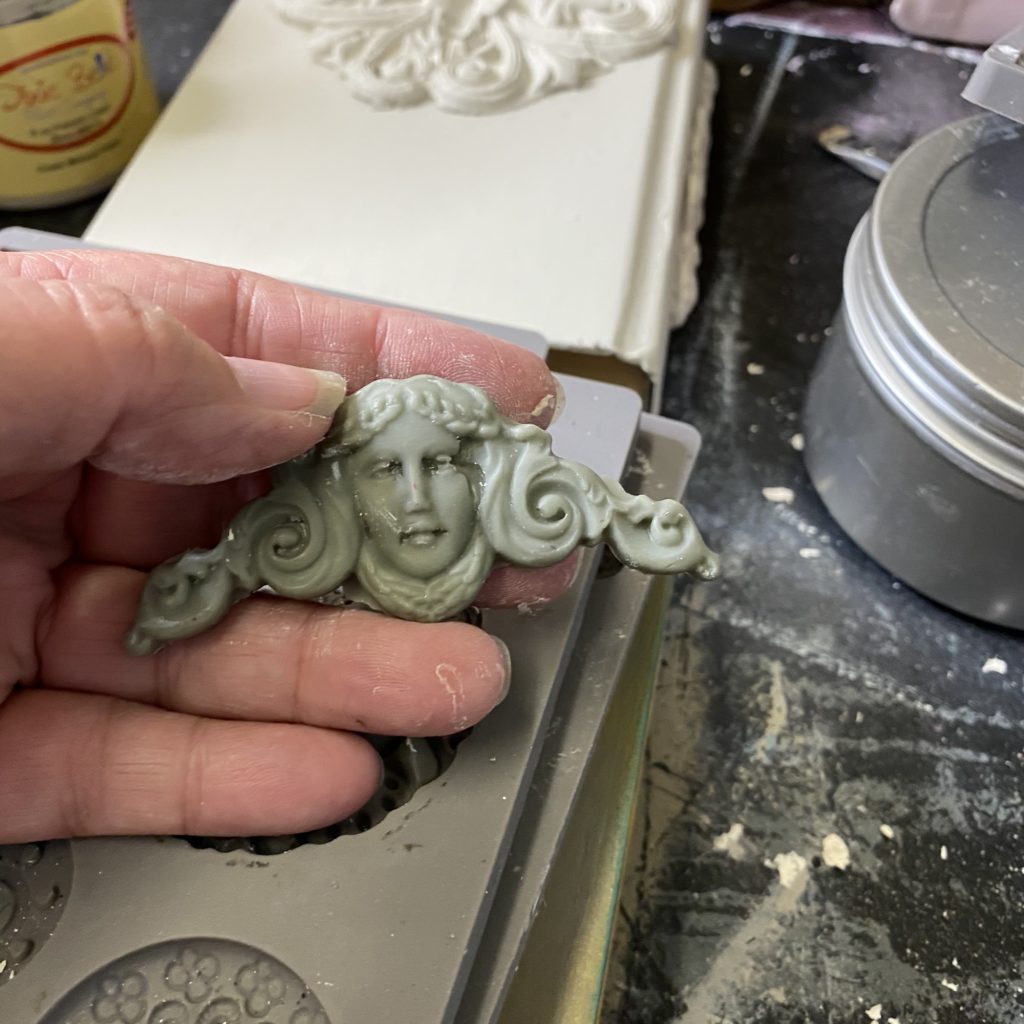
The paper clay, on the other hand, was hard and dry feeling. Not dried out feeling, just tough and non-workable. I dipped my fingers in water 3-4 times to help it become a little more pliable. It never became play dough like, and I was afraid to add any more water. Both pieces that I did with the paper clay cracked and were a little harder to get out. The paper clay also leaves a dry, sandy feeling residue on your hands and fingers, and it was just not a fun experience. My days of paper clay are probably over.
The air dry clay pieces came out easily and did not crack or break. They were flexible enough to have dried around the edges of a piece, whereas the paper clay pieces cracked and crumbled. The gray one was the Apoxie Sculpt. I will share my experience with it in another post. I used it for my Chunky Smooth finish videos.
After the moulds were released, I glued them to the books with either E6000 glue, or Titebond wood glue. Both glues held well, both were a tad slow to dry, and I would use either again. I preferred the wood glue on the larger/longer pieces, and the E6000 on the smaller ones. Since wood glue need the porous surface of wood fibers, I especially liked it on the paper clay pieces. If I had to choose only one glue moving forward, though, I would choose the titebond. It was easier to work with.
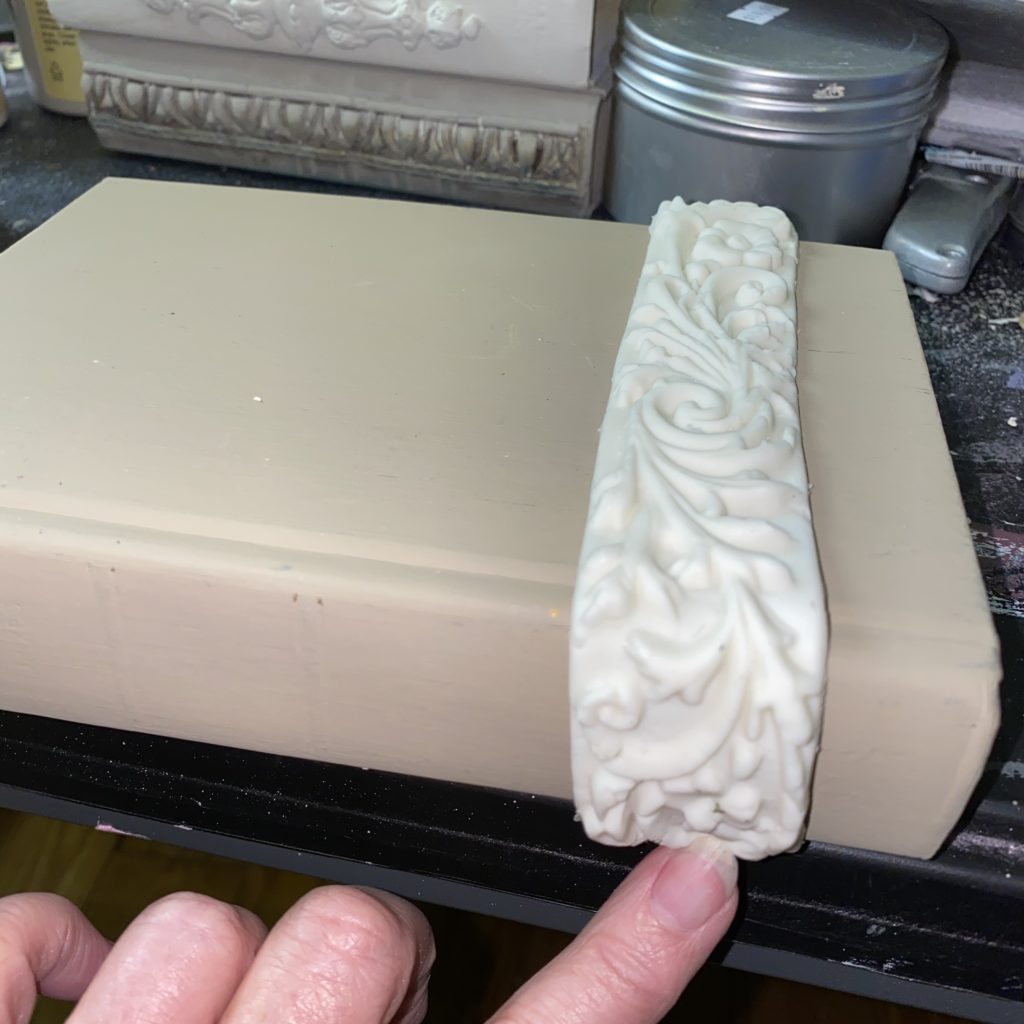
For the larger pieces, I applied the glue to the book surface first, then laid the piece on it. For the smaller pieces, I applied the glue to the back surface of the piece, then applied it where I wanted it.
The packaging for the air dry clay suggests allowing it to dry 24 hours before painting. From experience, I knew that paper clay could be painted right away. Both were likely to shrink some during the drying process. I painted them both right away, and have not had any issues.
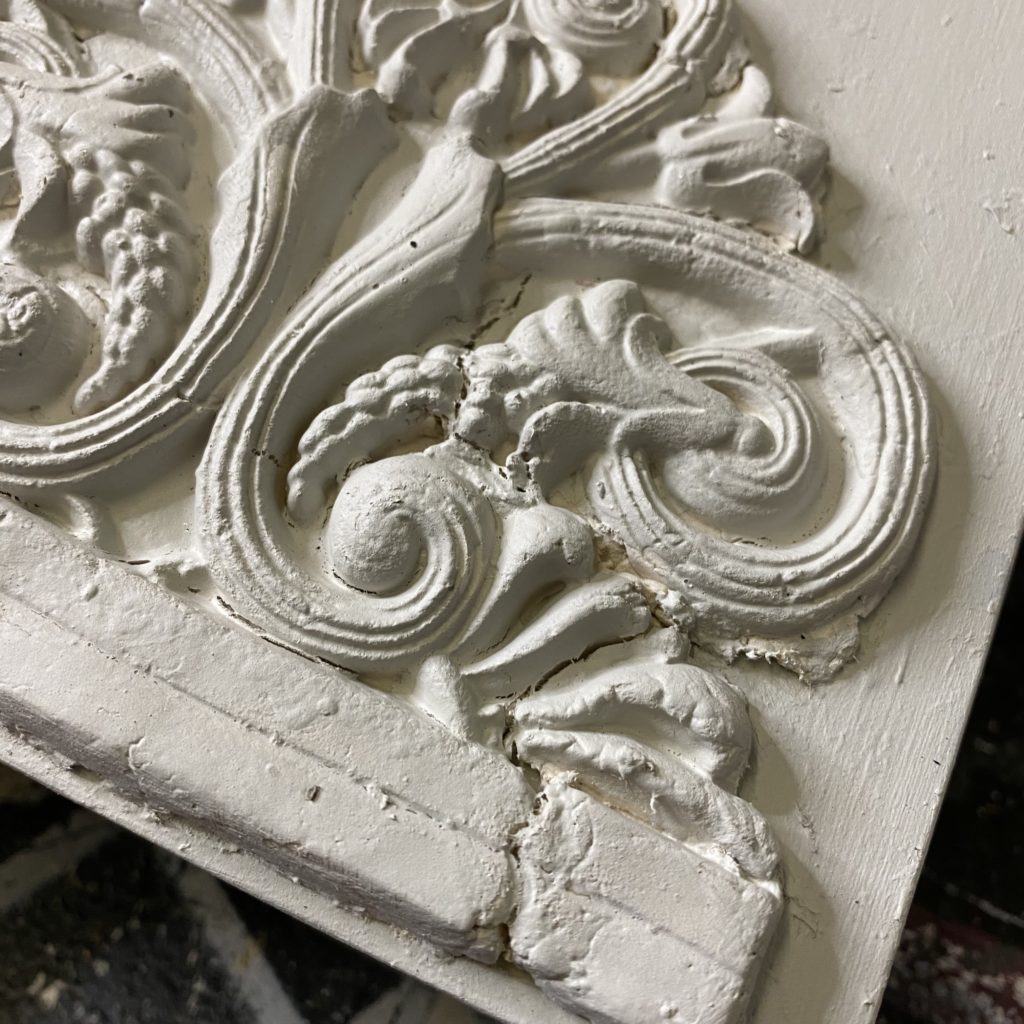
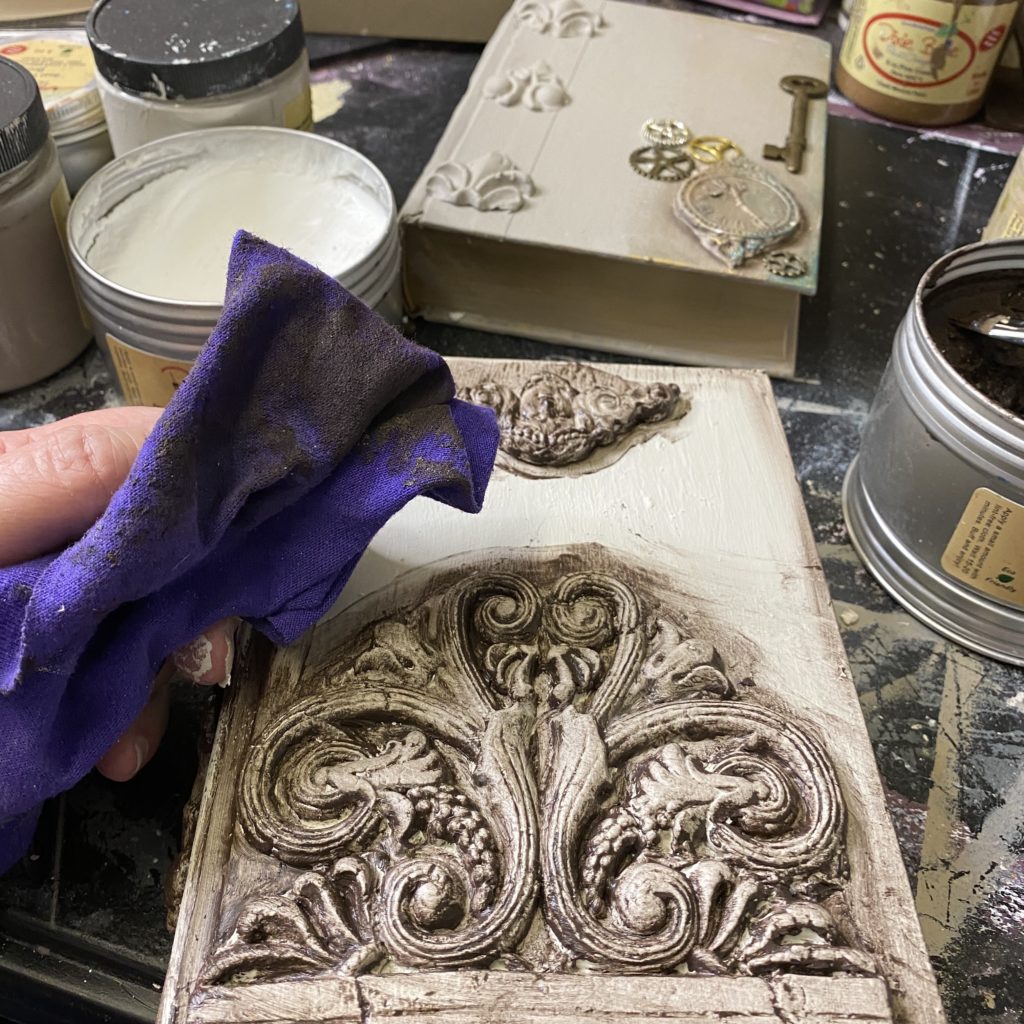
I probably should have at least allowed them to dry overnight before waxing, but, as always, I wanted to keep playing. So I did. The moulds were still very soft as I applied the wax, so I was as gentle as I could be with them. A little mashing here and there really goes unnoticed when you are going for aged and vintage!
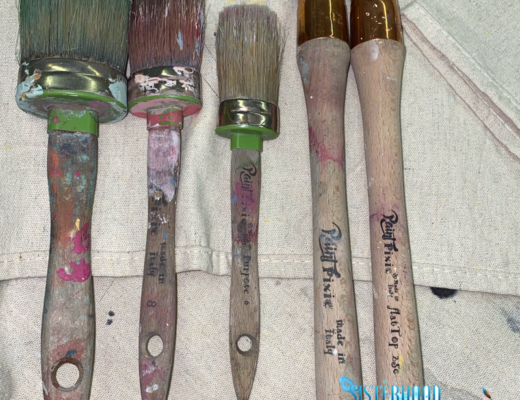
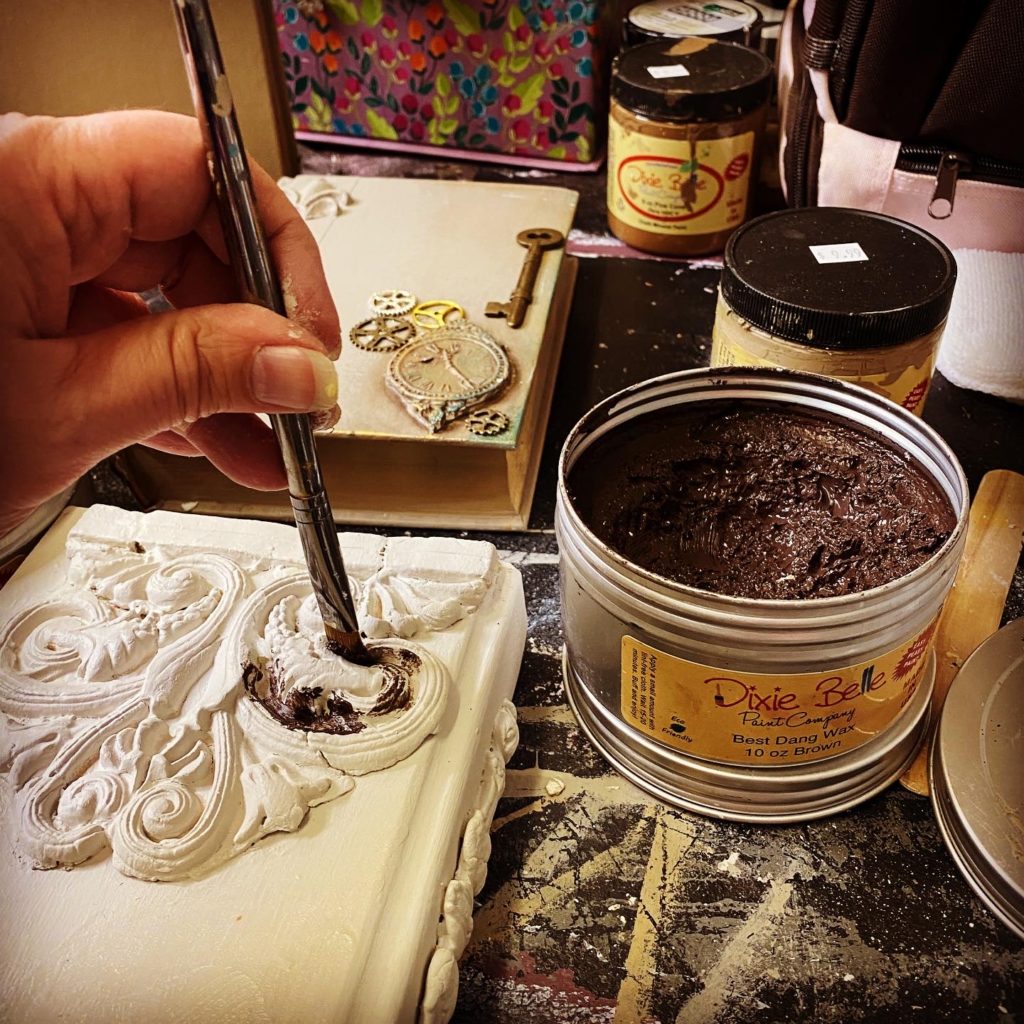
First I applied clear wax, then I applied Dixie Belle brown wax with an angled artists brush. I used one of my favorites. That was stupid. Don’t be stupid like me. Use an old brush. Ugh!! I buffed it wish an old cut up piece of t-shirt, right after applying the brown wax.
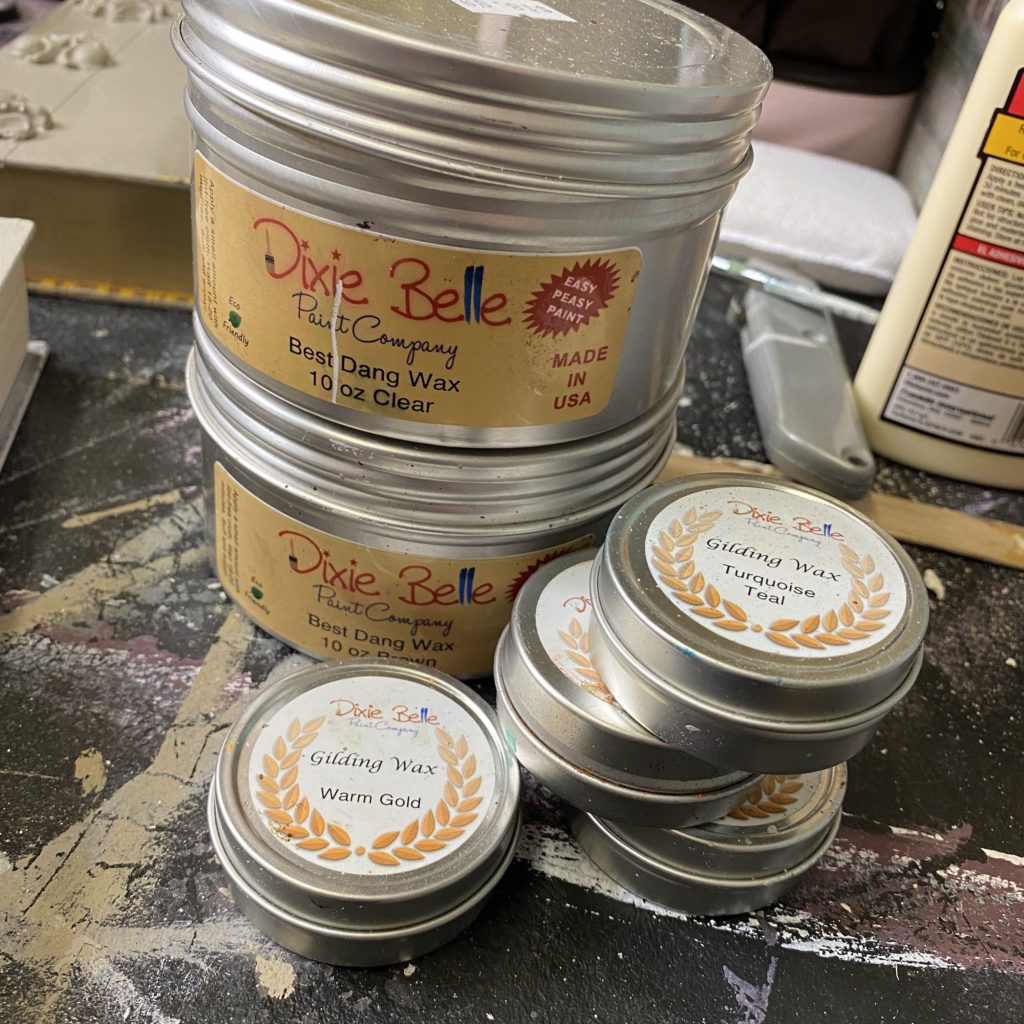
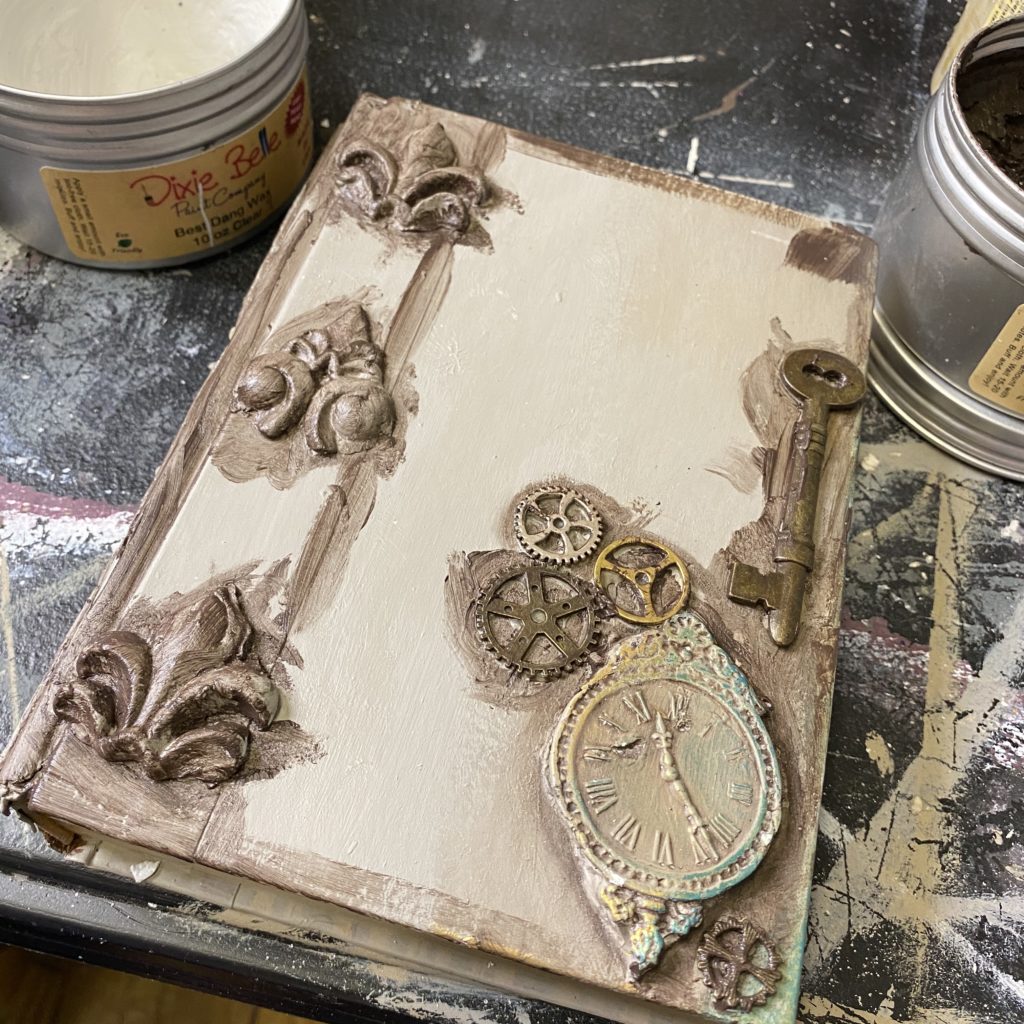
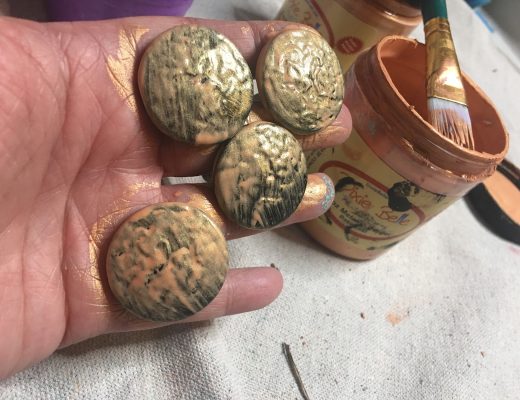
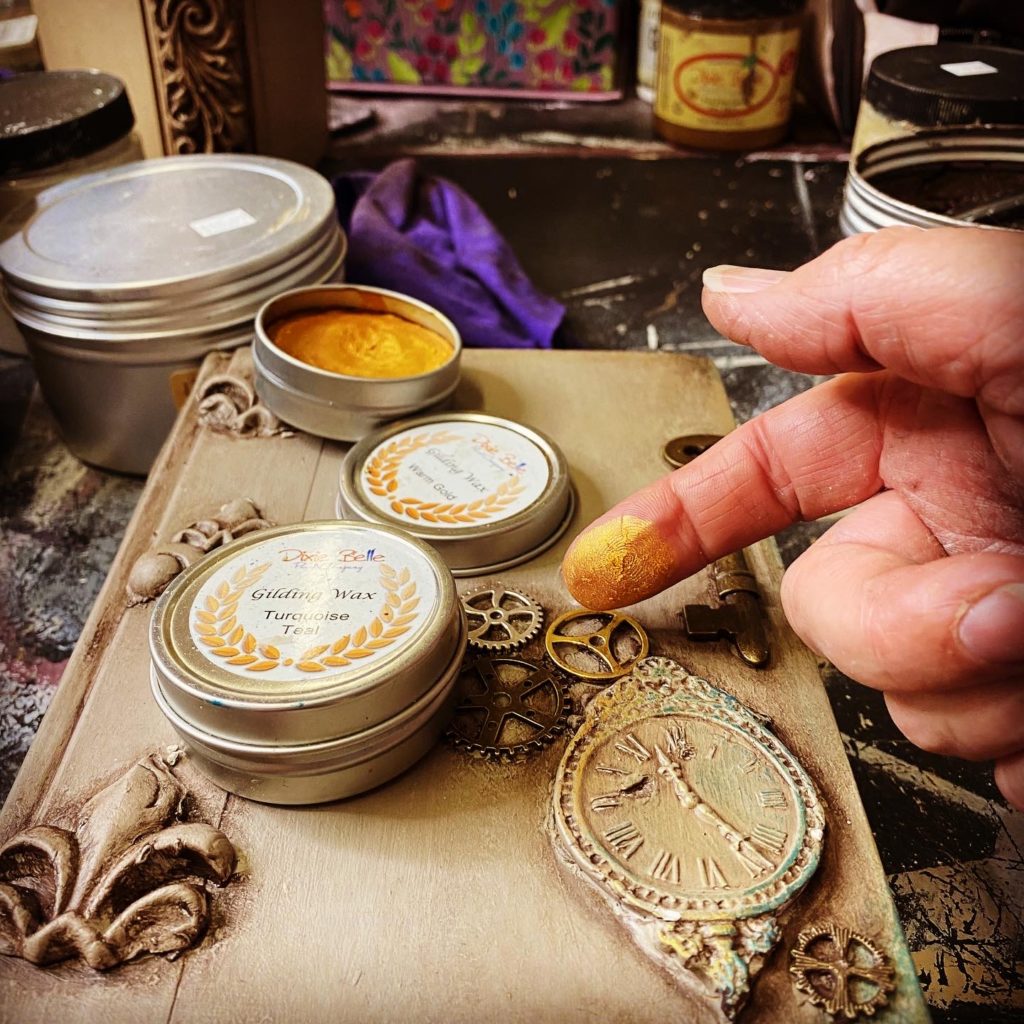
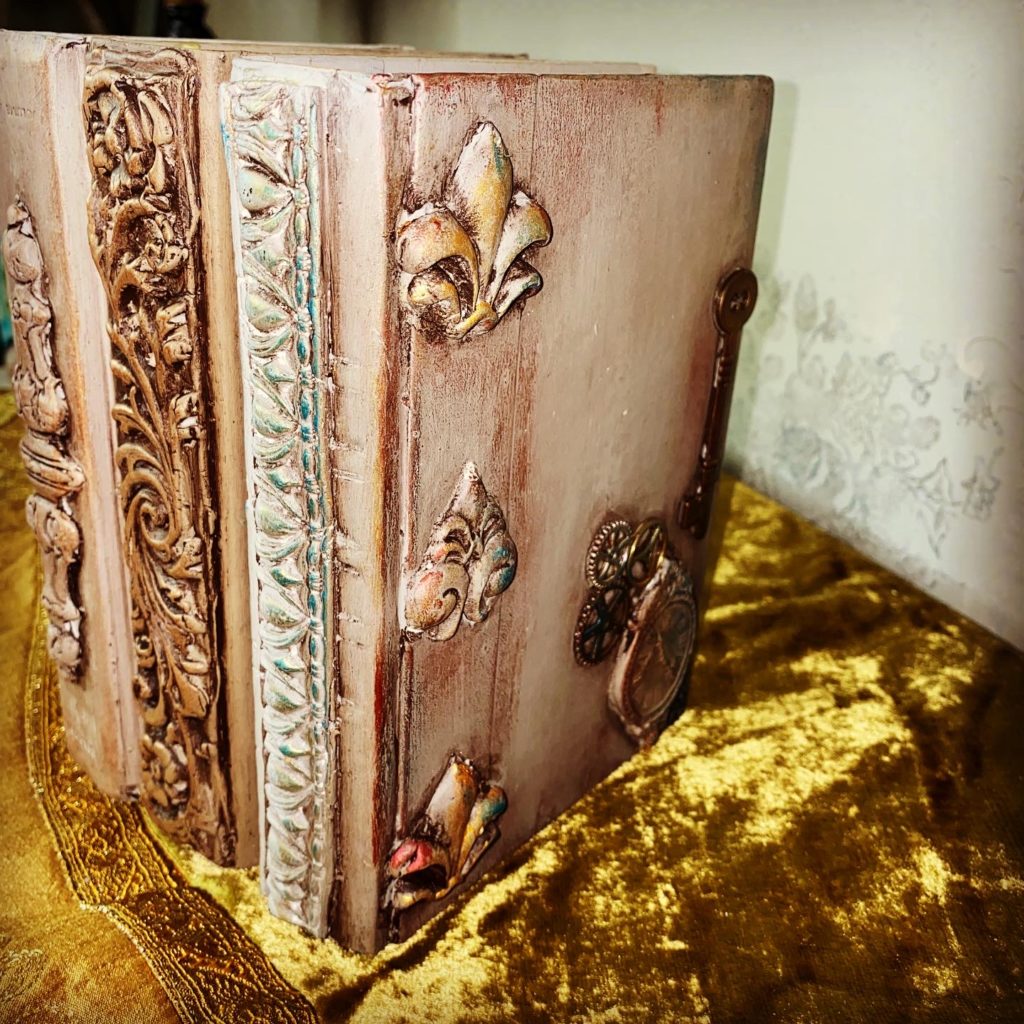
I decided to embellish one of the books a little more with an old key and some gears. I glued them on with E6000. To add a little more interest to the aging process, I applied Dixie Belle’s gilding waxes with my fingers. I used Anastasia, Green Patina, Turquoise, Bronze, Hammered Copper and Warm Gold. I think it finished them off nicely!
Have you ever wanted to participate in any kind of artist’s trade? I think that would be a lot of fun!
I would love to see your projects using ReDesign by Prima’s moulds! I have all of the items that I used for this project in stock, if you are interested or want more information, just shoot me an email!
Terri