There are literally tens of thousands of different types of paint brushes out there, and it can be confusing, when you want to select the right brush, or the best brush, for your project.
I am far from a “brush snob”, but I do have my favorites. I don’t, however, believe that you have to have every brush to get started. Nor do I believe that you “have” to have the best brush for the job every time. I believe in using what you have, and getting better tools (my brushes are my tools), when you can afford or justify it.
There is a lot of difference between what each style and size of brush can do, and how much easier using the right brush can make your job. (And they are fun to play with, let’s not forget that!)
I am going to share my favorite brushes with you, and what I use them for, but this is by no means a complete and exhaustive list of all brush types, styles, brands, etc. When I learn more, I will share more. I paint a lot. Almost every day. Sometimes furniture, sometimes canvas, sometimes countertops and walls. I love every bit of it.
Sisterhood of he Traveling Brush is a participant in the Amazon Services LLC Associates Program, an affiliate advertising program designed to provide a means for sites to earn advertising fees by advertising and linking to Amazon.com. Any opinions expressed are my own honest opinions, and any small fees or commissions that may be earned will not affect my opinion
What can happen, other than frustration and more work, when not using the best brush for the project, is negativity can start to set in. It is easy to feel like you aren’t good enough, or don’t know enough, or that maybe you bit off more than you can chew, if you know what I mean. Using the right tools eases that up a little bit. A good artist brush is not going to turn you into Picasso, but you sure can create a much prettier line with a liner brush than you can a round brush. Sometimes having the right tools CAN make all the difference.
I know that my brushes are a little worse for the wear. I know they could use a good cleaning. I know that proper brush care can help your brushes to last longer. But I’m real, and I’m being real here. When I decided to write this post, I grabbed my brushes and took the pictures. They are not Instagram worthy shots. They are pictures, taken with my phone, of my actual working brushes, taken while I was waiting for paint to dry on my latest project. You can keep yours spotless, if you want to. I would be very proud of you, if you did. But me, well, I’m probably going to throw mine in a bucket of water at the end of the day and rush home to cook dinner and spend time with my family. I rinse them the next morning (or 2 or 3 mornings later) and keep moving on. I probably won’t write a professional article on brush care, I am not an expert in that field, but if you want to know about Scrubby Soap, Dawn, and Krud Kutter, we can make that happen. Just let me know. (TIP: Get a nit/head lice comb-soak your brushes in Dixie Belle White Lightning overnight, and go to town on it the next morning. You CAN get those brushes back to looking good!)
Now, on to the fun part. The brushes. They are like diamonds. A girl can never have too many! I will start with furniture brushes, and move to artist brushes, then palette knives, and throw in a few of my favorite non-brush tools, too. Enjoy!
Brushes for Painting Furniture and Smalls
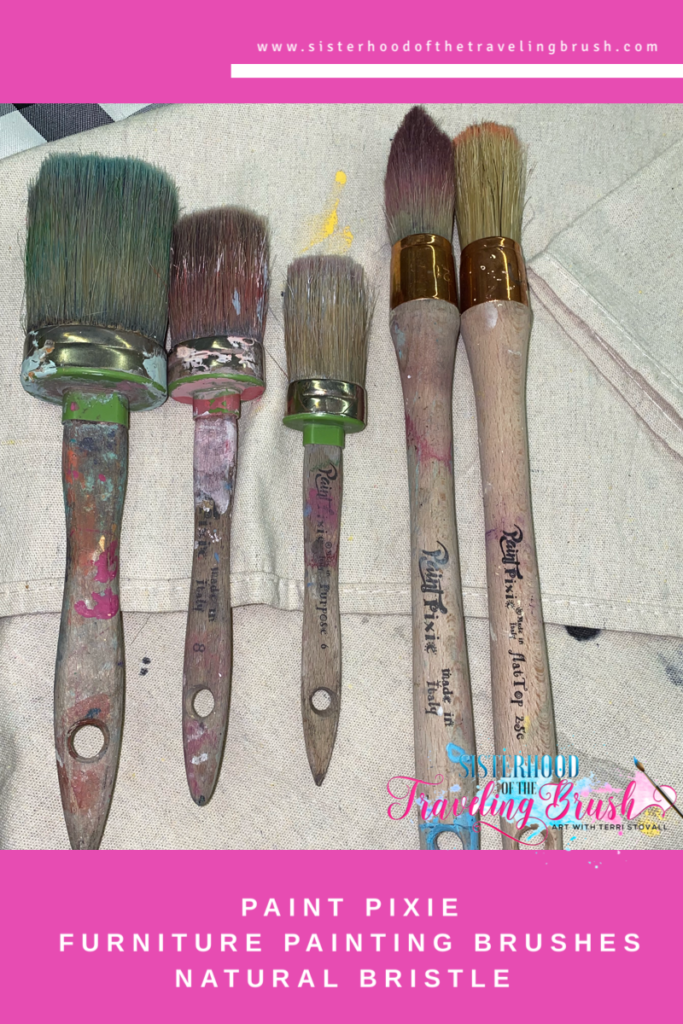

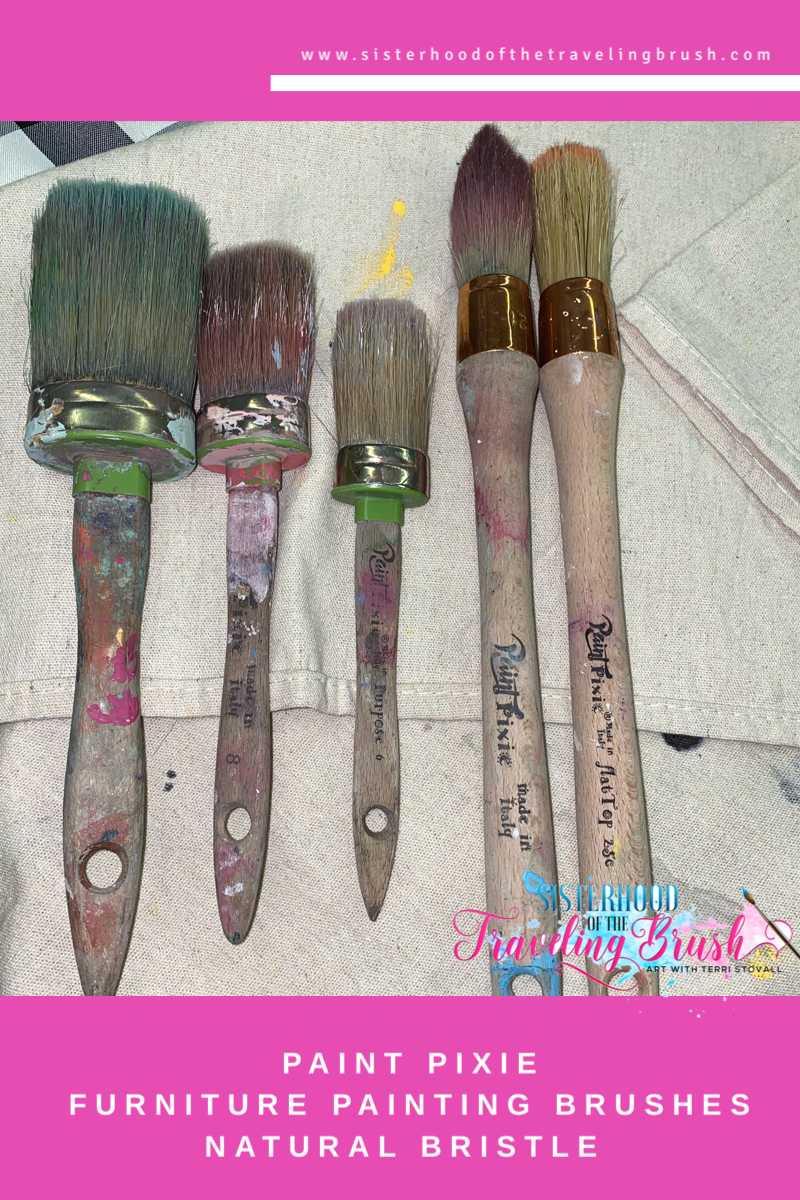
These well used brushes are my babies. My favorites. My go-to’s. I have more sizes and styles that I use, but these are my must-haves.
After upgrading from my Purdy Lil Cub, and venturing into professional furniture painting brushes, I moved right into the Paint Pixies. They are high quality brushes, imported from Italy, and I know the lady (Josi Siefker) who owns the company. Her standards are high, and I trust her judgment.
I started with their largest 2, (At the time) the #12 and #8. They are natural bristle brushes, and I love them. They hold so much paint! They are weighted in such a way that they do not cause wrist fatigue, the way that some brushes do. (I broke my wrist and only regained 70% use, and these brushes are still great for me.)
I pre-dampen these brushes, by dipping them in water, or misting with my water mister, then dip just the bottom 1/3 in the paint. I swear, I would have to re-dip a cheap brush at least 5 or 6 times to get the same coverage as I get out of my Paint Pixies. Ain’t nobody got time for that!
I use the #12 for top surfaces, and larger areas of furniture pieces, and go down in brush size as I do smaller areas, smaller pieces, or more intricate details. I use the #8 as my 2nd choice, and love the #6 and #4 when doing smaller projects like picture frames, vases, baskets, etc. I do canvas backgrounds with them, sometimes, too, they are awesome at getting a lot of paint on the surface quickly, and for blending. I use the French Round (pointed tip) to get into crevices and details.
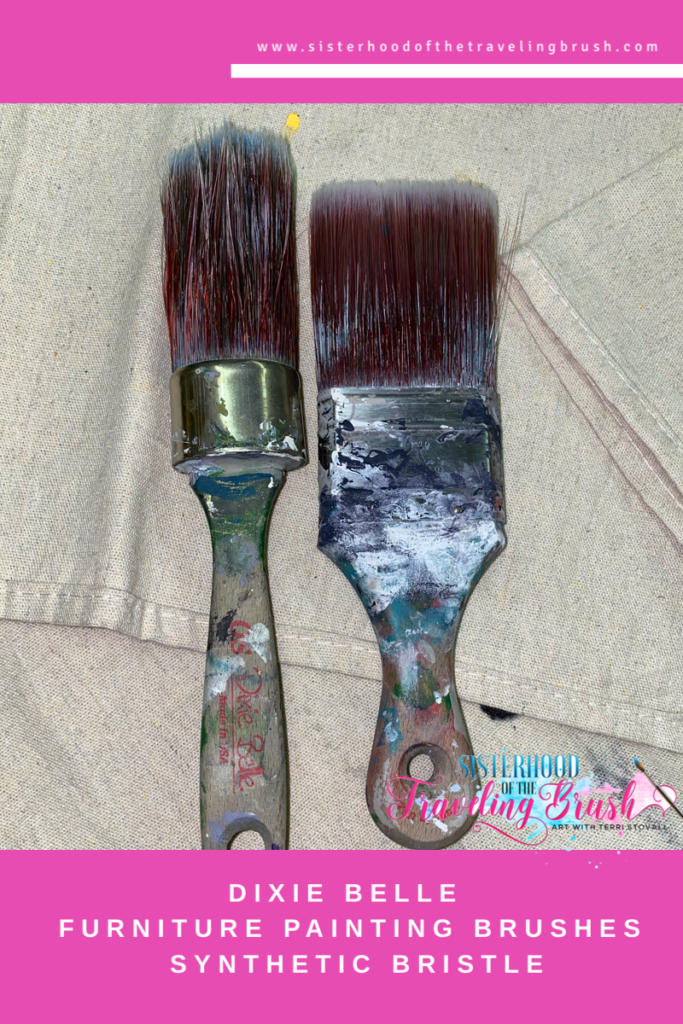
Sometimes, I want a larger bristle to surface area brush, and my go-to’s are Dixie Belle’s FM (Flat Medium) and OM (oval medium) synthetic bristle brushes. I have the flat angle, too, which reminds me a lot of my beloved Lil Cub, which is great for getting edges and keeping straight lines.
I was so used to the natural bristles, that I was not sure if I wanted to go back to a synthetic, but the lure of the brushes was too strong for me, and I caved in and ordered the flat, angled, and a large (long handled) flat and the oval medium from Dixie Belle. (TIP: rinse well when you receive them, the dye in the bristles can run into your paint or topcoat. Don’t ask me how I know that, lol. ) They were an investment, just like my other brushes, and they have paid off very well. I was very surprised how much paint they hold, but more importantly, they leave way less brush strokes with way less effort, than the natural bristle brushes. The paint goes on smooth and even. I just love them. They are not as heavy as the natural bristle brushes when loaded with paint, but they still hold plenty. I do not experience any wrist fatigue with them, and I use them on a daily basis. I love the long, even strokes that I get with the long flat and oval bristles, and the short handles on the mini and mini angle feel like they were made for my hands.
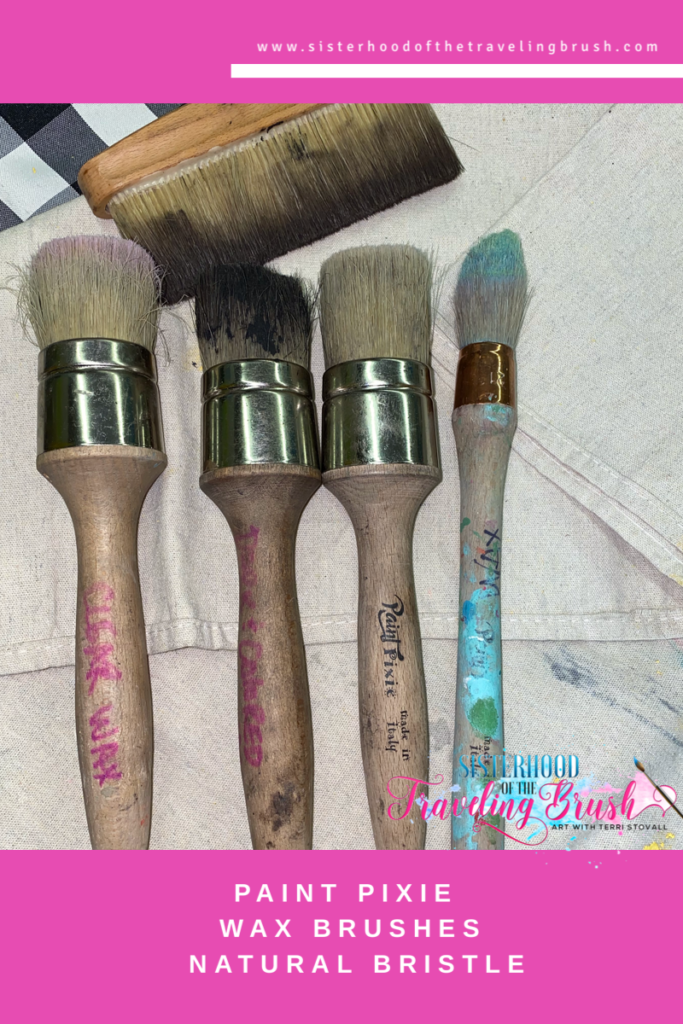
There are as many ways to wax as there are ways to paint. I use several methods myself, depending on the project. My favorite to date is the Paint Pixie wax brushes. I like the long handled ones. (I have not tried their short handled ones, which are VERY popular, but short handled ones of other brands that I tried in the past caused wrist and hand cramps, so I stopped using them. I love the long handled ones so much that I do not see a reason to change.)
I use a lot of wax. Clear wax, white wax, black wax, gray wax, brown wax, dark wax, custom blended colored waxes. You get the picture. I work with 3 Paint Pixie wax brushes. One clear, one white, and one dark/colored. I don’t think there is a good way to get all of the black wax off of the bristles, and I don’t even try. I do not wash my wax brushes at all. Water and wax don’t mix, and I am not up for a struggle. I rub off any excess wax onto a cloth/rag when I am done, and I reshape my bristles with the rag, and just chunk my brush back into my brush bin.
The bristles get the wax deep into the crevices and the brush strokes, giving more wax penetration for less elbow grease. I use a circular motion when applying, then go back with the wood grain or the brush stroke pattern, before allowing my wax to dry a little. Then I buff. I used old hand towels and t-shirts for buffing most of the time, before getting the Buffy, and sometimes I still do, but the Buffy really does help to get the wax good and “down in there”, and starts the actual buffing process for me. Paint Pixie has a very popular large buffing brush, but it was a little too much for my hands, so I just use the Buffy, most of the time. I still use t-shirts as my final buffing, because I like that and feel that I am able to control the pressure better that way.
I do use a French Round for getting wax into crevices and details, and it is now a dedicated wax brush. I keep a separate one for painting.
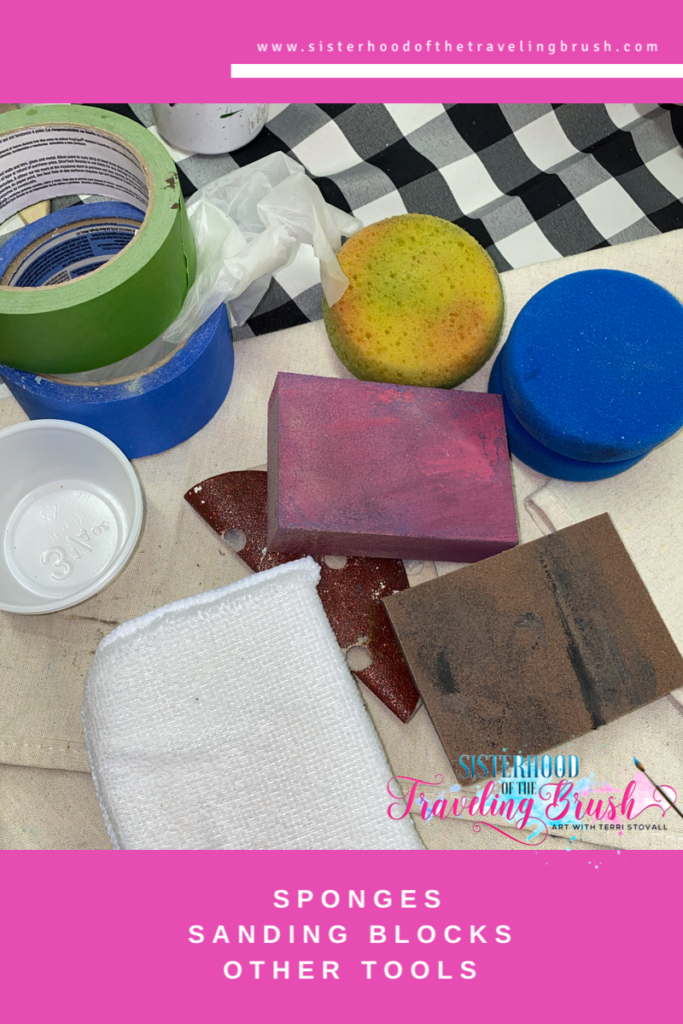
Other must-have tools that I keep with my brushes are finishing pads (for buffing down some of the brush strokes before waxing or topcoating), sanding pads (distressing and buffing), sponges for topcoat application (especially for Gator Hide), staining pads, paint rollers and buckets/rolling pans, aprons and t-shirt scraps. Of course there is more, but these are my mainstays.
Artist Brushes and Palette Knives
This probably should have been two different posts, at this point, but I will come back in another post, and give more detail as to what all each artist brush can do. This is a basic “here are my tools/brushes, and why I think they are the best.” I wanted to be thorough with my brush recommendations, so I do hope you gain plenty of information here.
Angle Brushes
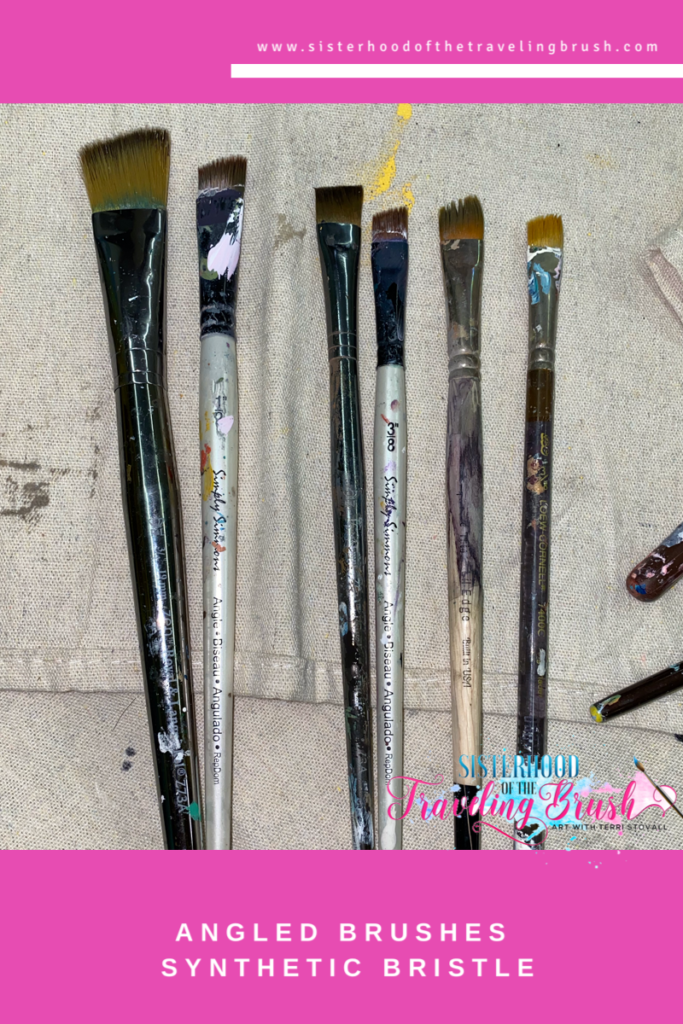
I don’t know why I love angle brushes so much, but I do. Little ones, big ones, there is no doubt, when I am digging through my brushes, there is at least a 50% chance I am going to pull out an angle brush first, and decide it is the “perfect” brush for whatever I am working on. They are great for filling in, especially along straight lines and edges. They draw awesome straight lines, and making circles or round details is so easy, when using an angle brush. I probably use the 1/2 inch the most, and the 1” next, but the 1/4 inch and 3/4” get plenty of use, too. They are a must-have brush for me.
I prefer them with shorter handles, as I am usually really focusing on keeping something straight when I am using them, and keep my grip about mid-handle. There will usually be an angle brush in the cheap packaged sets, and I love my Turquoise Iris angle that came with my Paint Pixie set, but my favorites come from Blick. I order whatever ones are on sale at any given time. I get as high quality as I can justify at the time, and use the multi-purpose or acrylic ones.
When I am using my angle brushes, just like with my liners and detail brushes, I usually keep The tip of my pinkie finger (on the same hand as I am holding the brush) on the canvas to guide and stabilize my grip. It really helps me control the brush and the strokes.
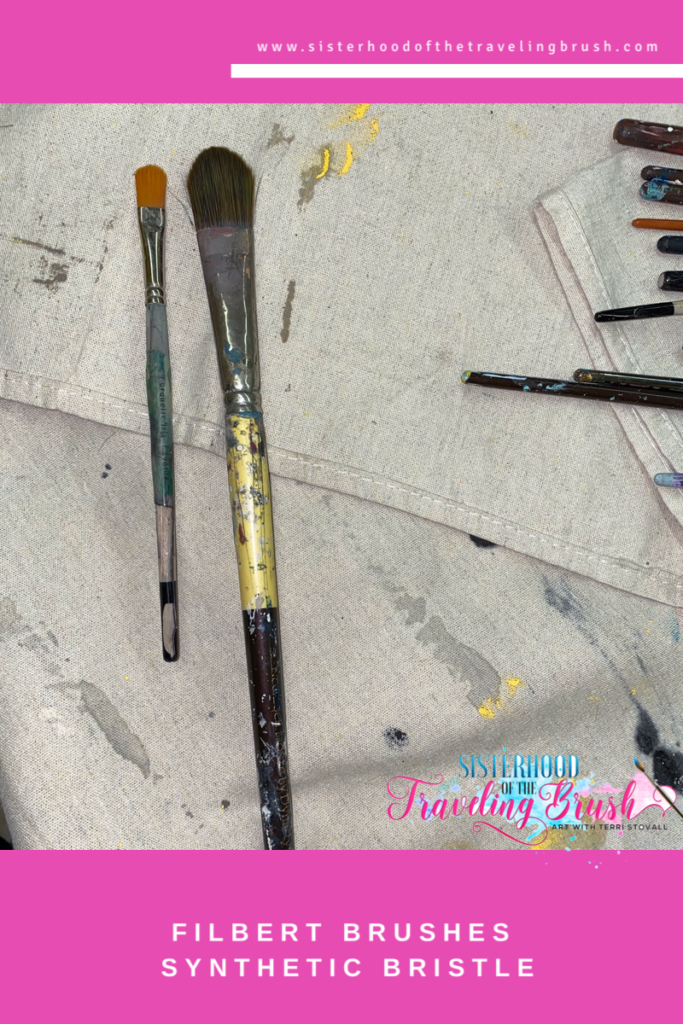
Filbert
Basically, a filbert is a flat with a rounded edge. At least that’s the way I see them. They have many “flower petal” type uses, but they are in my collection because I got them on sale, or they came in a set. I use them just like I use flats. When I am using a lot of colors, therefore a lot of flats, if I have used up my entire stash on a project, I will reach for the filbert to continue on, so that I don’t have to stop and wash brushes.
My style of painting does not have “detailed” flower petals and such, so I have filberts, just because. If I ever need one, I have several. They can wait, if you are choosing your first brushes, but don’t chunk them if they come in your set.
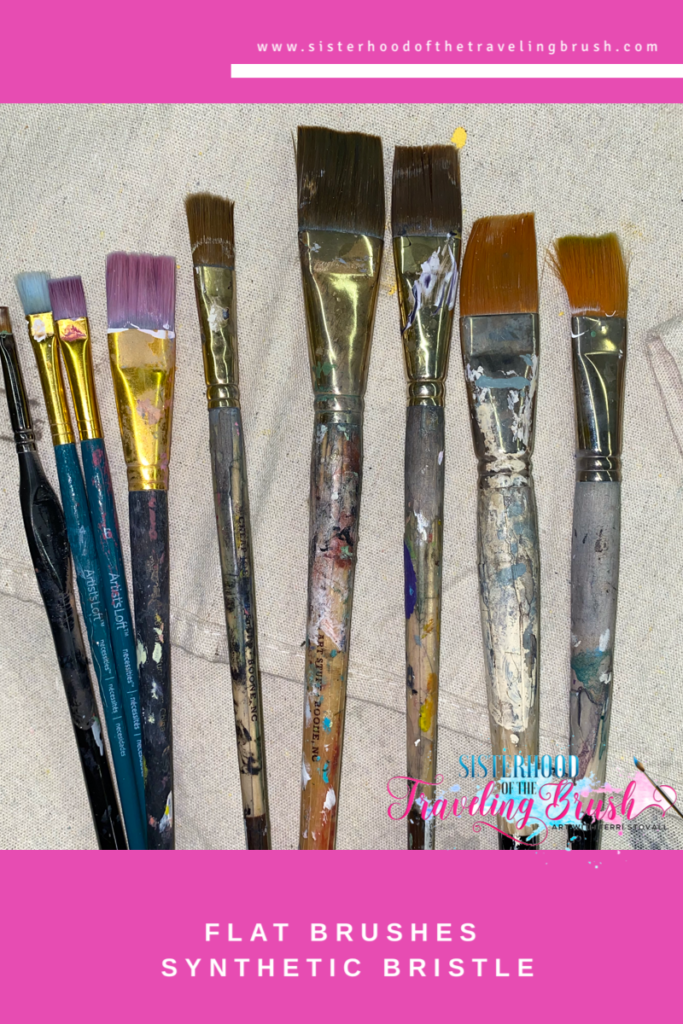
Flats
Flats are very similar to Brights. Flats are flat. (Imagine that.) Brights have a slightly indented tip with very slightly tapered edges. I use them interchangeably, for the most part. These are probably my most used artists brushes. I love the 1” for laying backgrounds, for details on furniture pieces, for creating straight lines, for filling in larger areas on canvas, and smaller areas on smalls and other paintable goodies. I love the one that came with my Turquoise Iris set, it is thick and lush and just feels like a quality brush. Most come from Blick, and I really enjoy the long handled ones on these, when I am trying to loosen up a little and not try to force my ideas onto the canvas. The short handled ones that always come in the sets are indispensable to me.
The flats come in different “stiffnessess”, too. I use the really stiff ones for applying gel medium, Mod Podge, and mixed media items. I use the medium ones for everything else, and I have a couple of soft ones that I use for watercolors. They are a must have.
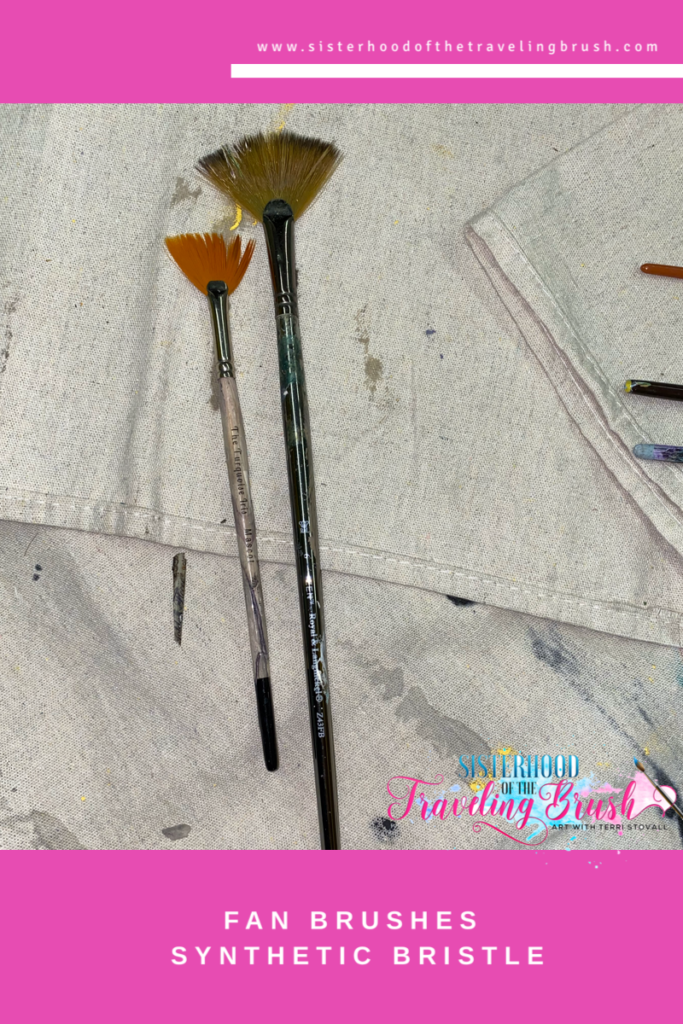
Fan Brush
Fan brushes look exactly like you would expect. Kinda like a fan, or a broom, the bristles fan out into a semi-circular shape. Supposedly, these things are the best for creating trees, grass clumps, and all things wild and Mother Nature-y. I have yet to master that concept, but it is not for lack of trying.
Every time I get the urge to create a palm tree, or even a pine tree, for that matter, or any kind of bush or grassy knoll, I pull these babies out. And nothing. I watch videos. I look in art books. I try. I fail. I use a detail brush and make every little bristle by hand. I am a failure at using the fan brush. There I said it. I suck. But I still have them. Several of them. Thick ones, thin ones, short ones, stiff ones, fluffy ones, and I will keep trying. They usually come with the sets, so I have plenty of the cheap ones. The one that comes with the Turquoise Iris set is very nice. I ordered my other nice ones on sale from Blick. Get one if you want to, and if you figure out the secret to using one, please share that knowledge with me!
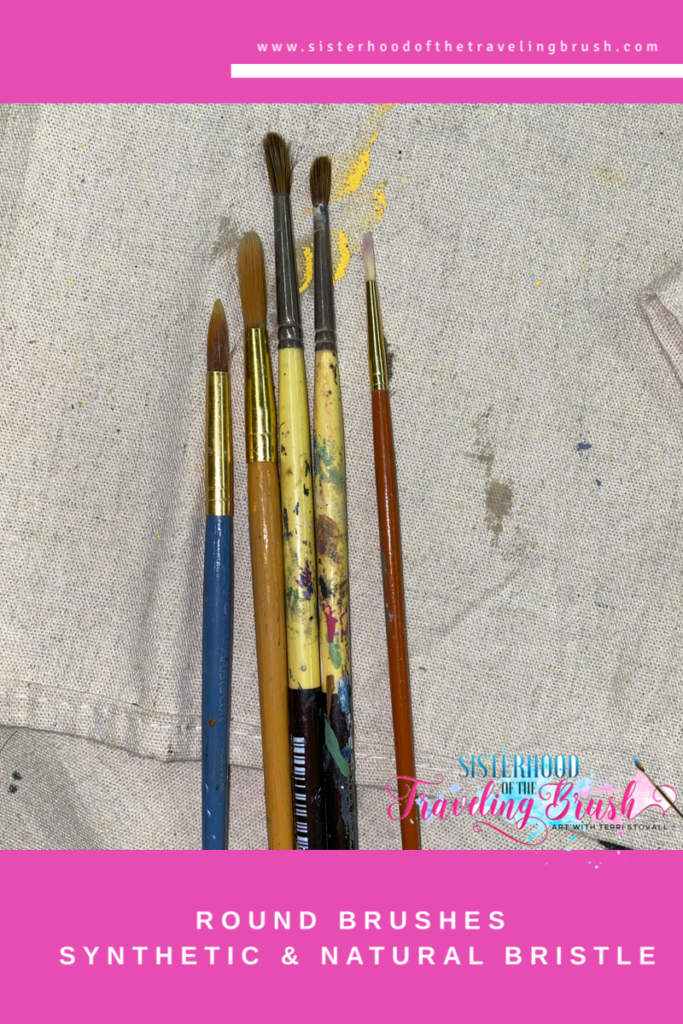
Round Brush
My first artist brushes were rounds. My first ones that didn’t come in a set, anyway. I am still so proud of them. I just knew that they were going to make a “real” artist out of me. Long handles, good bristles. I could just see the beautiful fine lines that I was going to paint with these beauties. Except rounds are not for fine lines. They fill stuff in ok, if it’s small stuff, but not too small stuff. Otherwise, I use my flats, or my detail brushes. I’m not exactly sure how to explain the rounds, except that you have to have them. They get in “there” on furniture pieces. They have decent coverage on canvas pieces, when you are working with a lot of colors. Several come in the sets. You can use them for lines and details, if you have to, and you don’t have anything else. These make up the majority of my brush collection, and when all other brushes are dirty, I use them a lot.
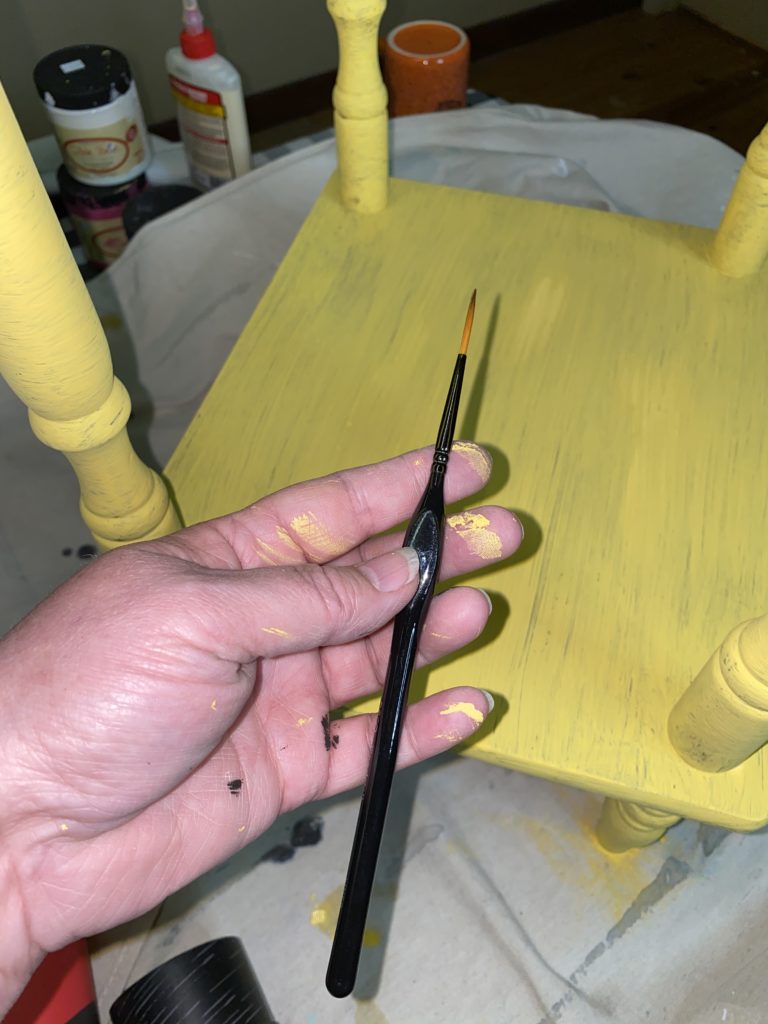

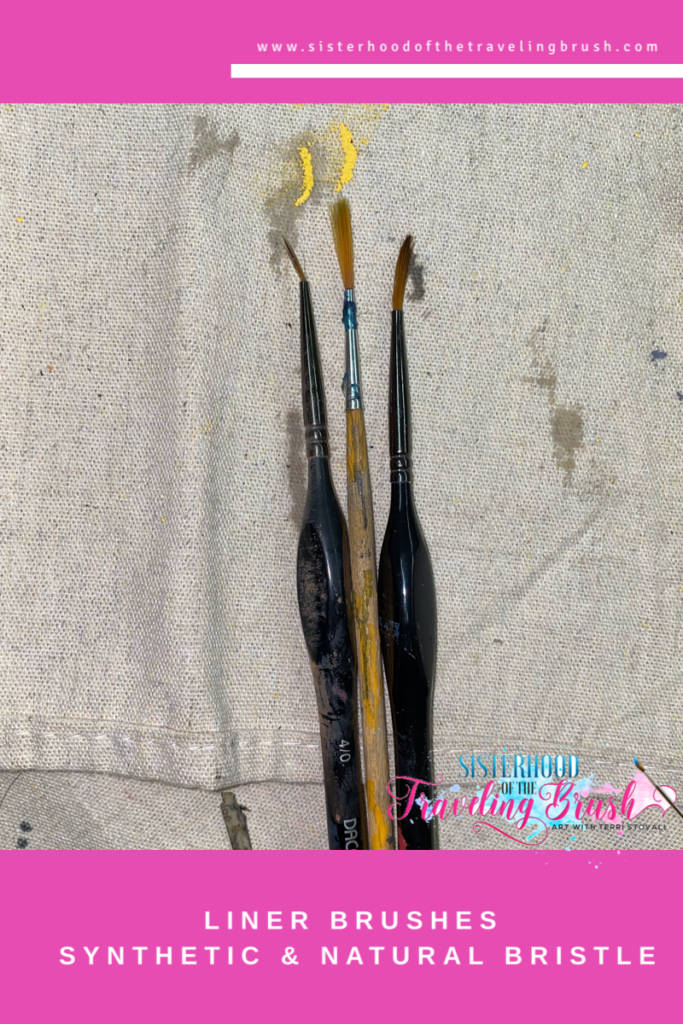
Liner Brushes/Detail Brushes
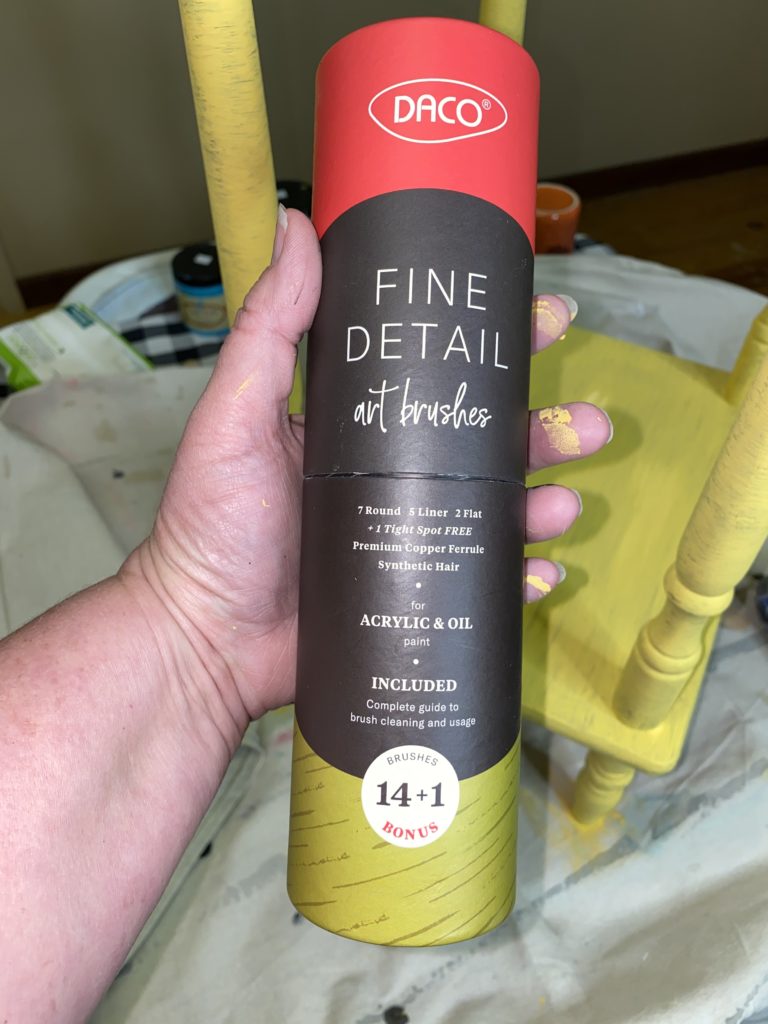
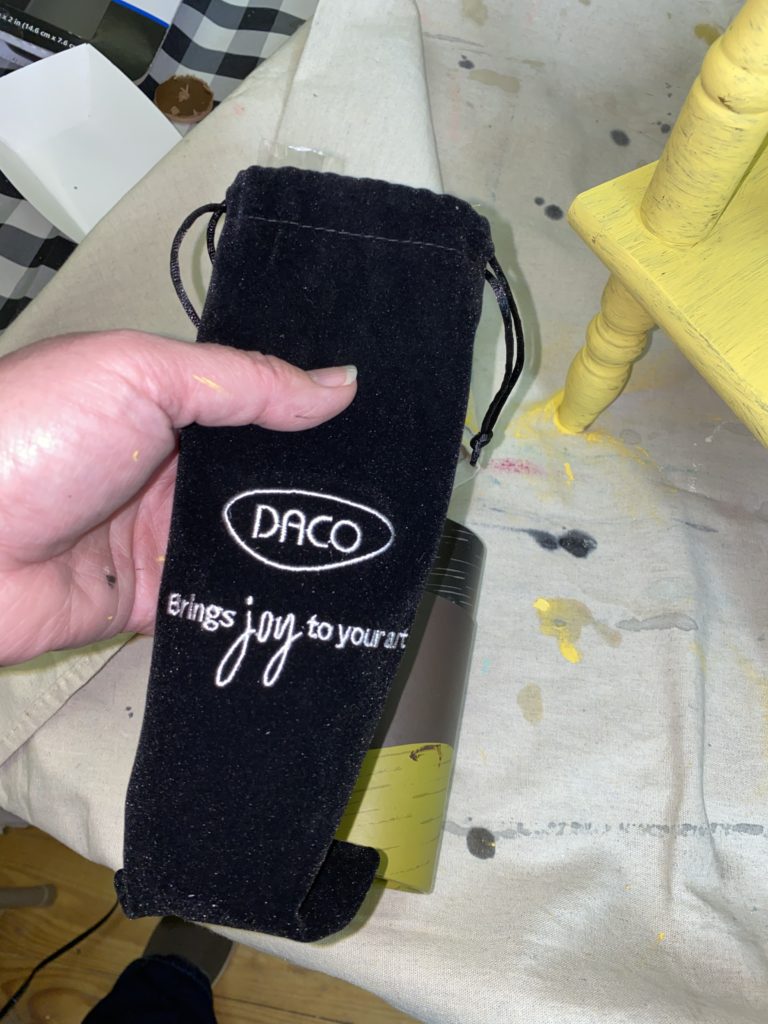
Liner/detail brushes have evolved into my must-haves that fall right under my angles and flats. They are AMAZING and really will make you feel more like and artist. I love this fancy DACO set that I got while working on my “Masterpiece” in the Niss & That membership group. (I painted my version of the St. Louis Cathedral in New Orleans.) These were inexpensive and changed my painting life.
I use these detail brushes where I used to use my rounds, and I have so much more control. The lines are sleeker, the details are clearer, and the whole process is WAY less frustrating.
The bristles or hairs on a liner brush can be up to a couple of inches long, and from several strands, down to just a couple. These are the brushes that fine sign painters used to use to paint gorgeous lettering and shadowing. (Back before vinyl became the “thing” for sign makers.)
If you think you can’t do good hand lettering, get yourself a set of these babies. I truly believe that the will boost both your ability and your confidence. I LOVE playing with these and seeing how the paint just flows off of the end of them. I treasure this set.
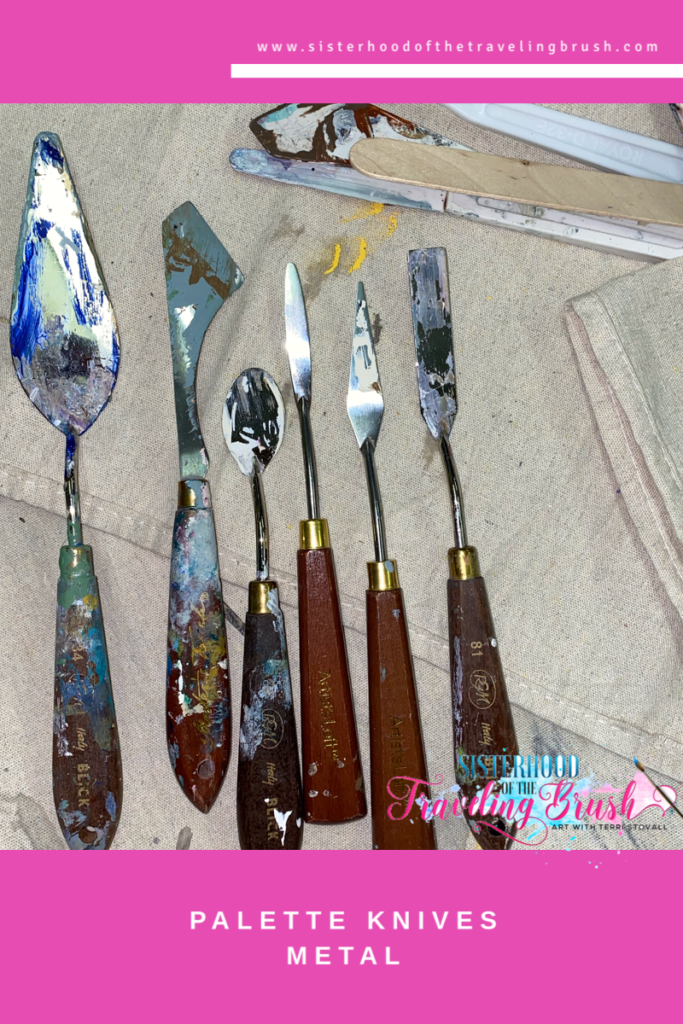
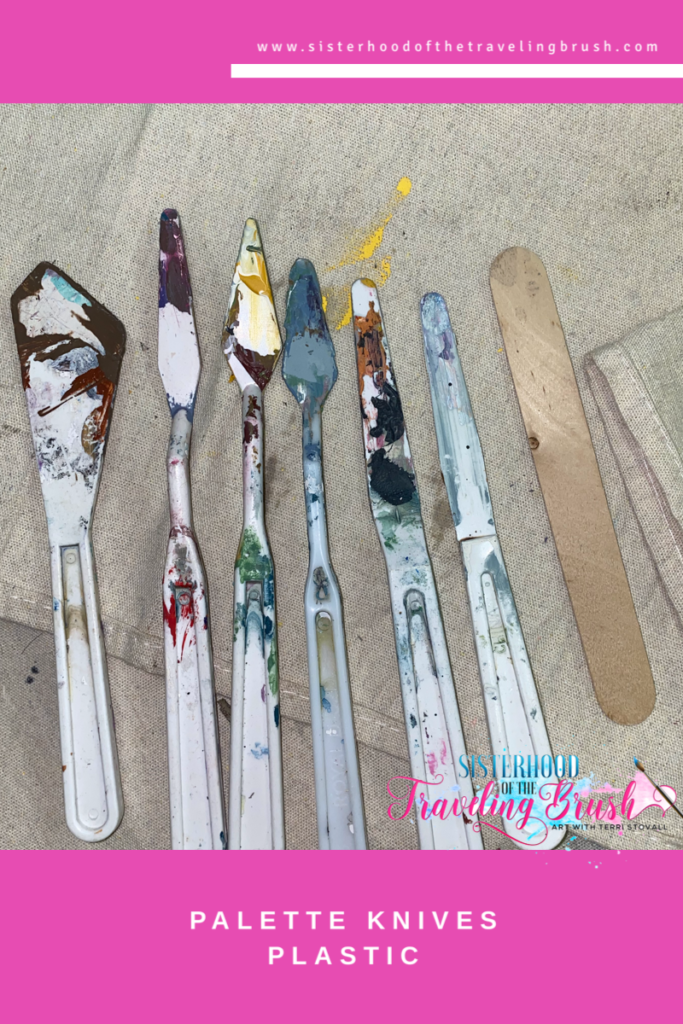
Palette Knives
I am mostly throwing palette knives in here because I keep them in with my brushes and they are almost equal in my painting tools cache. At least for canvas art and mixed media projects, where I use them more than I do brushes.
If you truly want to loosen up your style and learn to paint with a new freedom, with less stress over control, you really need to try palette knife painting.
I started with a cheap plastic palette knife set, and I still use them all of the time. I loved them so much that I ordered a metal set. I loved them so much that I started adding to my collection on a piece-by-piece basis, until I had a pretty good variety.
The sets are good, in fact I have a new set on my wish list right now, and had hoped that I would have received them for Christmas, but I do know that they will be mine one day soon!
As far as what to get that does not come in the regular sets, I LOVE my large spatula-type one. It is about 4 1/2 inches long at the actual knife part. I use it for large backgrounds.
Next, I think it is important to get at least one that has a real good sleek and slender pointy tip. These are perfect for leaves, daisies, sunflowers, branches, lines, weeds, etc.
I really like the rounded one, too, for bird heads, flower centers and other round things. It is kinda like using the back of a spoon, but you have a little more control over it.
I hope that I was able to help a little with your decision process, if you are ready to invest in some new painting tools. Remember, you don’t need them all today, you can build up your supply over time, as many will serve as multi-purpose tools in the interim. (The right tools are AMAZING, though, in helping your job to be easier!)
If you have any questions or comments, please let me know! -Terri