
Have you thought about re-doing your bathroom? Yep, me, too.
After my recent foot surgery, I had to sleep downstairs for a few weeks, and use the guest bathroom that I normally seldom even enter. You know how it is, right? I have “my” bathroom, just off my bedroom. That’s where all my stuff is. That’s my go-to go spot. Well, I am ashamed at the condition of the bathroom that I was asking guests to use.
Not that we have a lot of “guests”. My oldest daughter, Mandi and her husband Alex sleep in the guest room during the holidays, and the hubby’s old Army buddy, Doyle, spends the occasional night, when he is passing through. I don’t think any of them really cared what condition the bathroom was in, but I did. Wowza.
The hubby uses that bathroom to shave every morning. I have no idea why he doesn’t use the master bath, but old habits are hard to break, I guess.
Sisterhood of the Traveling Brush is a participant in the Amazon Services LLC Associates Program, an affiliate advertising program designed to provide a means for sites to earn advertising fees by advertising and linking to Amazon.com. Whenever you click on a hyper-linked item on this blog, we may earn credit, but it will never cost you more. We appreciate your support!
Our house was built in 2003, it’s not like it was that old. Arick is a contractor, so we built it ourselves, and as contractors, we are aware of using quality products when you do your work. But….we had a leaky faucet. Drip, drip, drip. It was driving me CRAZY. How could he stand it????? (On his behalf, I will say that he can’t hear a dang thing, but to me it was as loud as a blow horn!)
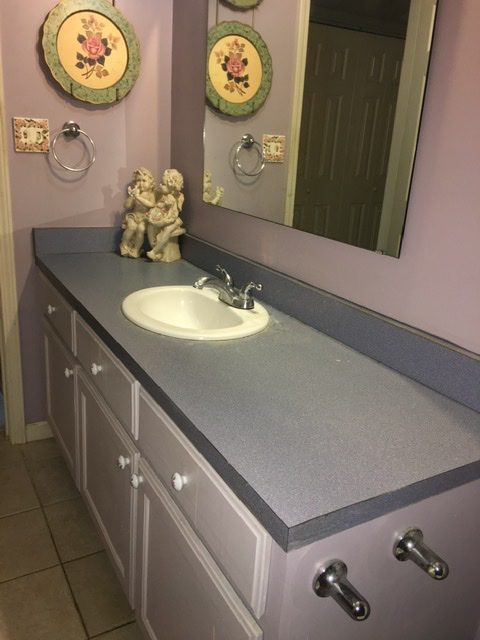
Leaky faucet. Skooty loose toilet seat. Drain plug missing (yes, MISSING) from sink. And how does a tub surround get so, so creepy looking? (Our local water is the color of tea, so I had tea-stained tub walls.) Toilet roller thingy missing. (Where does the missing stuff go????) And, the room was purple. Well, not purple exactly, more of a lavender, but still.
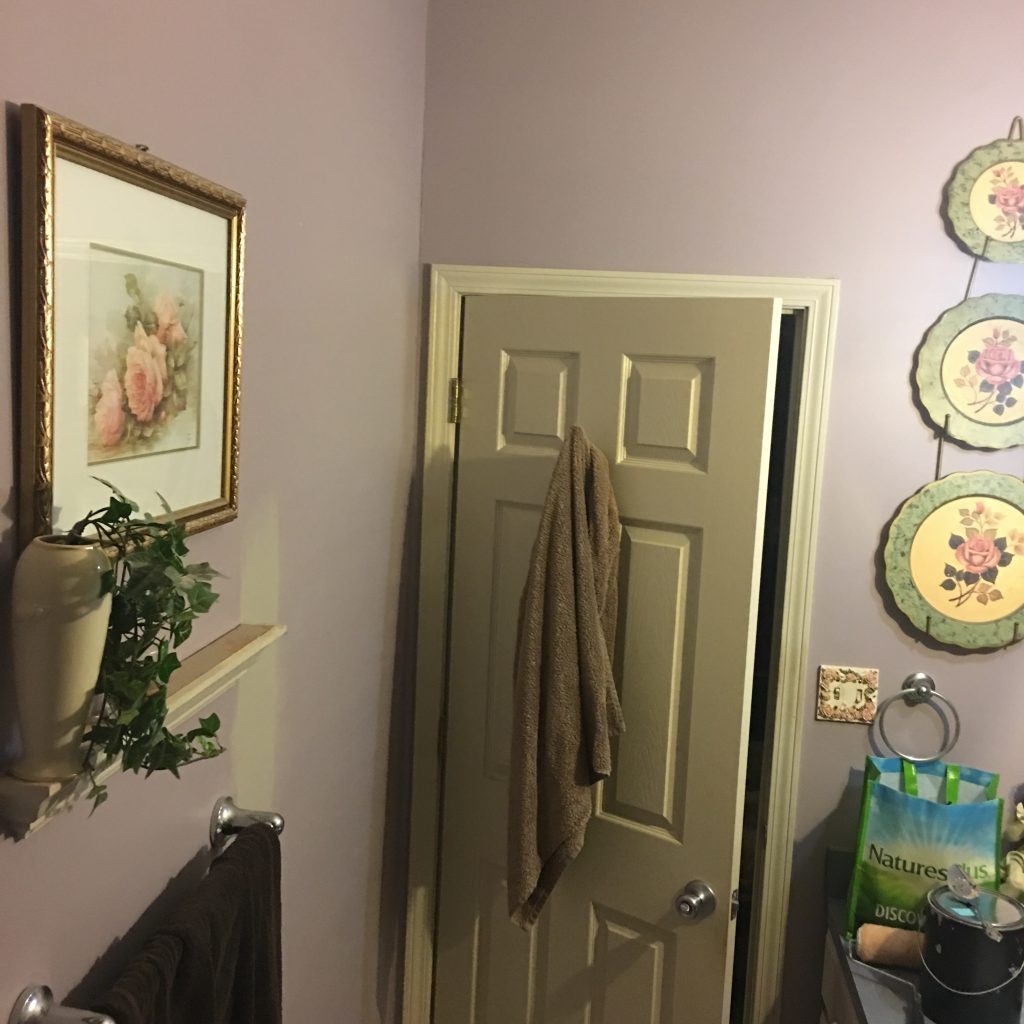
Thing is, my Mama was the one who painted this room. She painted it a couple of years before she passed away, and it felt oddly comforting to know that she had put some love into those walls. It was time, though. Time for a freshening up.
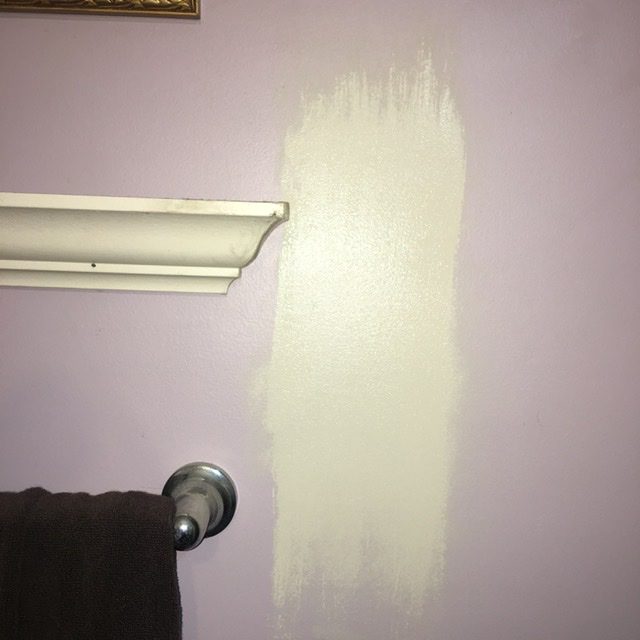
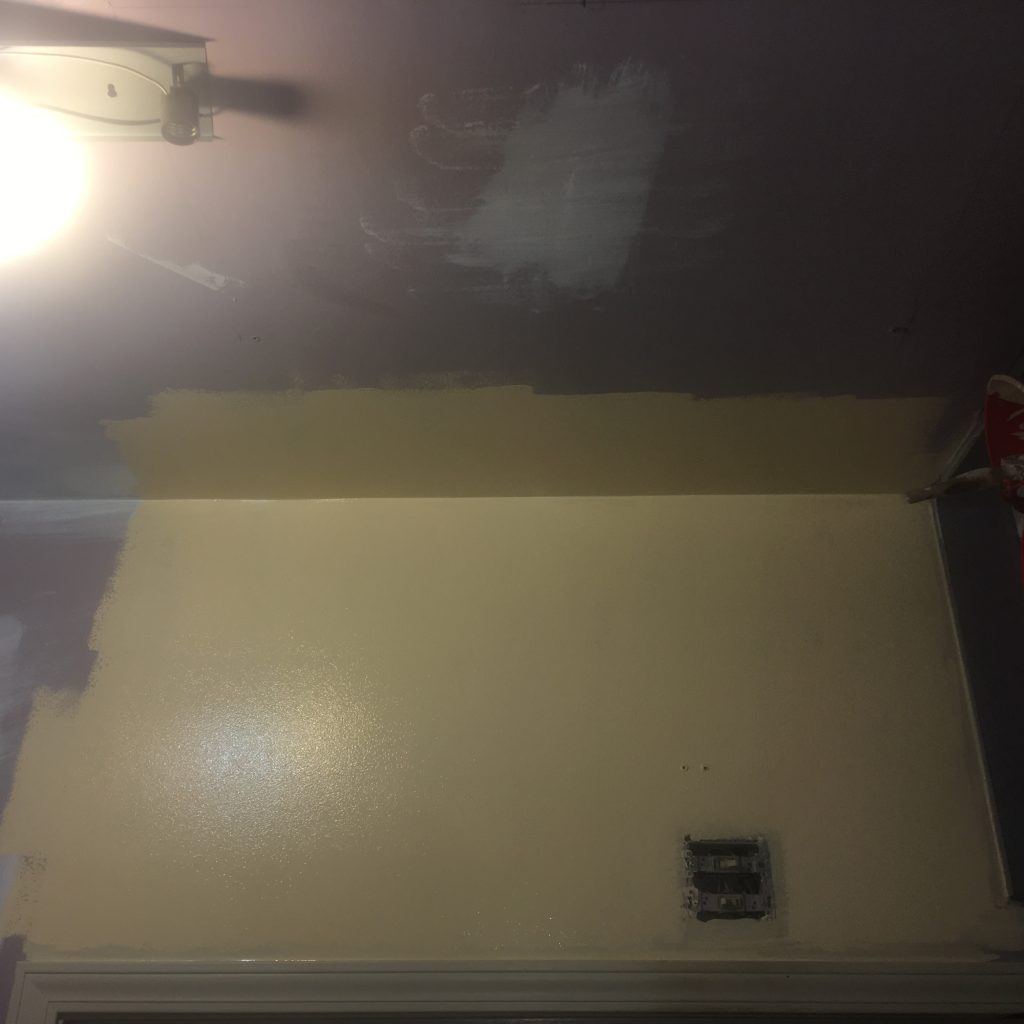
I tried a couple of colors that I had hanging around first, but I didn’t love any of them. Sherwin Williams was having their 40% Off sale, so I knew it was perfect timing. I was home from work for 2 weeks. (I thought the foot surgery was going to be a minor inconvenience, WRONG) So, off to the paint store I went, granddaughter, Jewel, in tow. I wanted to go lighter, since the room was small, to give it a little bit of a bigger feel. I also wanted to use the leftover trim paint from the guest bedroom makeover (cheapskate me), which was a creamy color (Divine White) that I loved. I finally narrowed it down to a creamy white (Caen Stone) that was just a tad “creamier” than the trim paint. Or so I thought. It. was. Yellow. Very, very yellow. LOL…

We did fill the nail holes and imperfections with drywall mud, and sand them smooth and prime, before starting the painting process on the walls.
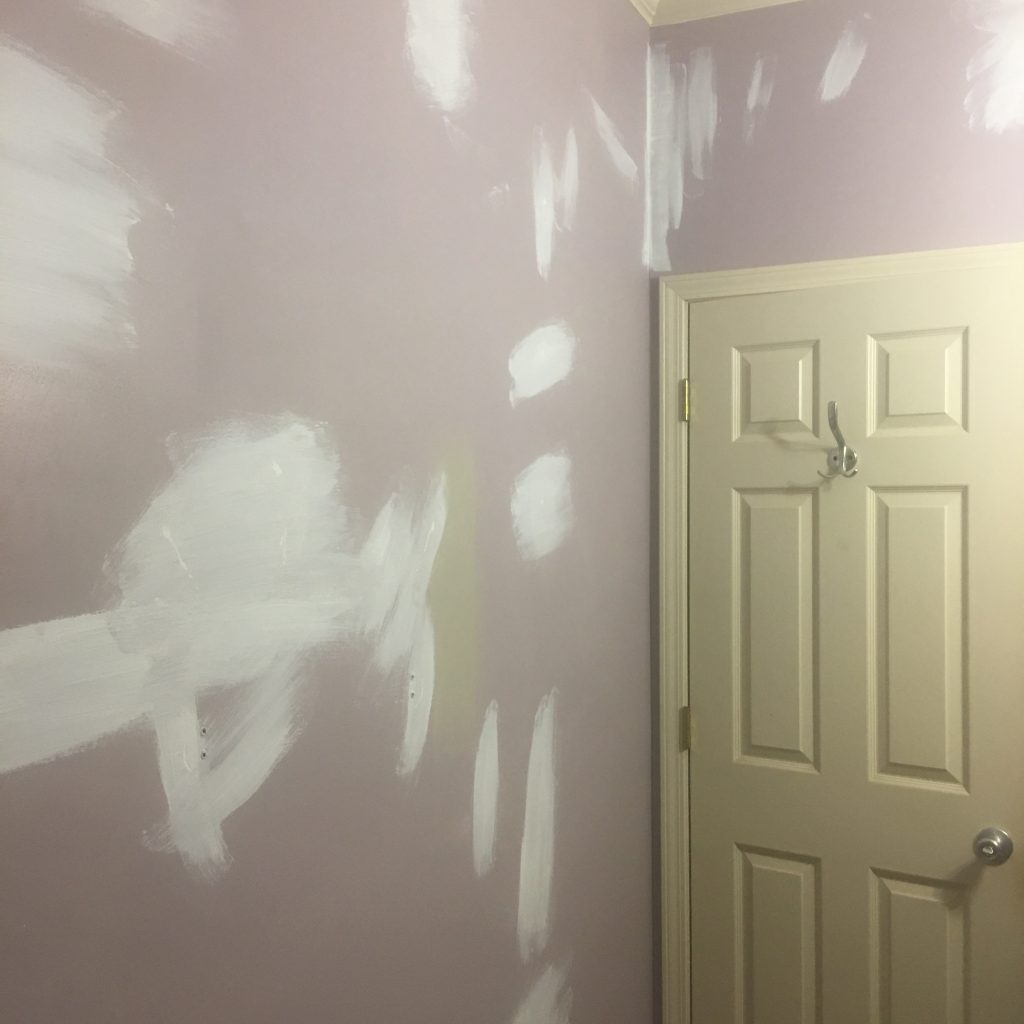
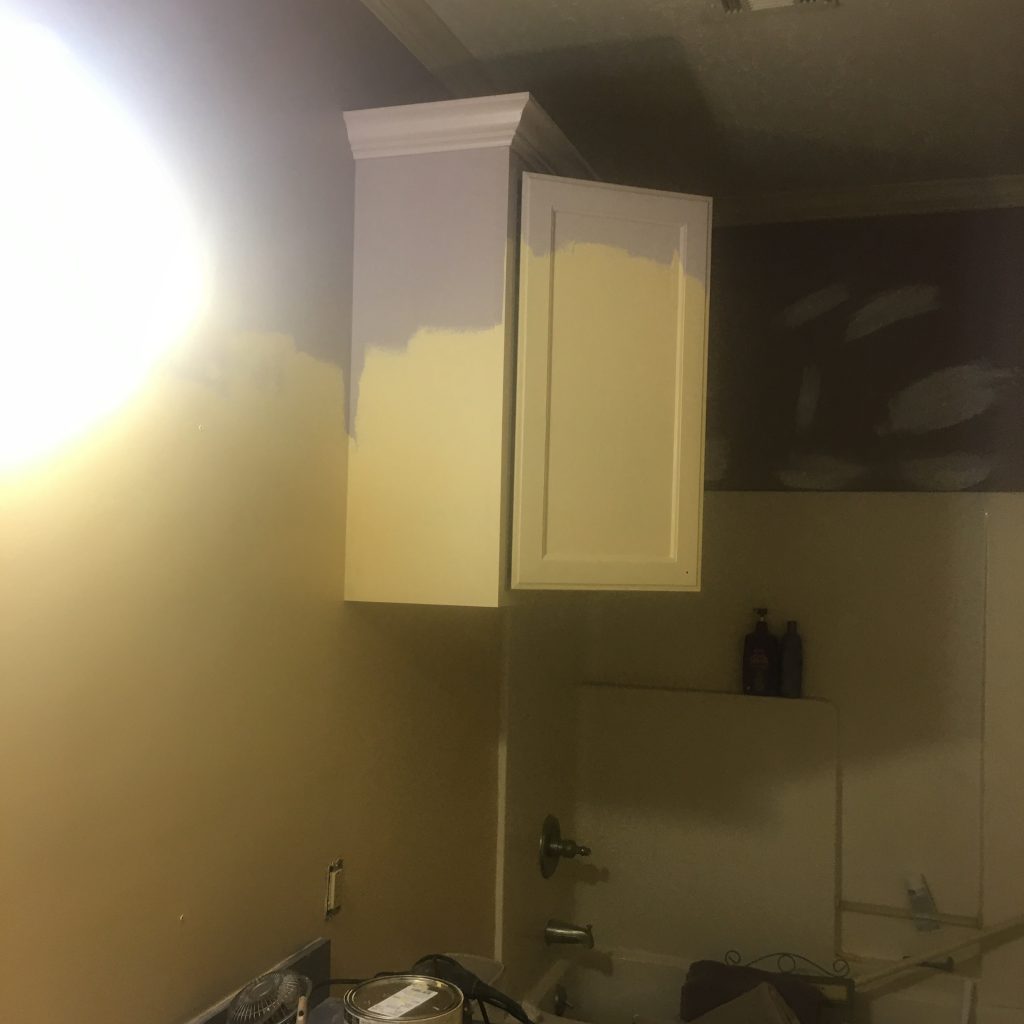
Poor Arick had to help, I couldn’t get on the ladder with my foot, and he hates to paint, but I could only reach so far, and we have 9’ ceilings. After repairing the drywall, we rolled on the paint, cutting in the edges with my Purdy XL Cub angle brush. (see the “how to patch drywall” video here.) He painted the top couple of feet, and the trim. (And changed out the light fixture, and moved the mirror, and switched out the shower parts, and scrubbed the “tea stain” off the shower walls with the Spin Scrubber, which was fabulous! Eek.)
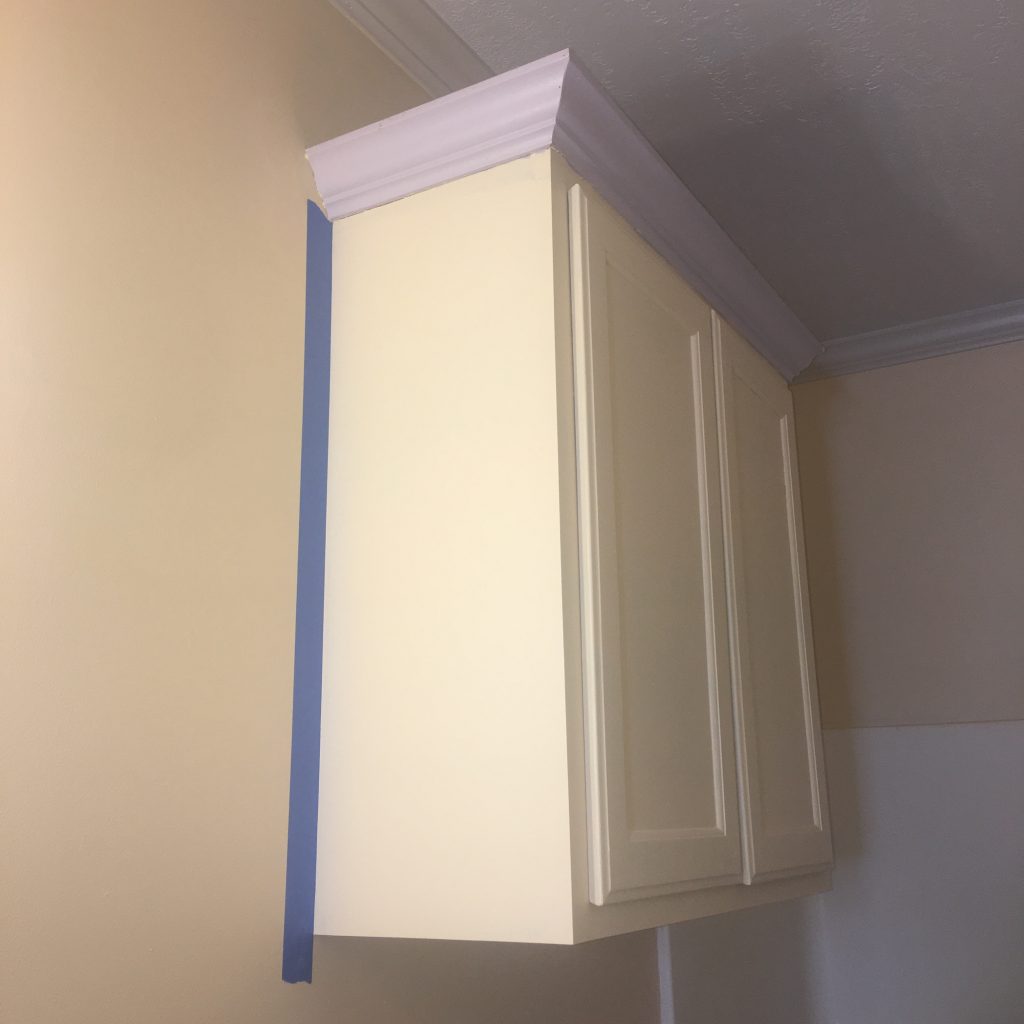
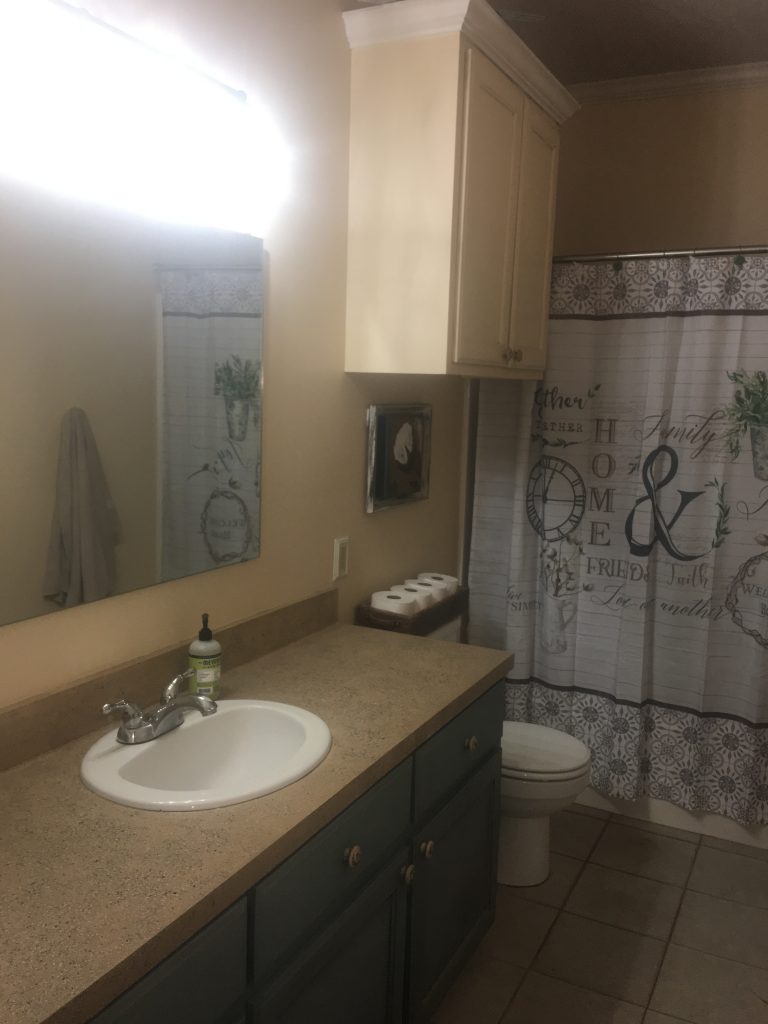
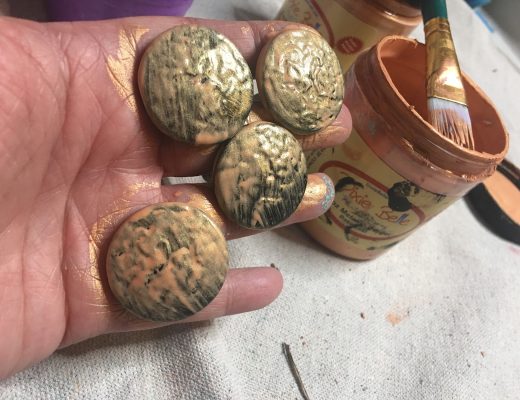
At first, I painted the cabinets to match the walls. That’s how they had been before, and it looked good. Not this time. I finally decided to age the upper cabinet with Dixie Belle Best Dang Wax in Brown. Arick thought it just looked dirty, (Men!) so I toned it down a little, by wiping the excess back. I love how it turned out. It looks great with the knobs, too. I replaced the floral knobs with wood knobs from Lowe’s. They were 2/$2 I believe. I painted them Caen Stone, then applied Prima’s knob transfers in Farmhouse (available in my store), and used the brown wax on them. They were perfect. I am a little late to the Farmhouse game, I admit, but I do live in a house that is on a real farm, so I guess it still works, right?
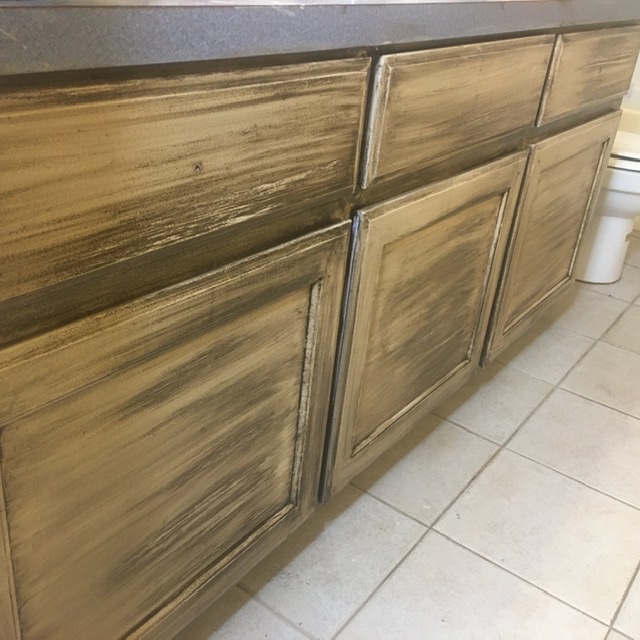
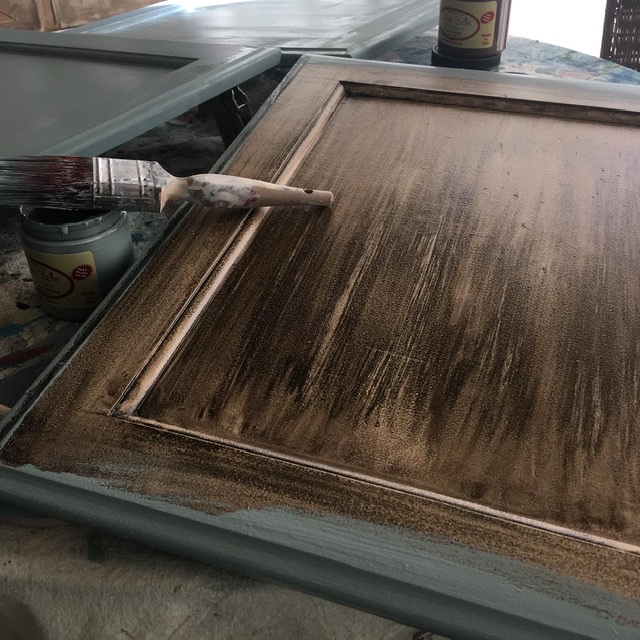
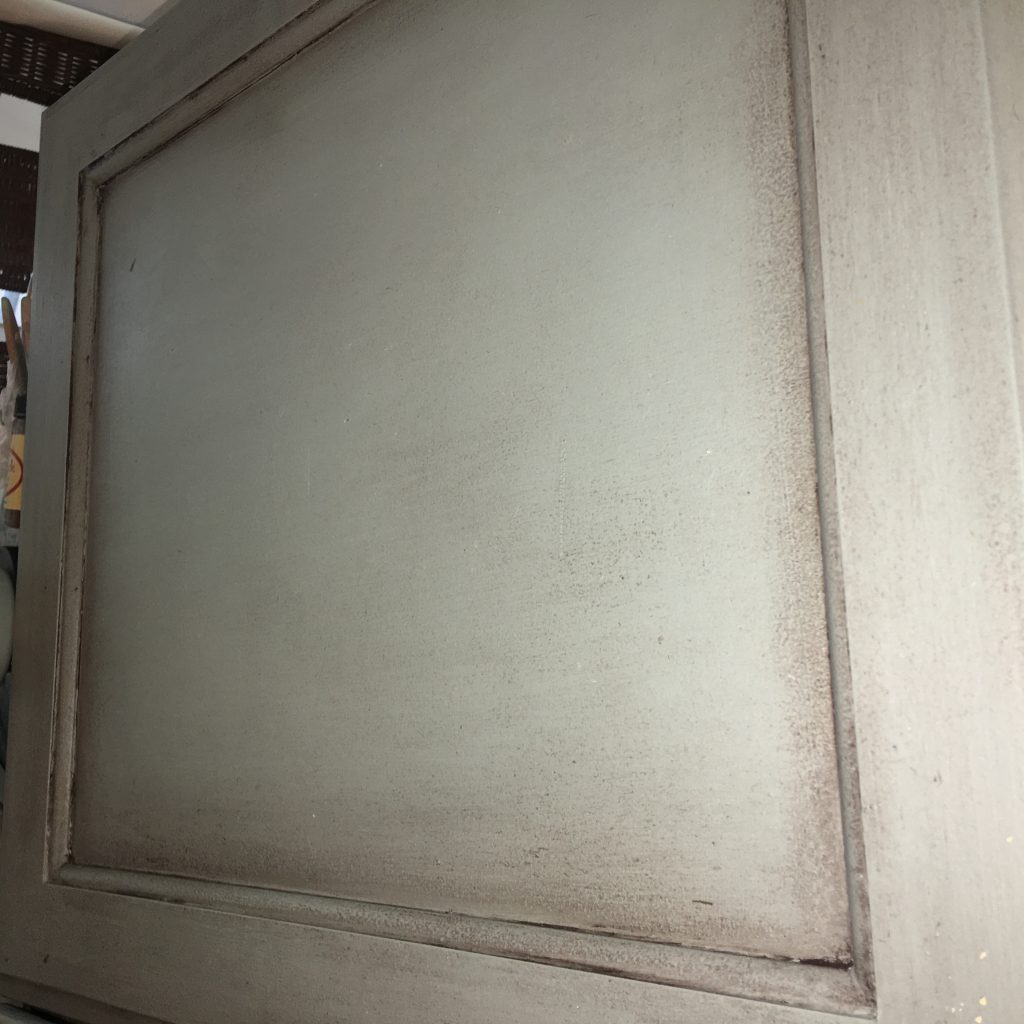
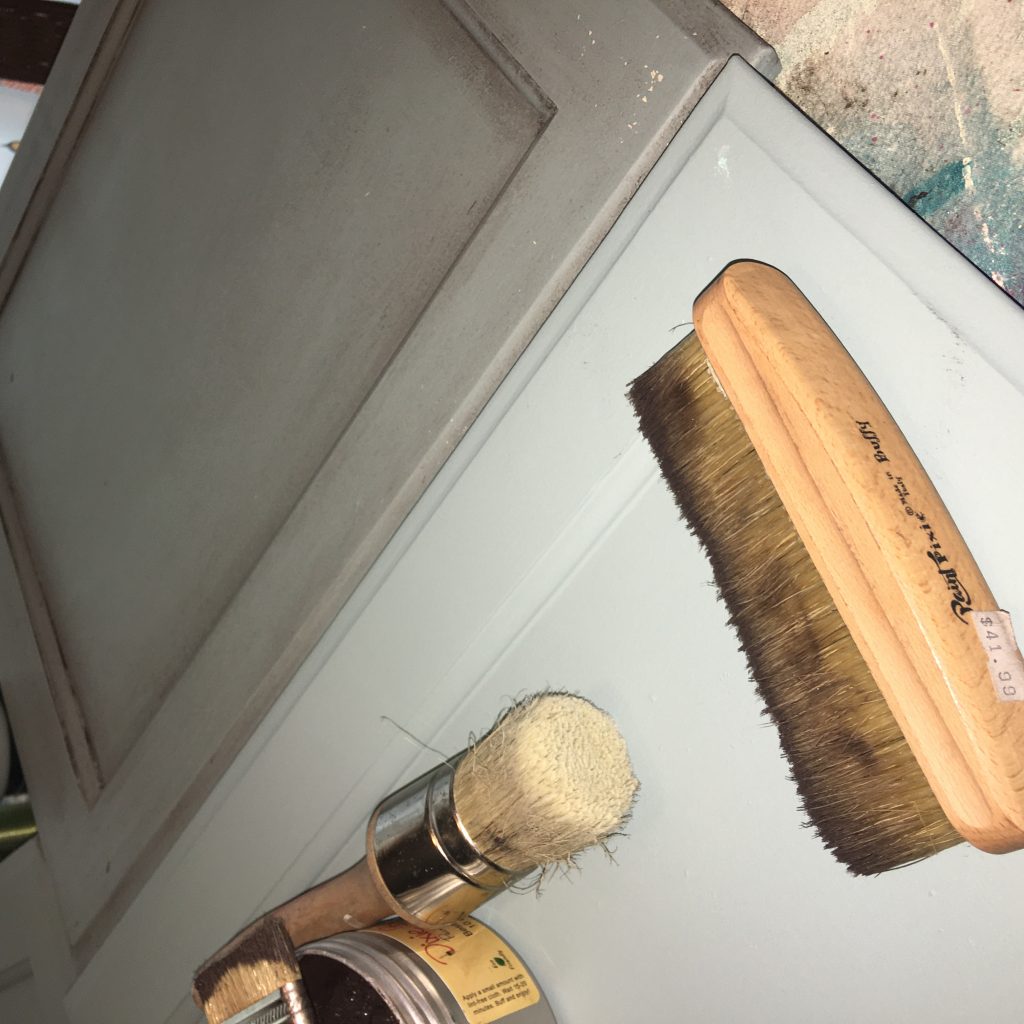
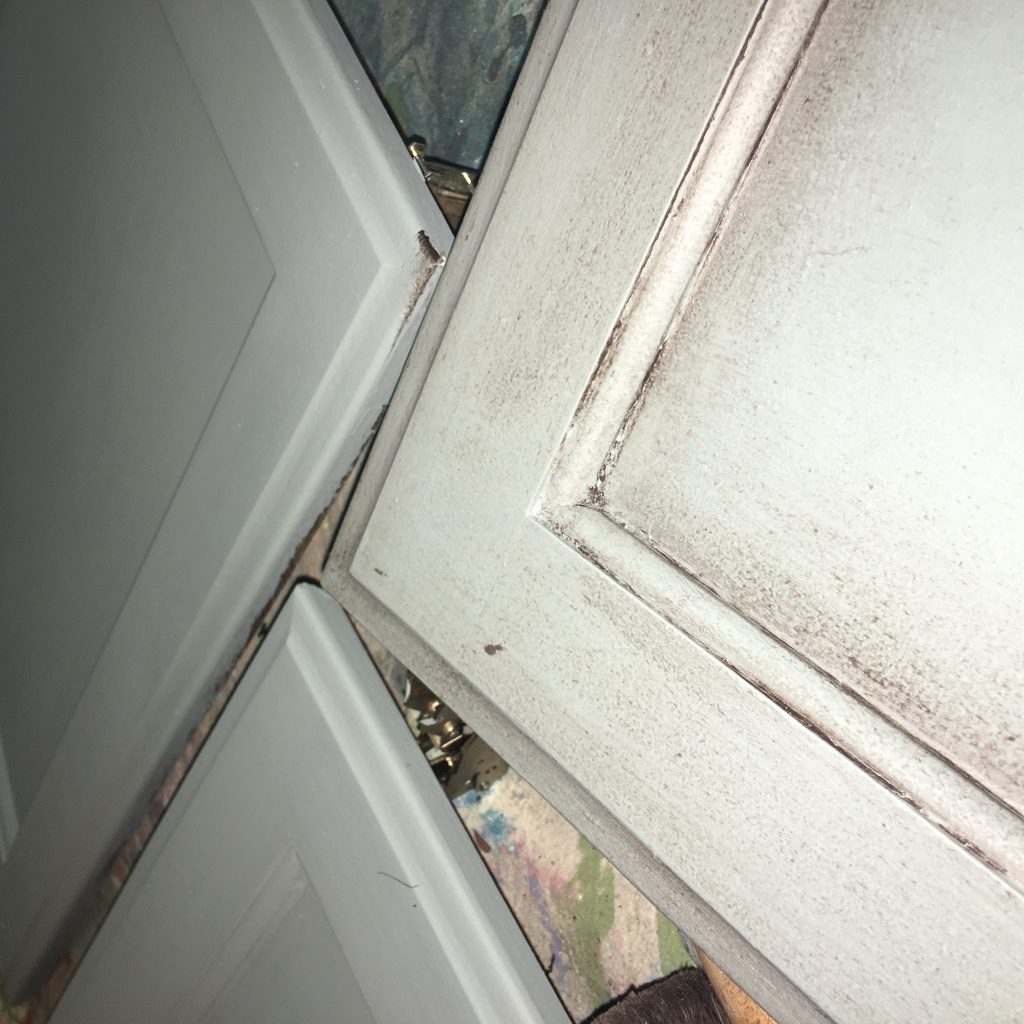
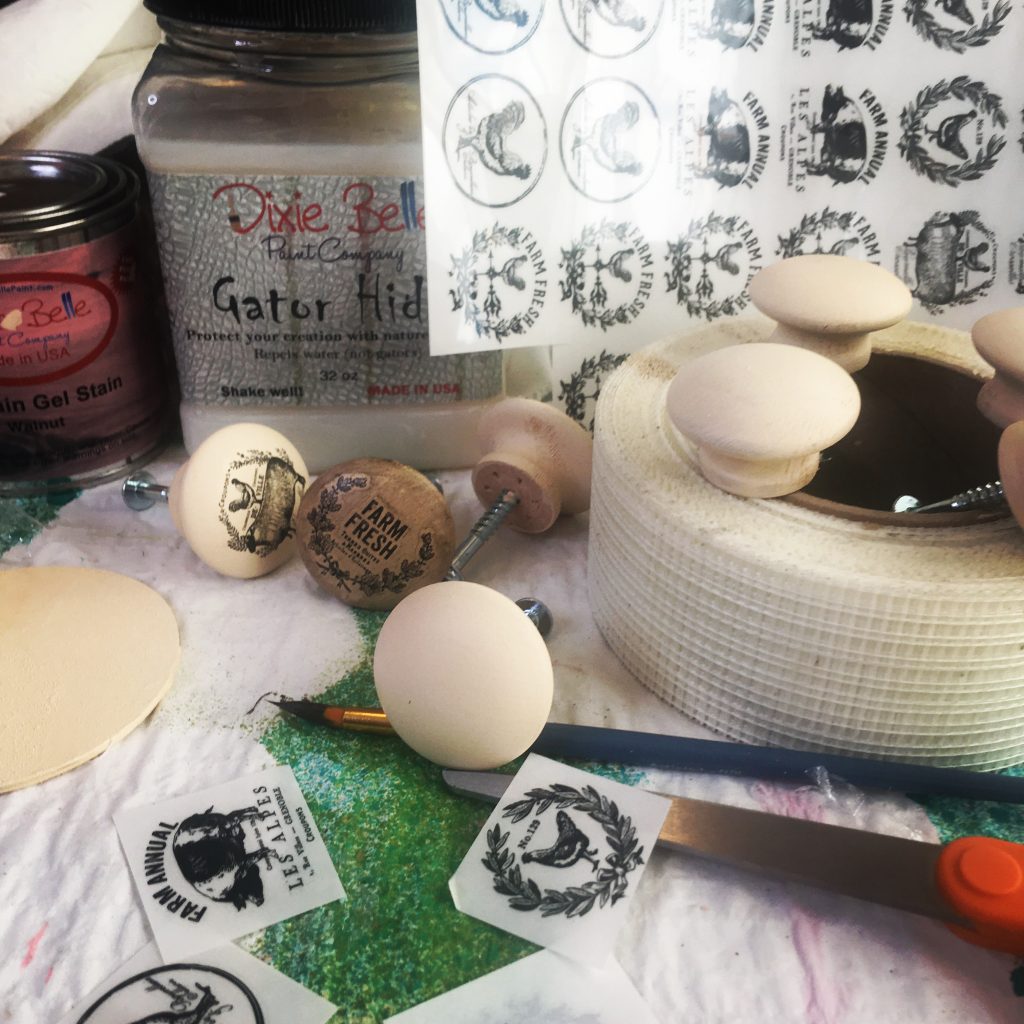
I knew that I wanted the bottom (base) cabinet to be different, so I painted them the same yellow, then used a woodgrain type technique to cover them with No Pain Gel Stain in Walnut from Dixie Belle. I just knew it was going to look great, and tie the mirror frame that I asked Arick to build, to the base cabinet. It did look good, but it just was not what I wanted. (Plus, that mirror frame never got built, yet. Ima let that go for a while, since I have him replacing all of the doors right now, lol.) So, I grabbed my favorite Dixie Belle color, Vintage Duck Egg, and went to town. I loved it. Loved it! I used the same brown wax (And my Paint Pixie Wax and Buffing Brushes) to age them, then added the knobs, and it really did tie everything together.
Now, to the shower, that was another story. For the easy part, I ordered a brushed nickel rod off Amazon (still unable to walk in a “real” store.) and ordered a Moen shower plumbing kit. It was nice. Is nice. I think it was $158. This is another contractor’s wife thing. Get good plumbing supplies. Always. I was so proud. “We will never have to replace these again in our lifetime.” I beamed. Not sure if the lack of smile from him was the fact that we are getting older, or that the Moen fixture was not going to work with our Delta setup. This part is still a thorn in my side. I’m sharing so that you won’t make the same mistakes that I did. Hopefully.
I researched reviews on the Moen, and they were great. Moen is a great brand. The listing said that it was a “moderate” install. Well, I have a contractor husband. If I had trouble I could get his help, right? I honestly thought that I was gonna slap those new pieces up there while he was at work one day. Show off my talents, you know what I mean? Well, pooey. When I looked at the box, it said we had to use an adaptor (included) to retrofit the new style of innards. It showed a cute little access panel to the “innards”. We don’t have an access panel. We did not have Moen before. We had all copper pipes “sweated” in. The best way, if you are a contractor. Not the best way, if you are a do-it-yourselfer, like me. Ugh. Now, the dilemma is, we need to cut a hole in the wall coming in from the guest bedroom. (All I can think about is all that drywall dust!) Not a big deal, Arick says. We cut the hole, use the adapter, then patch and repaint the drywall. Maybe even leave a little cabinet door there. (WHAT????) or make a built in shelf thing? (What, what????). NOOOOOO! (Did I mention drywall dust? Everywhere?)
Long story short on that one, it still isn’t done. We screwed on the shower head. It is beautiful and works perfectly. The handle part that turns the water on/off still drips. Drip. Drip. Drip. The old faucet is still at the bottom. (We did, we meaning Arick, change out the tub stopper knob thingy, and the drain plug holey thing.) The next step on this is to hire a plumber, cut out the wall, (Noooo!) or go to the plumbing store, and get a trim kit for delta, add some new gaskets, and pray that it works. Maybe sell the Moen kit to somebody, since the 30 day return window is up. I will update you when this part is done. Moral of the story-don’t choose plumbing fixtures based on looks, and if you are switching manufacturers, expect at least minor issues. As always, no matter what, get a good brand.
Now, I must admit, other than the drip, drip, drip, the periwinkle countertops (what was I thinking?) might have been the most needed update in the entire room. I found SpreadStone by Daich Coatings and contacted them about samples. I loved the way that the real stone looked, without having to go to the expense of having solid surface countertops installed. I was so easy!
I decided on Canyon Gold, because it matched the curtains in the guest bedroom and would tie the two rooms together, plus it was neutral. (Meaning NOT periwinkle!) I did videos of each step, and put them on You Tube, if you want to check out Step 1 (applying base coat), Step 2 (applying stone coat) and Step 3 (topcoat). I videoed the caulking step, too, if you have never used a caulk gun before, I share a few tips.
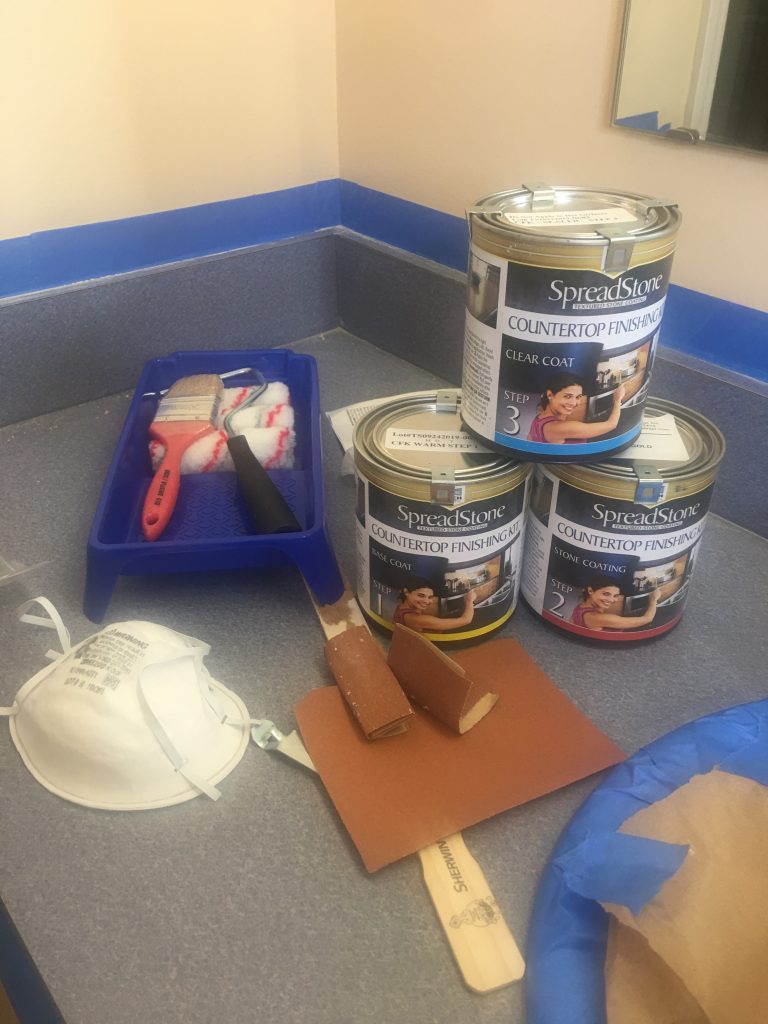
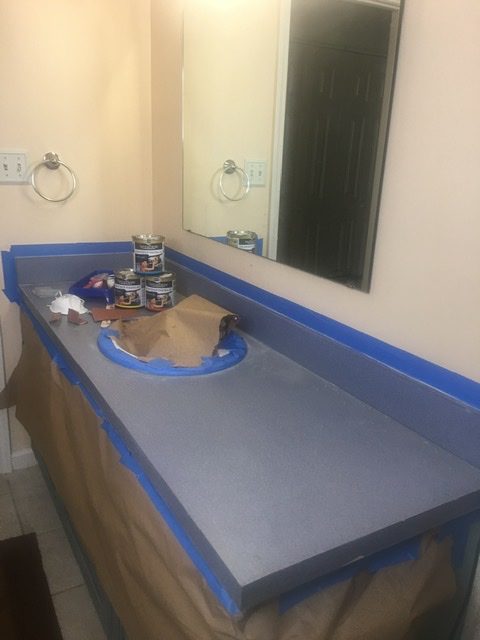
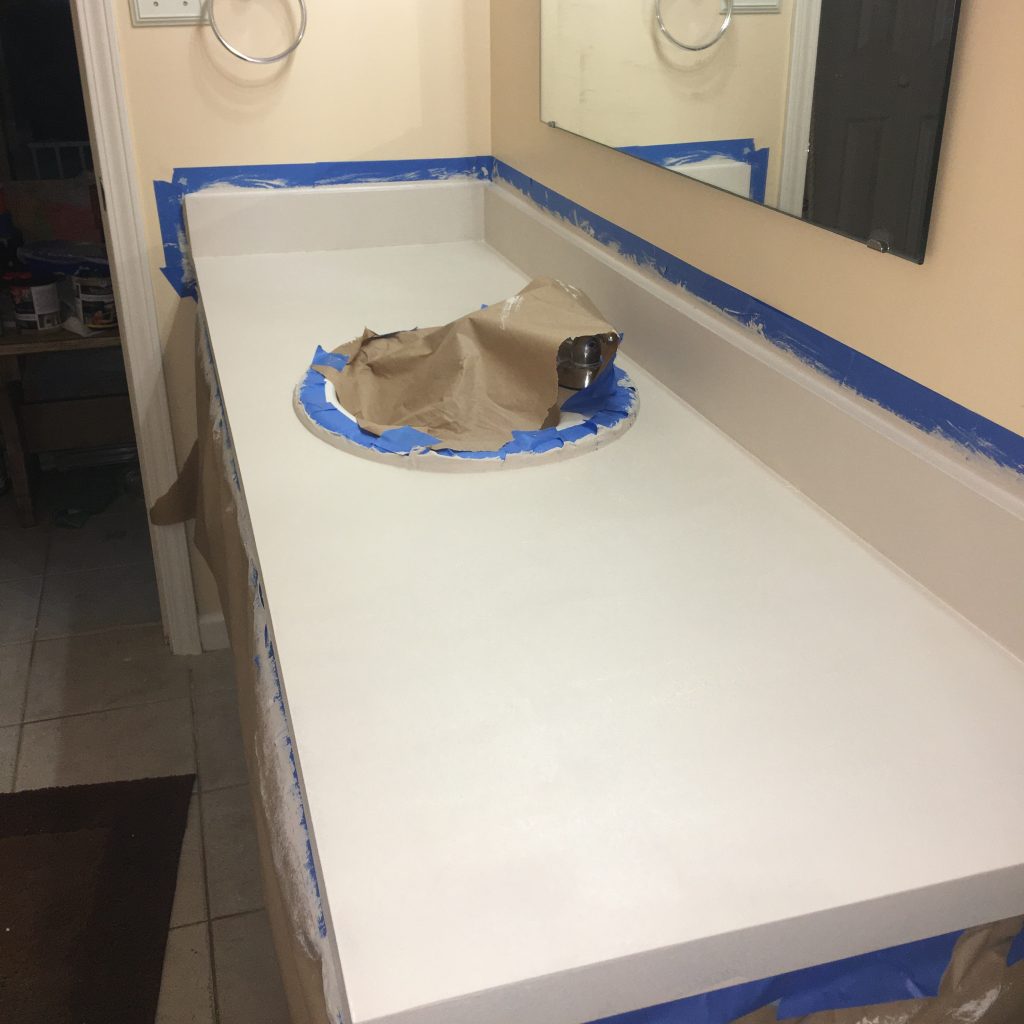
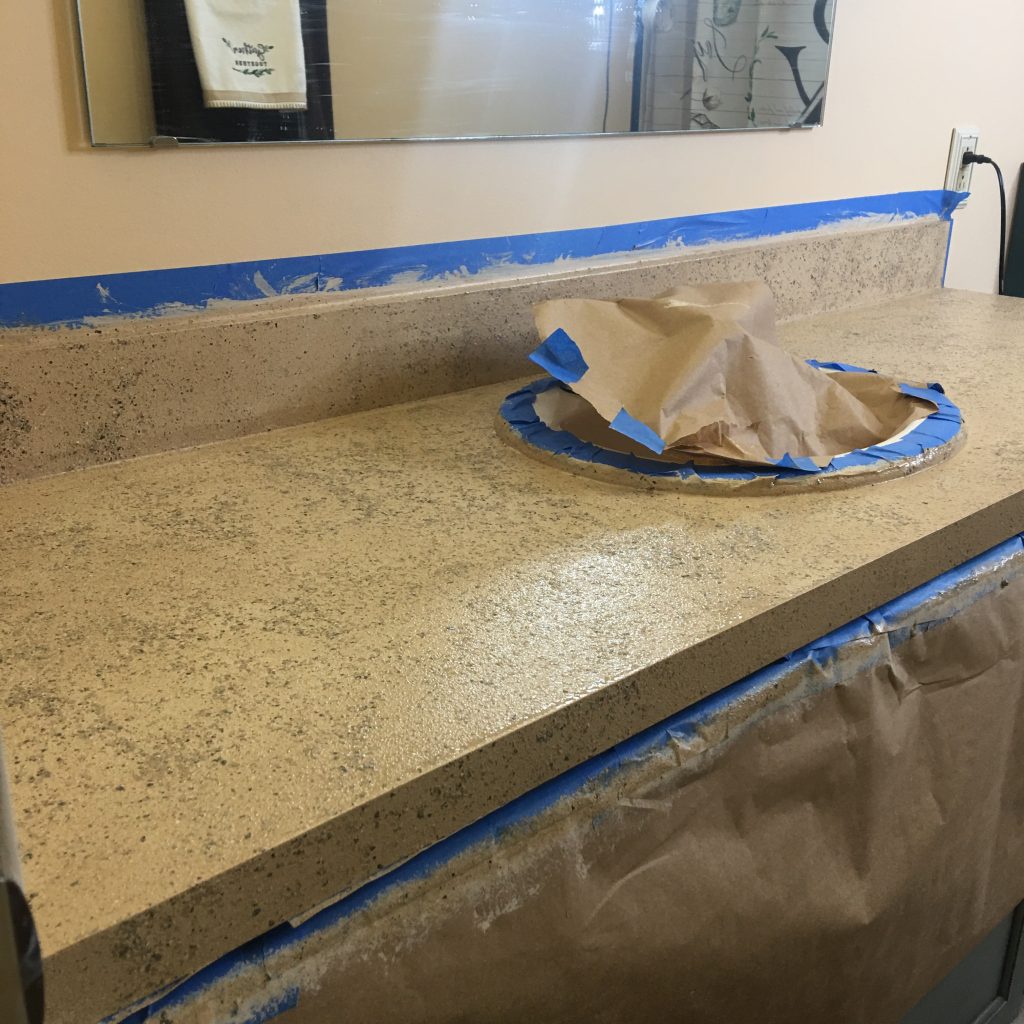
Basically, I scuffed up the old countertop, and cleaned it real good, then taped off the sink and wall, well, because I can make messes where messes should not be made. (I’m glad I took the time to tape it off!) Then I used the brush that was supplied in the kit to hit the hard-to-reach spots and corners, then rolled a good coat on everyplace else. It dried pretty quick, less than an hour, and I applied 2 more coats. I wanted to make sure there was no periwinkle coming back to haunt me later on.
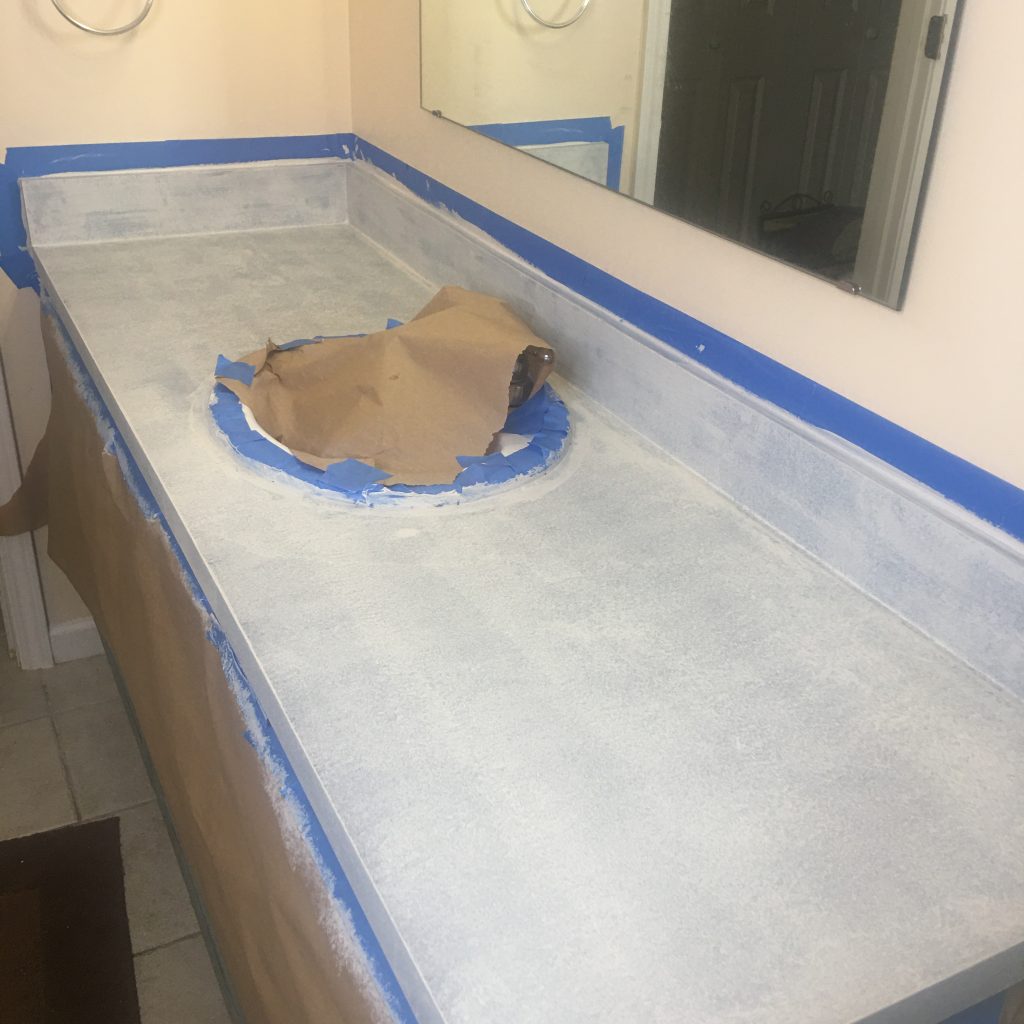
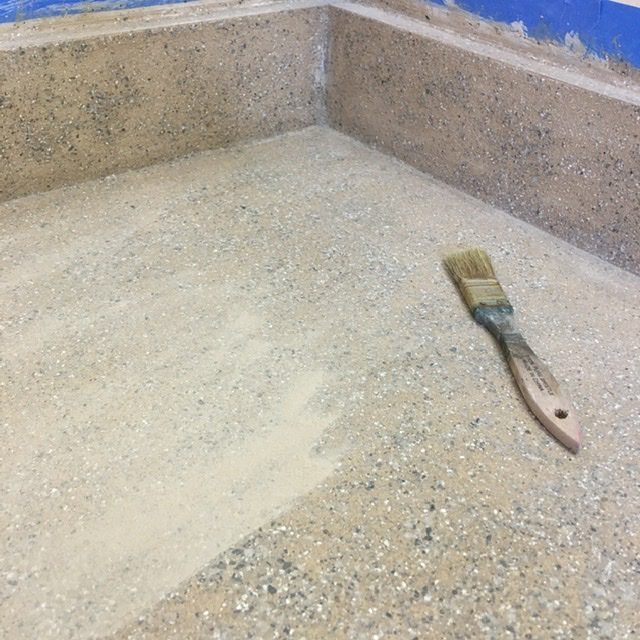
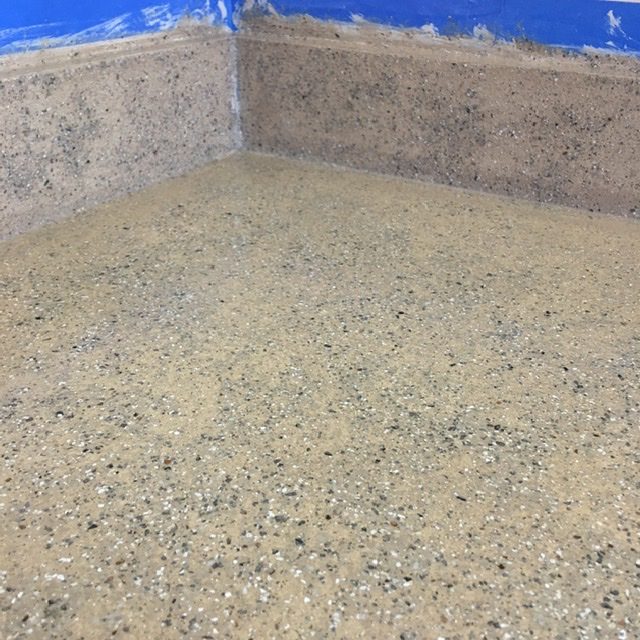
I allowed it to dry overnight, then used the same method to brush and roll on the stone coat. I was surprised that the actual canyon gold color and the stone flecks were all mixed in one coat. It was easy, too. I rolled it real good to mash the flecks down, and applied 2 coats. I gave it a couple of hours of drying time between coats, then let it dry overnight again.
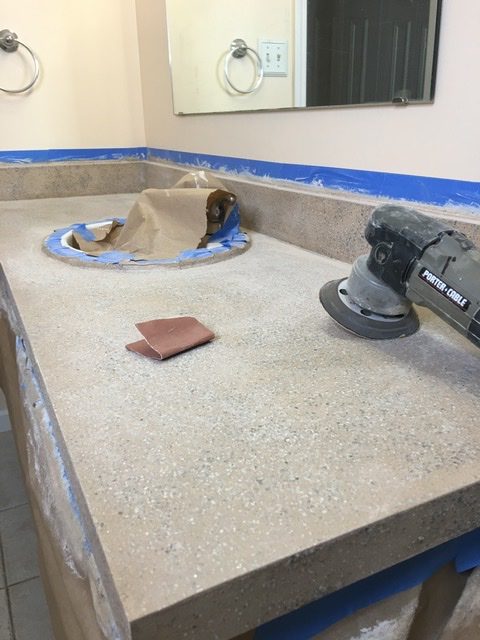
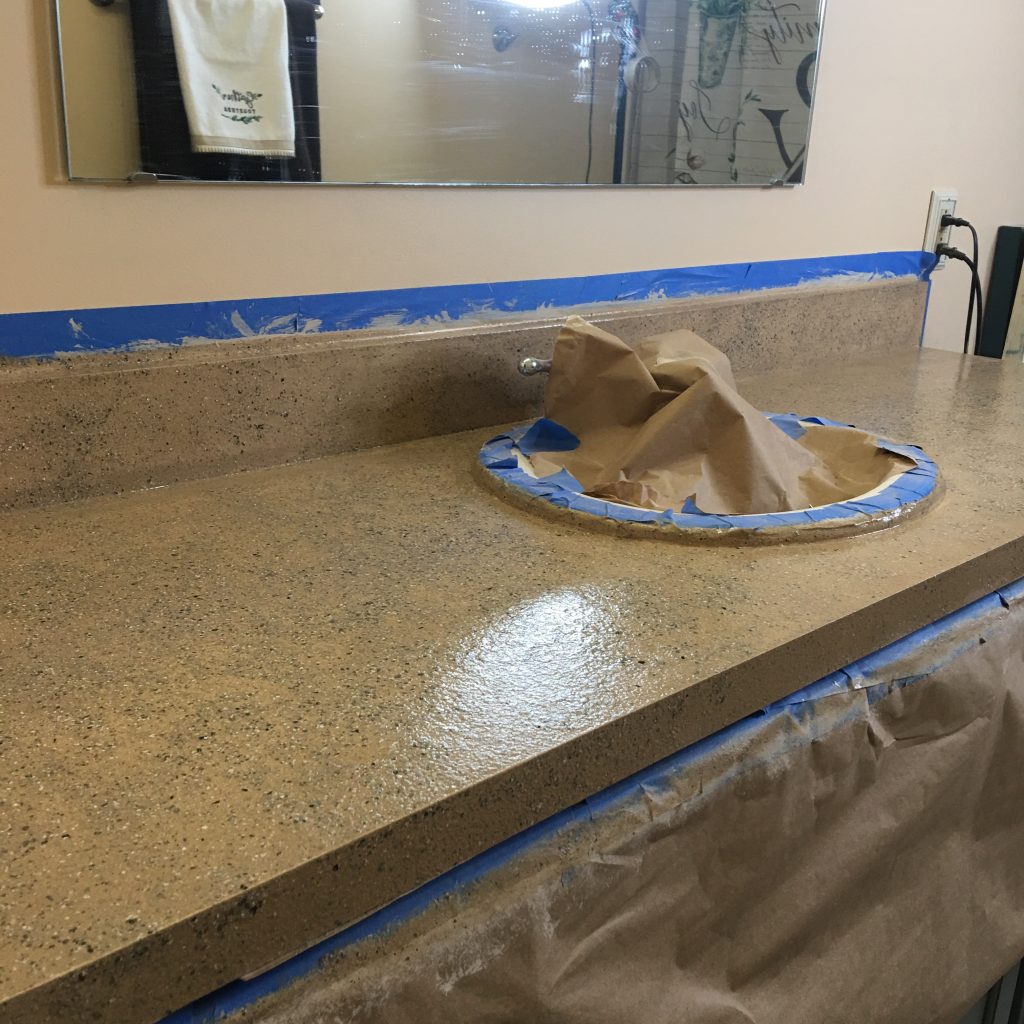
After the 24 hours of drying to make sure it was good and solid, I hand sanded (see sanding video) with both a sander and the sandpaper that they supplied. When I felt it was as flat and smooth as I wanted it, I dusted it off and wiped it down. (I did wear the supplied mask while sanding). Then I applied the topcoat in the same manner as everything else. Brushing edges and corners, rolling the rest. I let it dry between coats, and applied 2 coats.
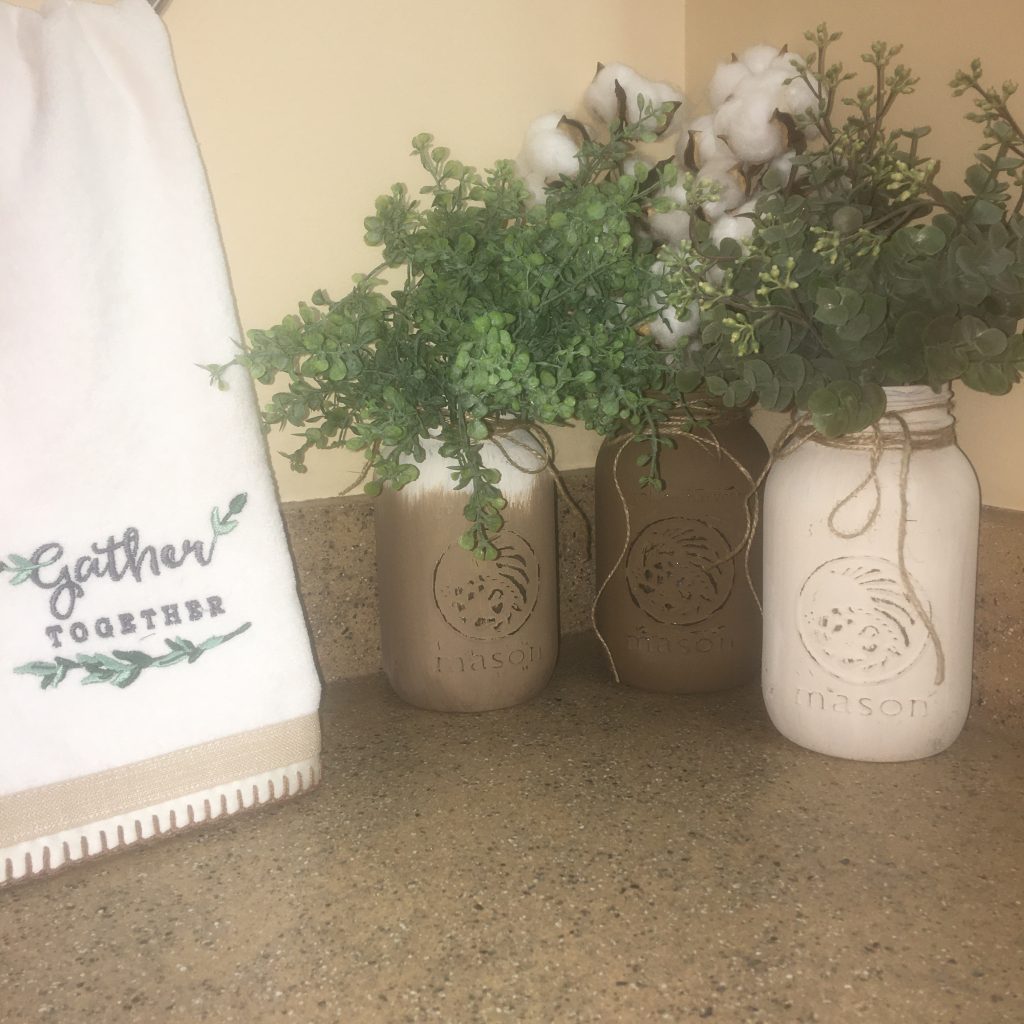
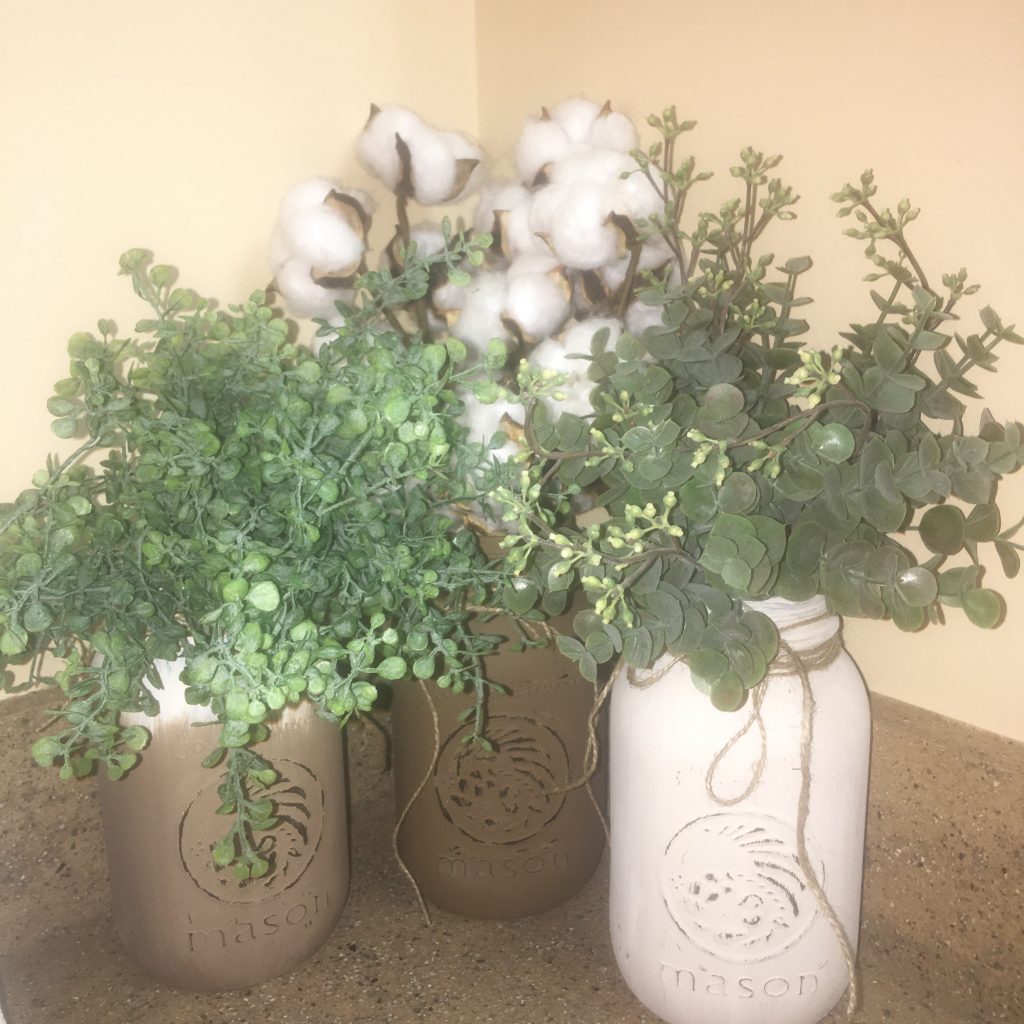
I allowed the topcoat to dry real good, then cut the tape off, and caulked those seams where the tape was removed. (Learn how to use a caulk gun on this video.) I can’t believe how good it looks. In a weekend, the whole look of the room changed! The countertops made the room. It matches perfectly with the knobs, and I painted some Mason Jars with Dixie Belle paint to match the countertop. (I used Pinecone and Aged Ivory).
I thought a new light fixture would make a big impact, and it did. We took out the old contractor’s standard vanity light, and replaced it with a Farmhouse 4 bulb fixture in aged bronze. The Edison style bulbs that came with it were awesome, but were very warm and gave off an even more yellow glow to the room. Arick moaned and groaned about that a little, did I mention he shaves in there? The ambiance was nice for a candle-lit romantic dinner, not so much for shaving. So, I bought Edison replacement bulbs that are BRIGHT, and will find a place to use the other ones that came with it. They are too cool not to use!
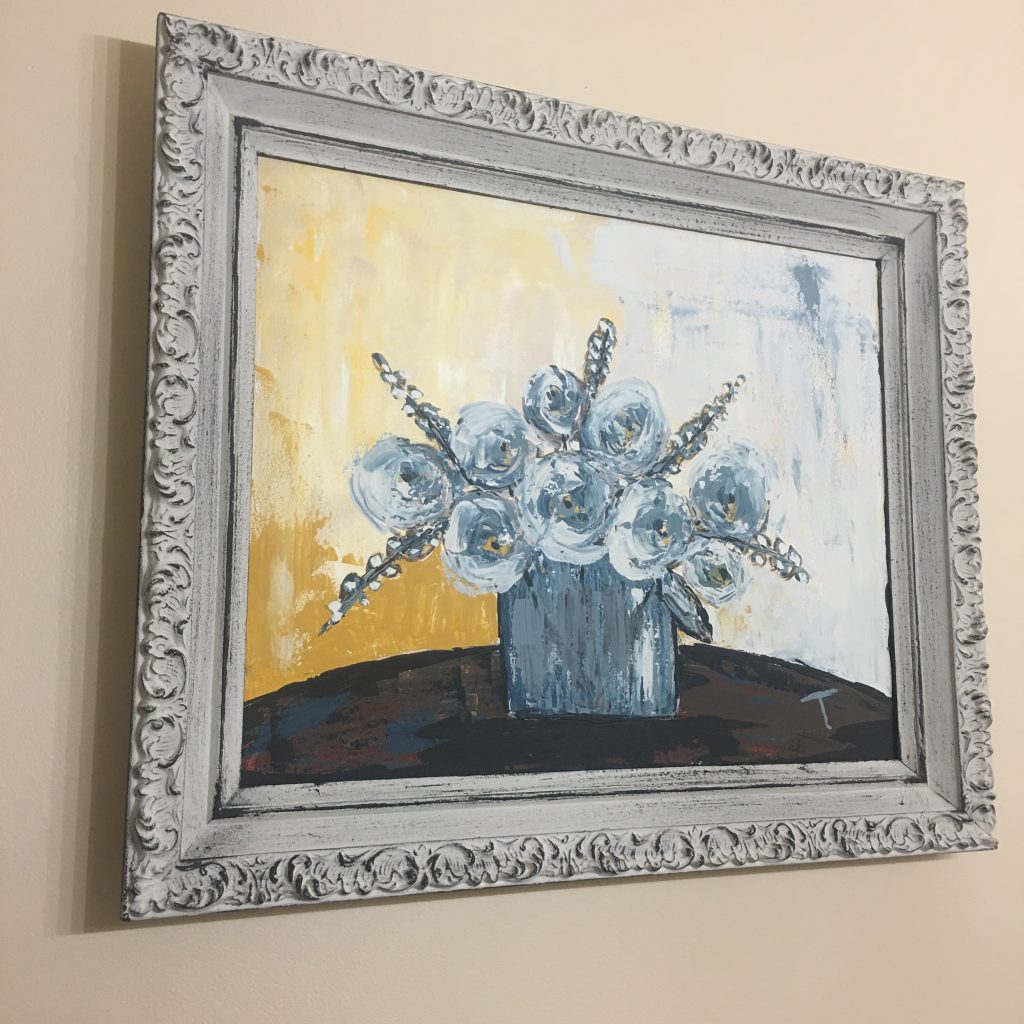
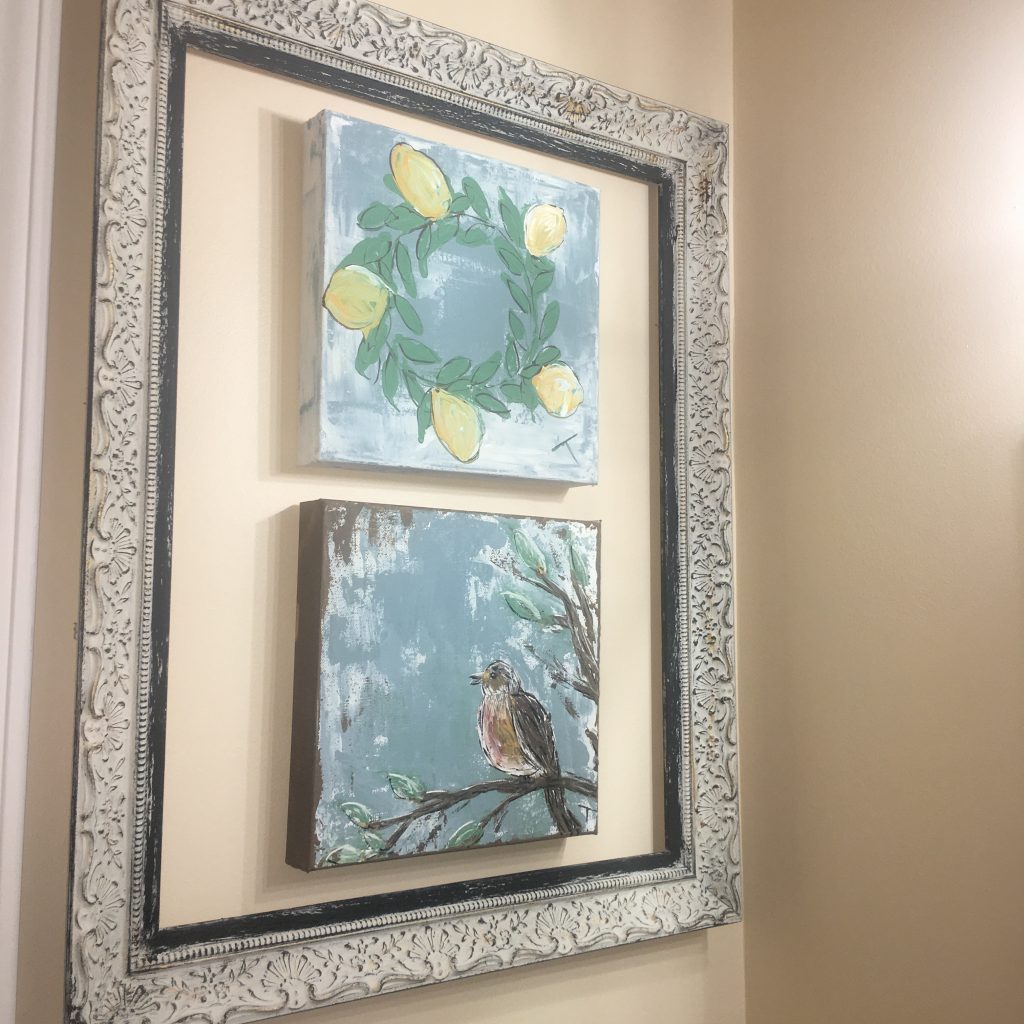
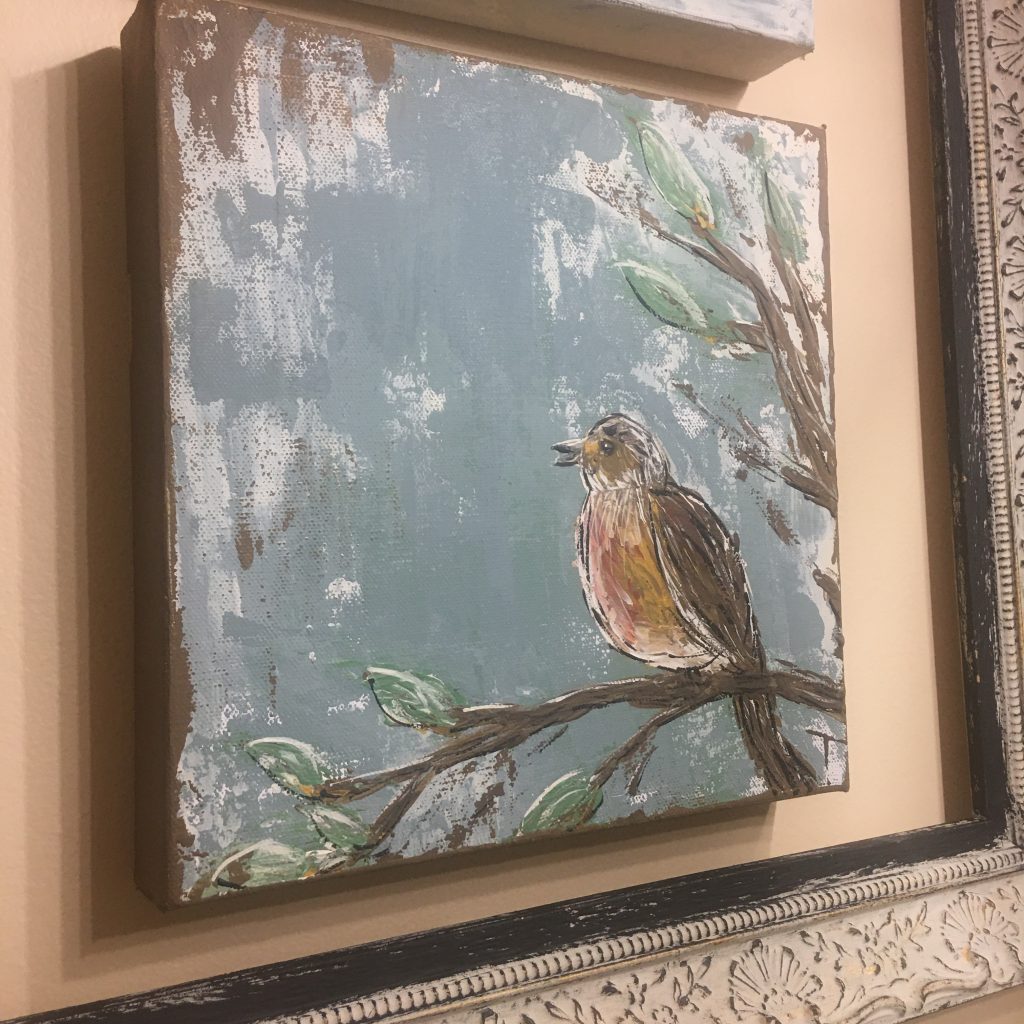
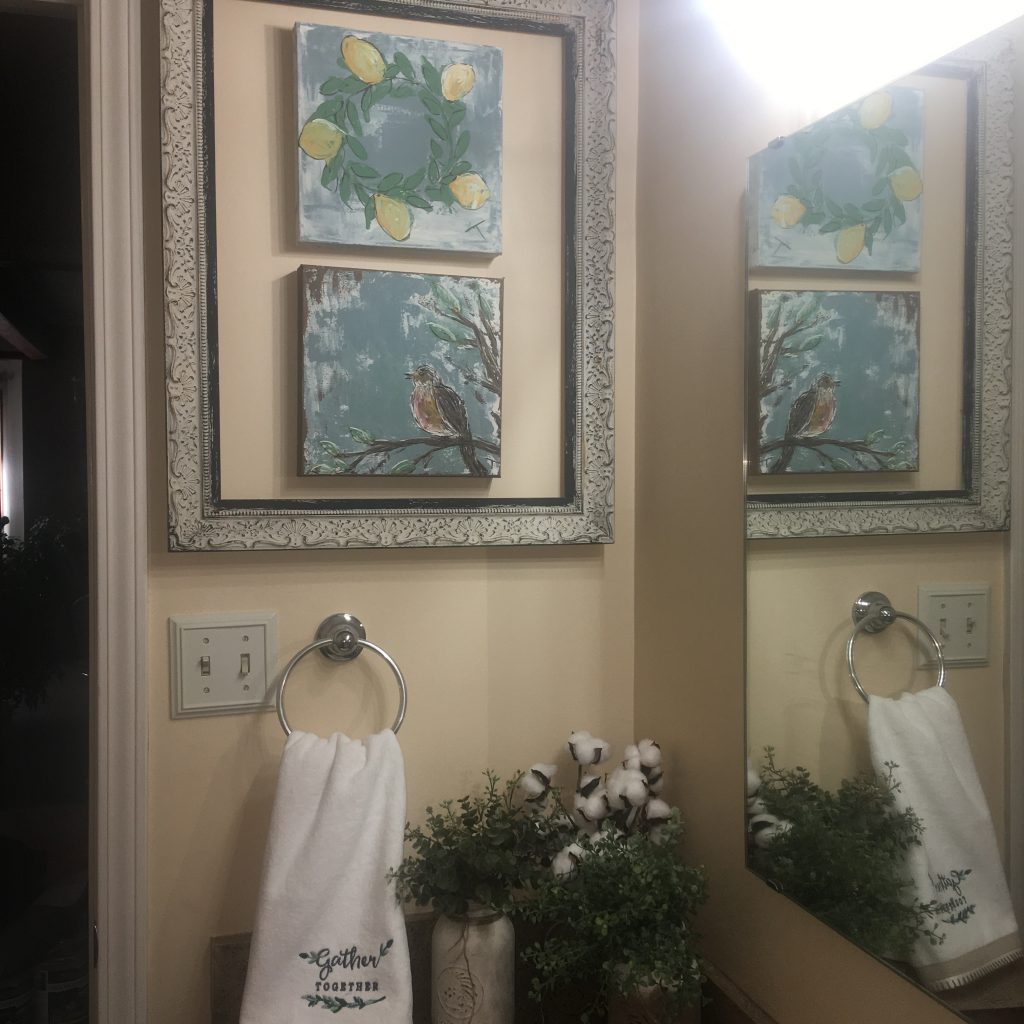
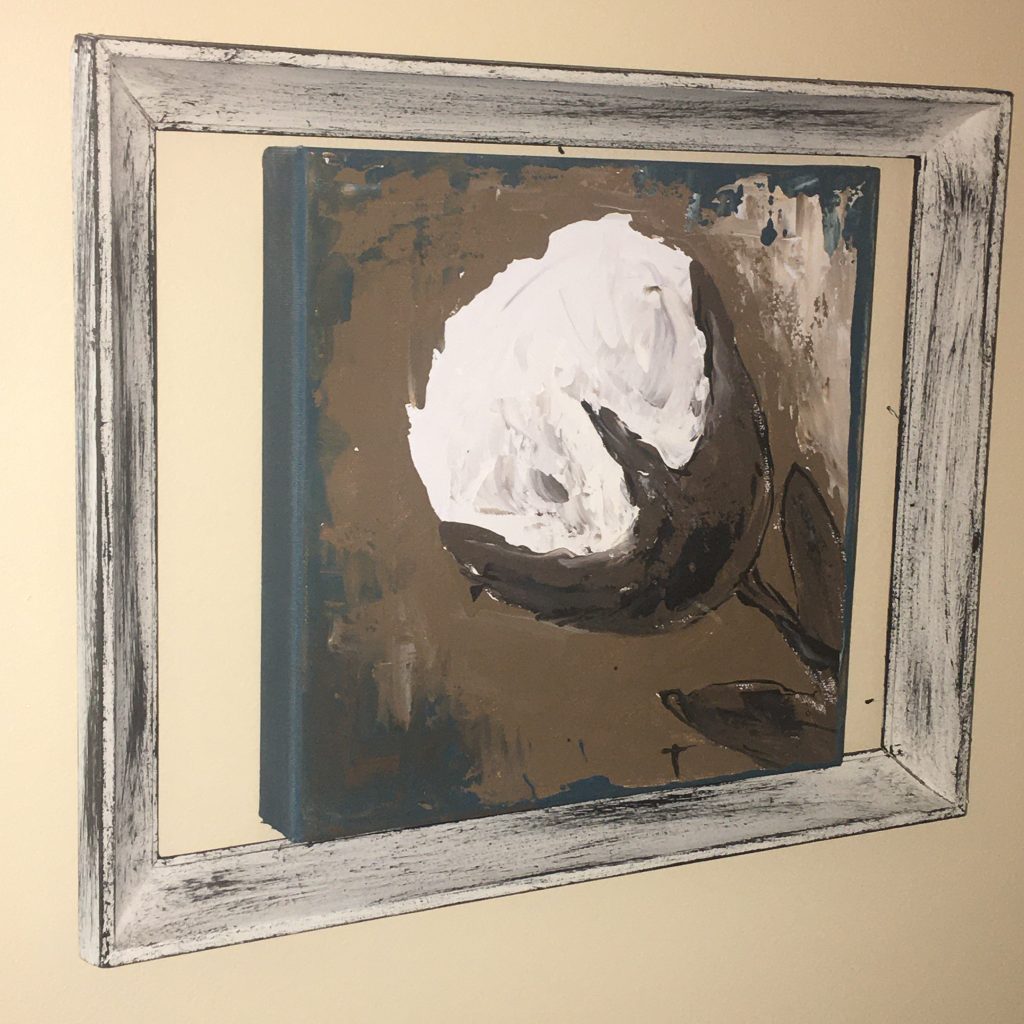

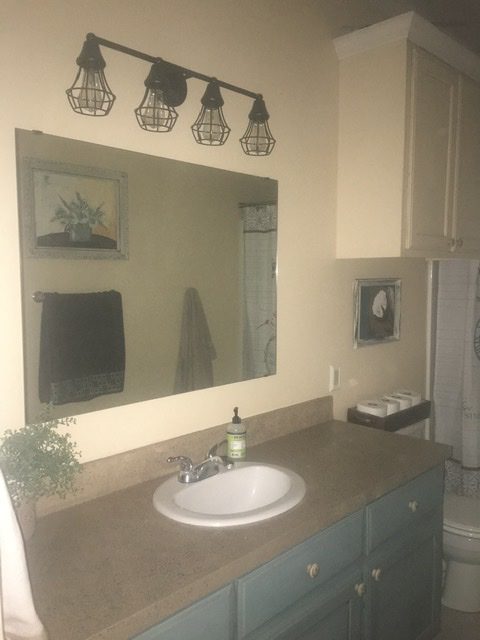
I painted a few pieces of art and hung them in frames that were too big, but that is what I had, and it looks good, and there is so much “frame” in there now that I hardly notice that the mirror frame never got done!
I got the new hand towel and shower curtain and hooks from Macy’s, and it was all on sale. Start to finish, the entire project was under $500, including a new toilet seat and door. Not too shabby for the last time we will ever need to makeover the bathroom, right?
What room in your house do you use less than others? Have you thought about re-doing it? A coat of paint and a new countertop went a long way in this bathroom, and I would love to see your projects, too!
Terri
Pin this project:

Looks great! I need a bathroom makeover!!
Thank you! It was a lot of fun!